micro:bit Monday - Kitronik Motor Driver Board
Another Monday...another cool micro:bit add on, and this week we have the Kitronik Motor Driver Board...from errr Kitronik
Robots are cool...
There I said it! But did you know how easy it is to build your first robot?
There is a phrase that I have used for a few years...
"If you can turn on an LED, then you can also control a motor, if you can control a motor then you can build a robot..."
A simple robot is just two motors, a chassis and some brains to control it.
Building robots with micro:bit is so simple, but don't take my word for it!
At Blackpool Raspberry Jam, we had a session called "Rabbit Wars" for Easter 2017. There I challenged the group to build their own robots using micro:bit or Pi. One team, Dan and Matthew built a robot in 45 minutes using a micro:bit and the Kitronik Motor Driver Board.
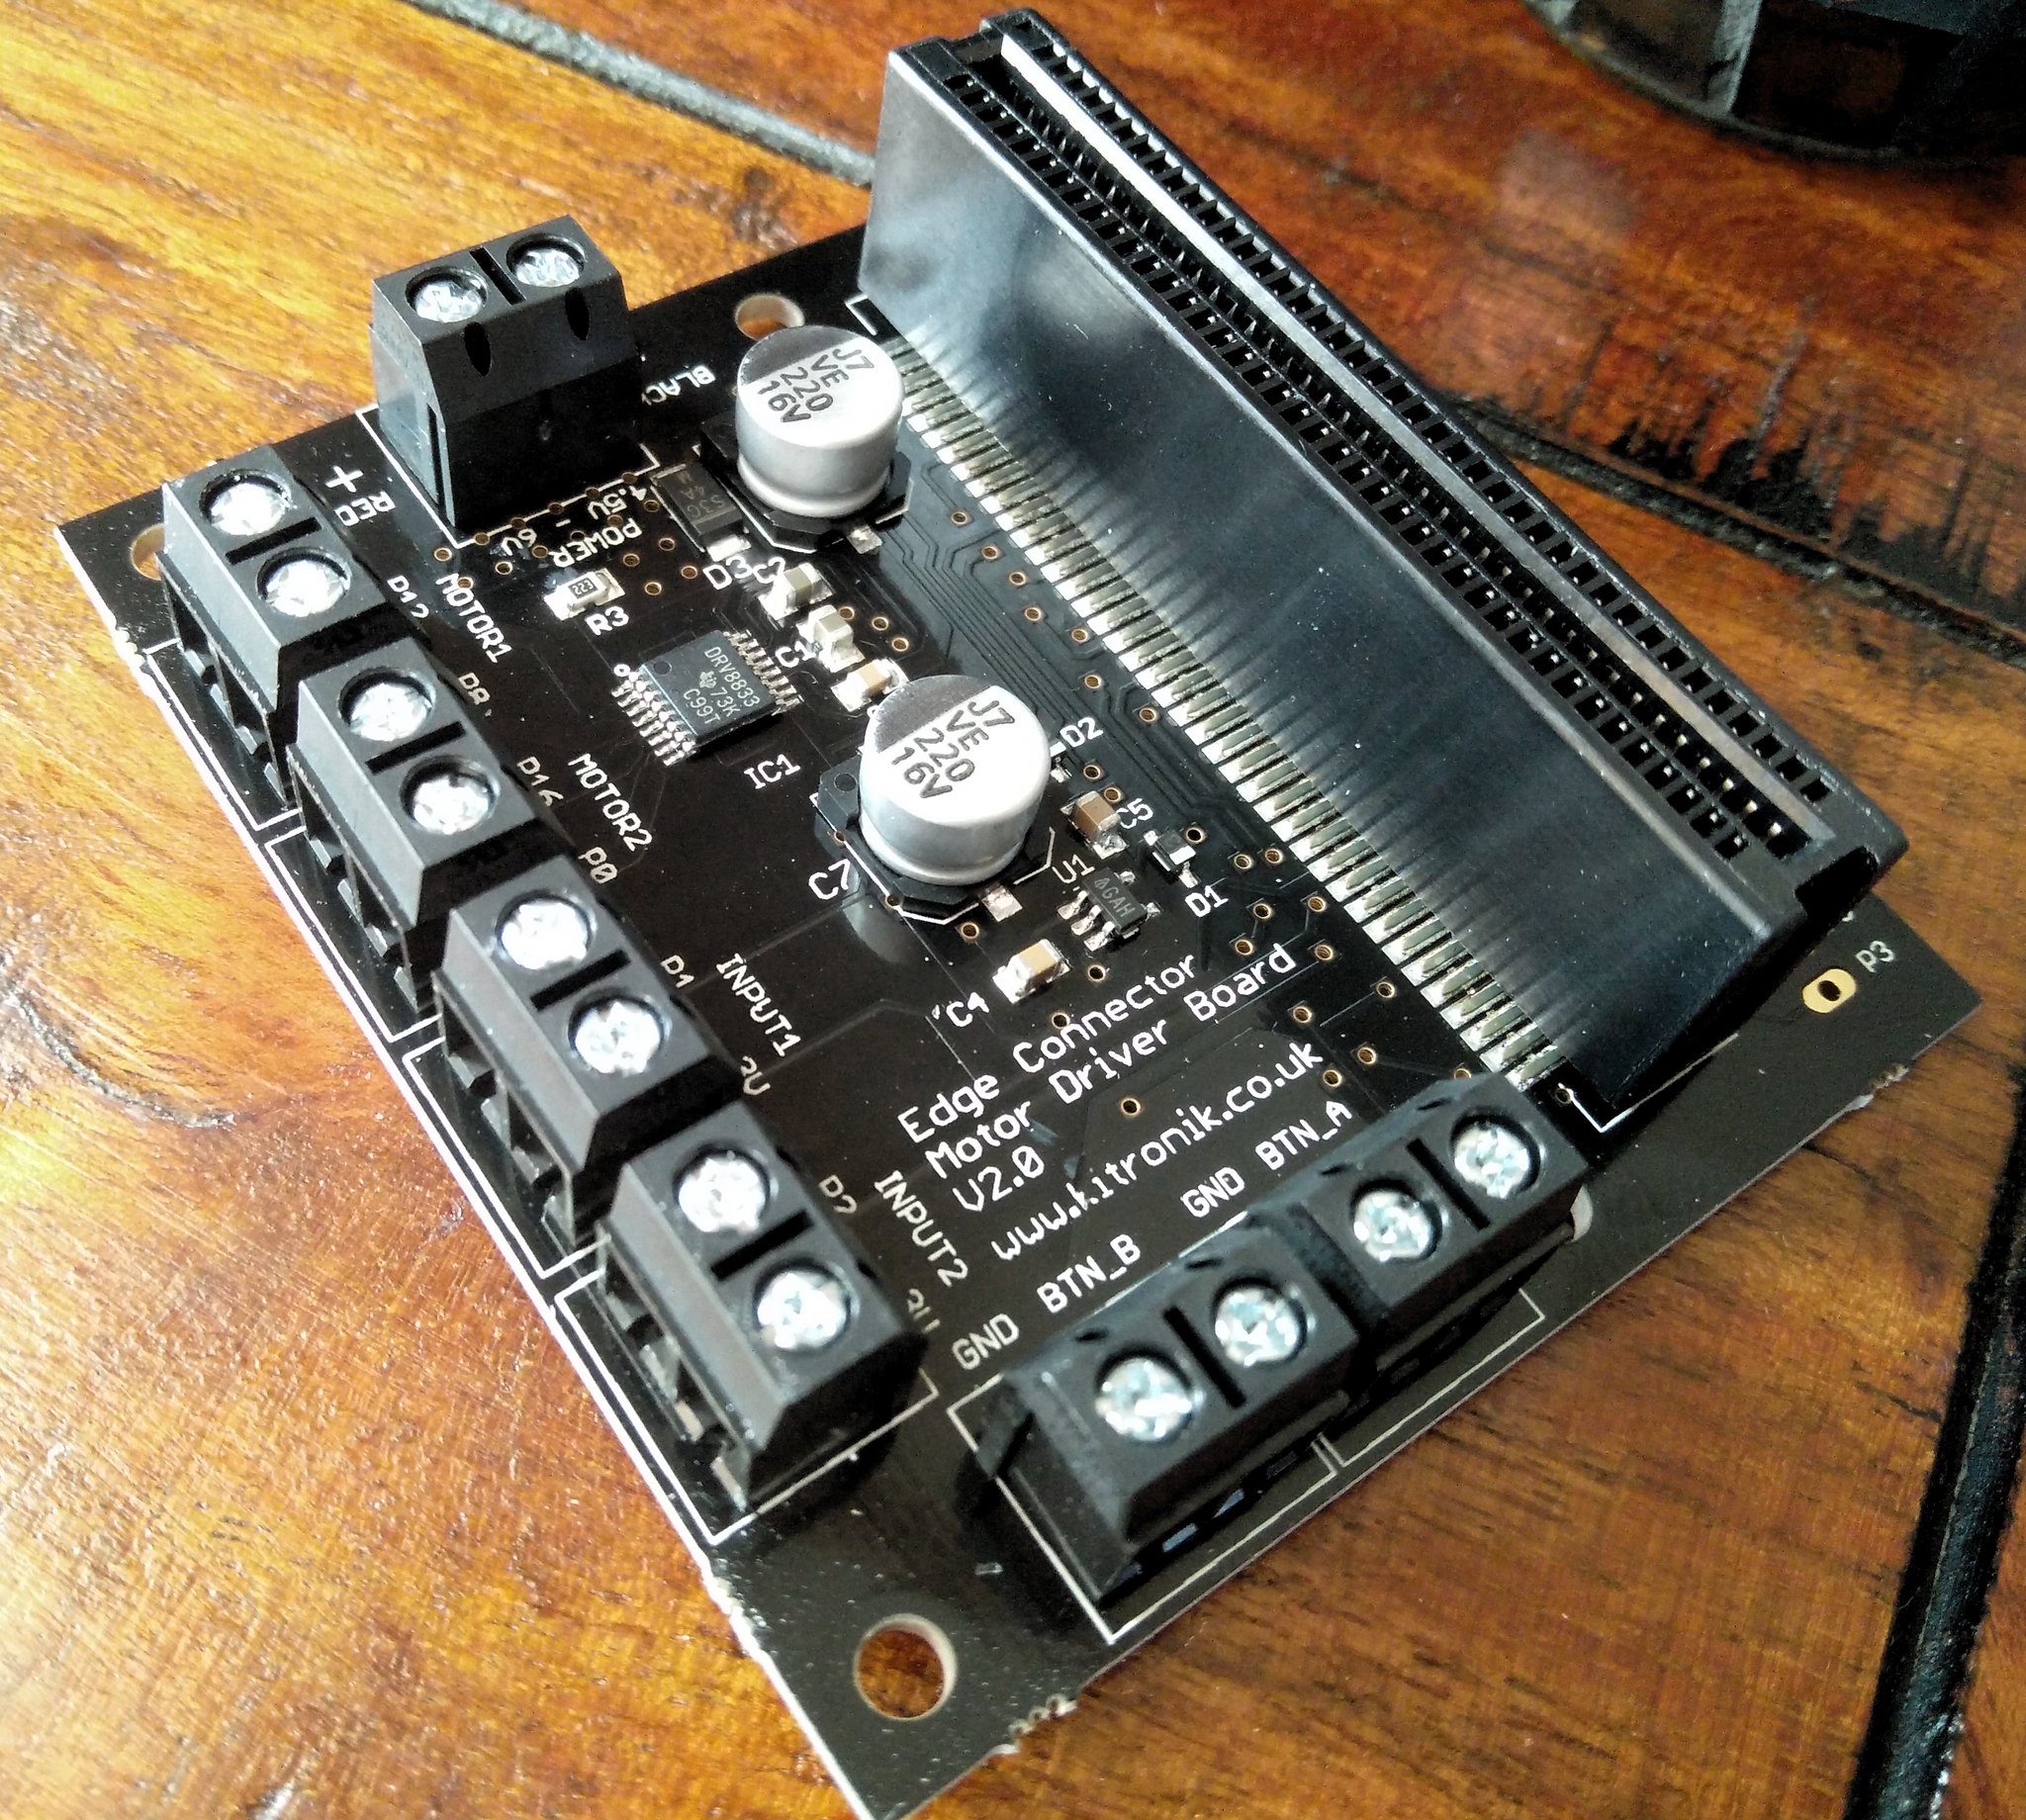
So what is it?
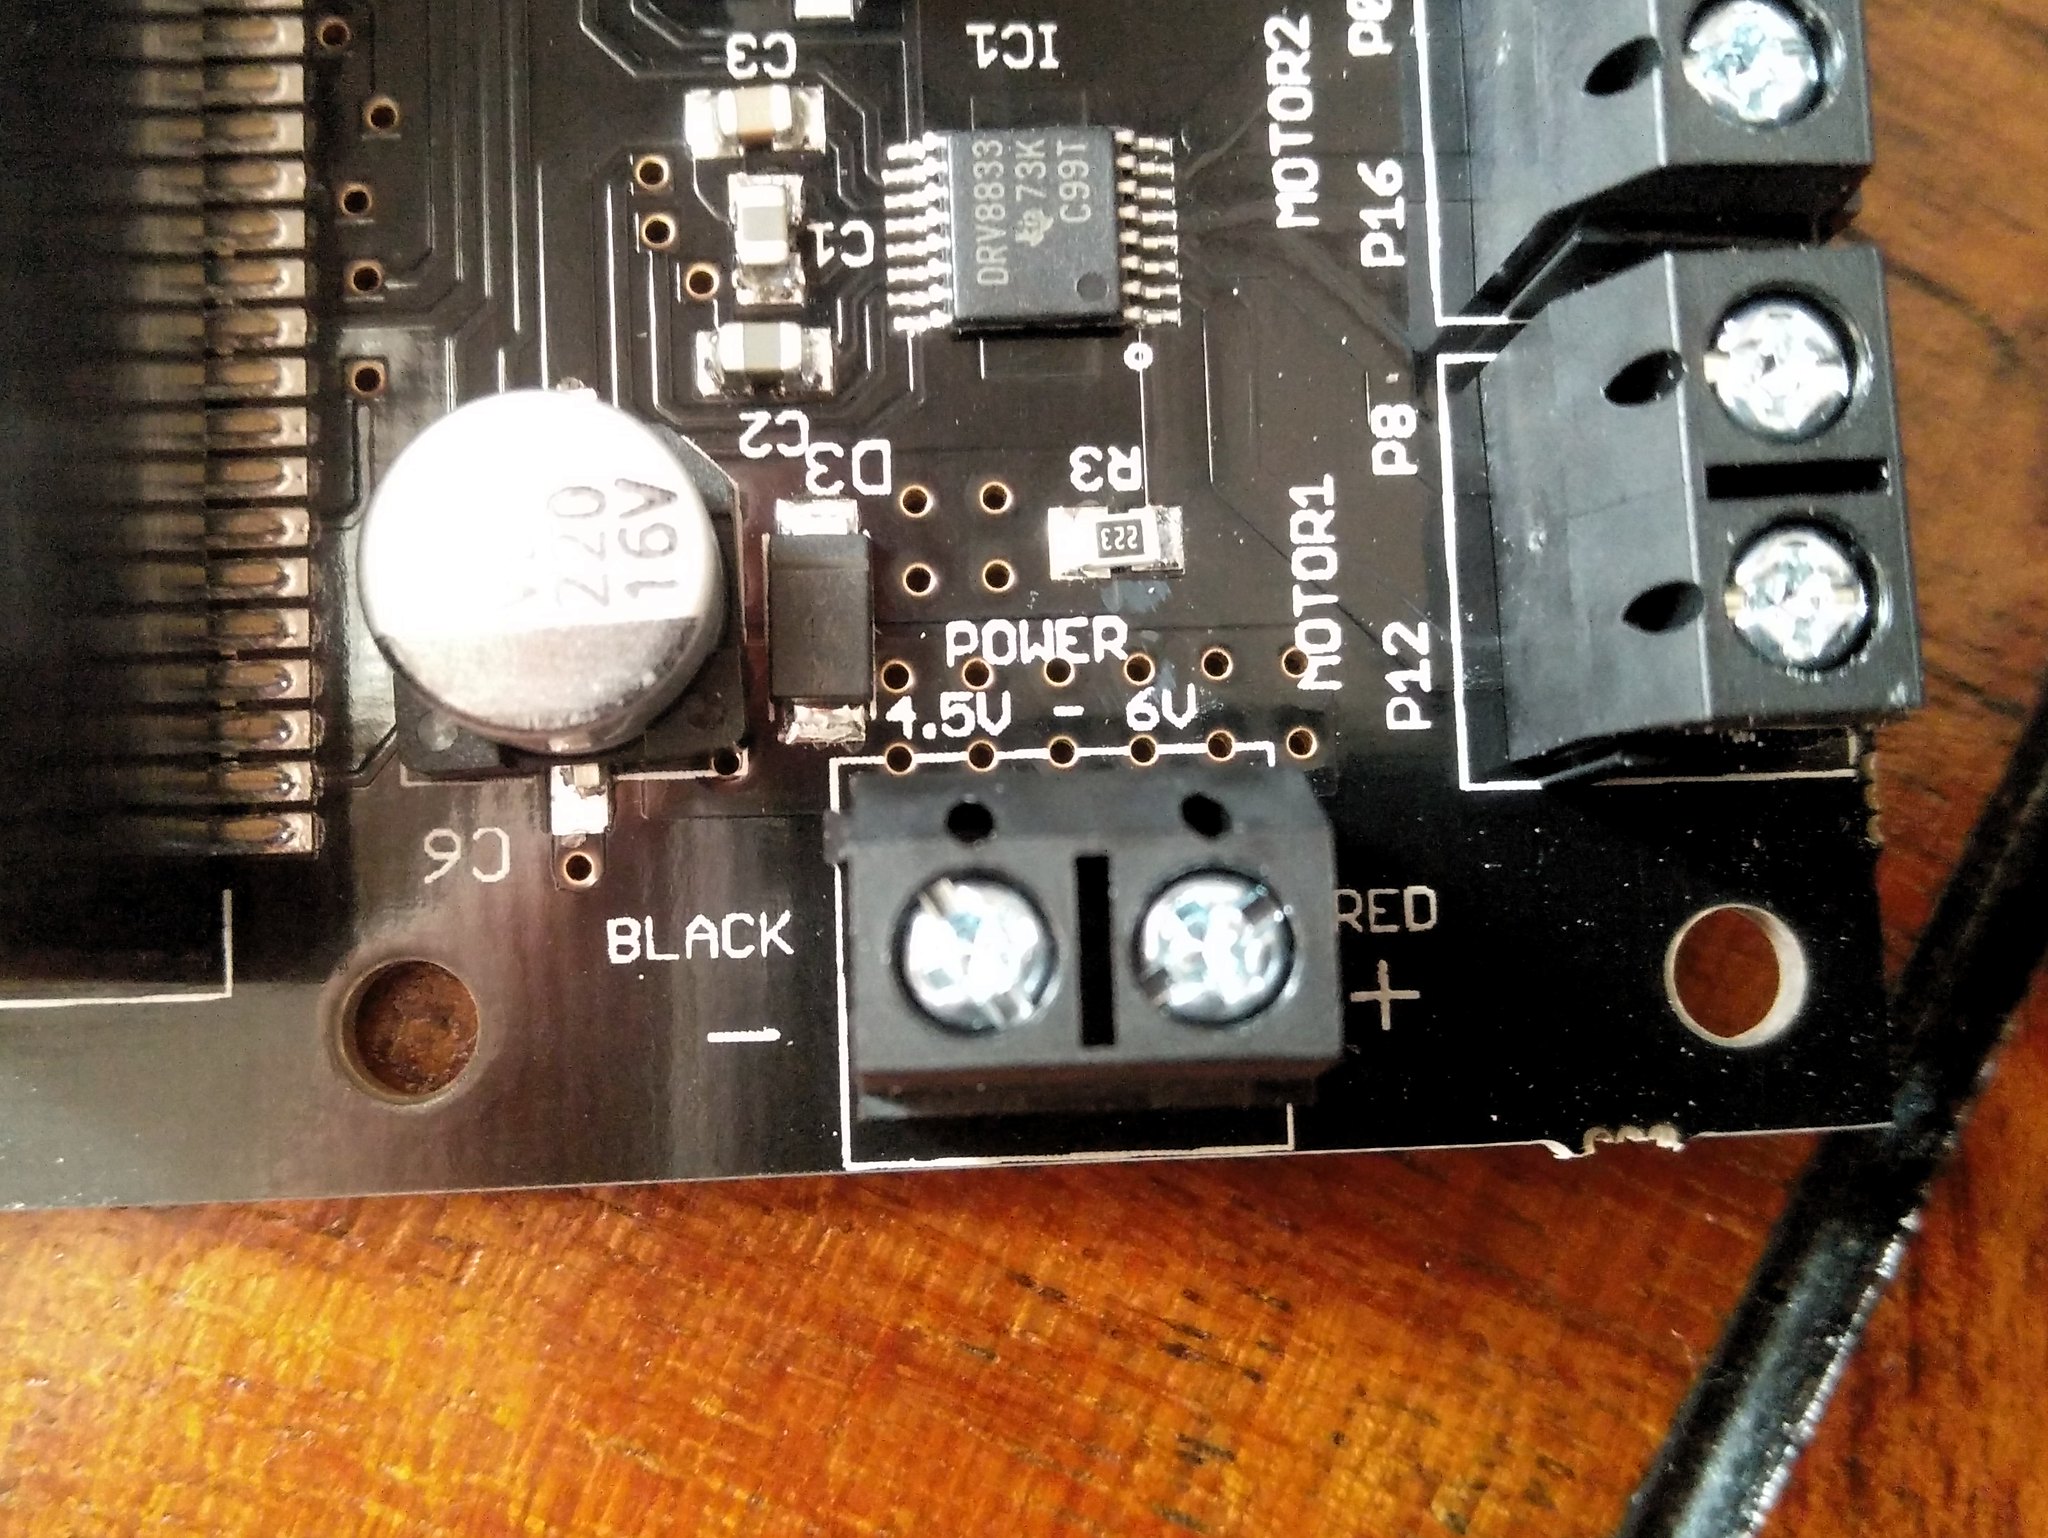
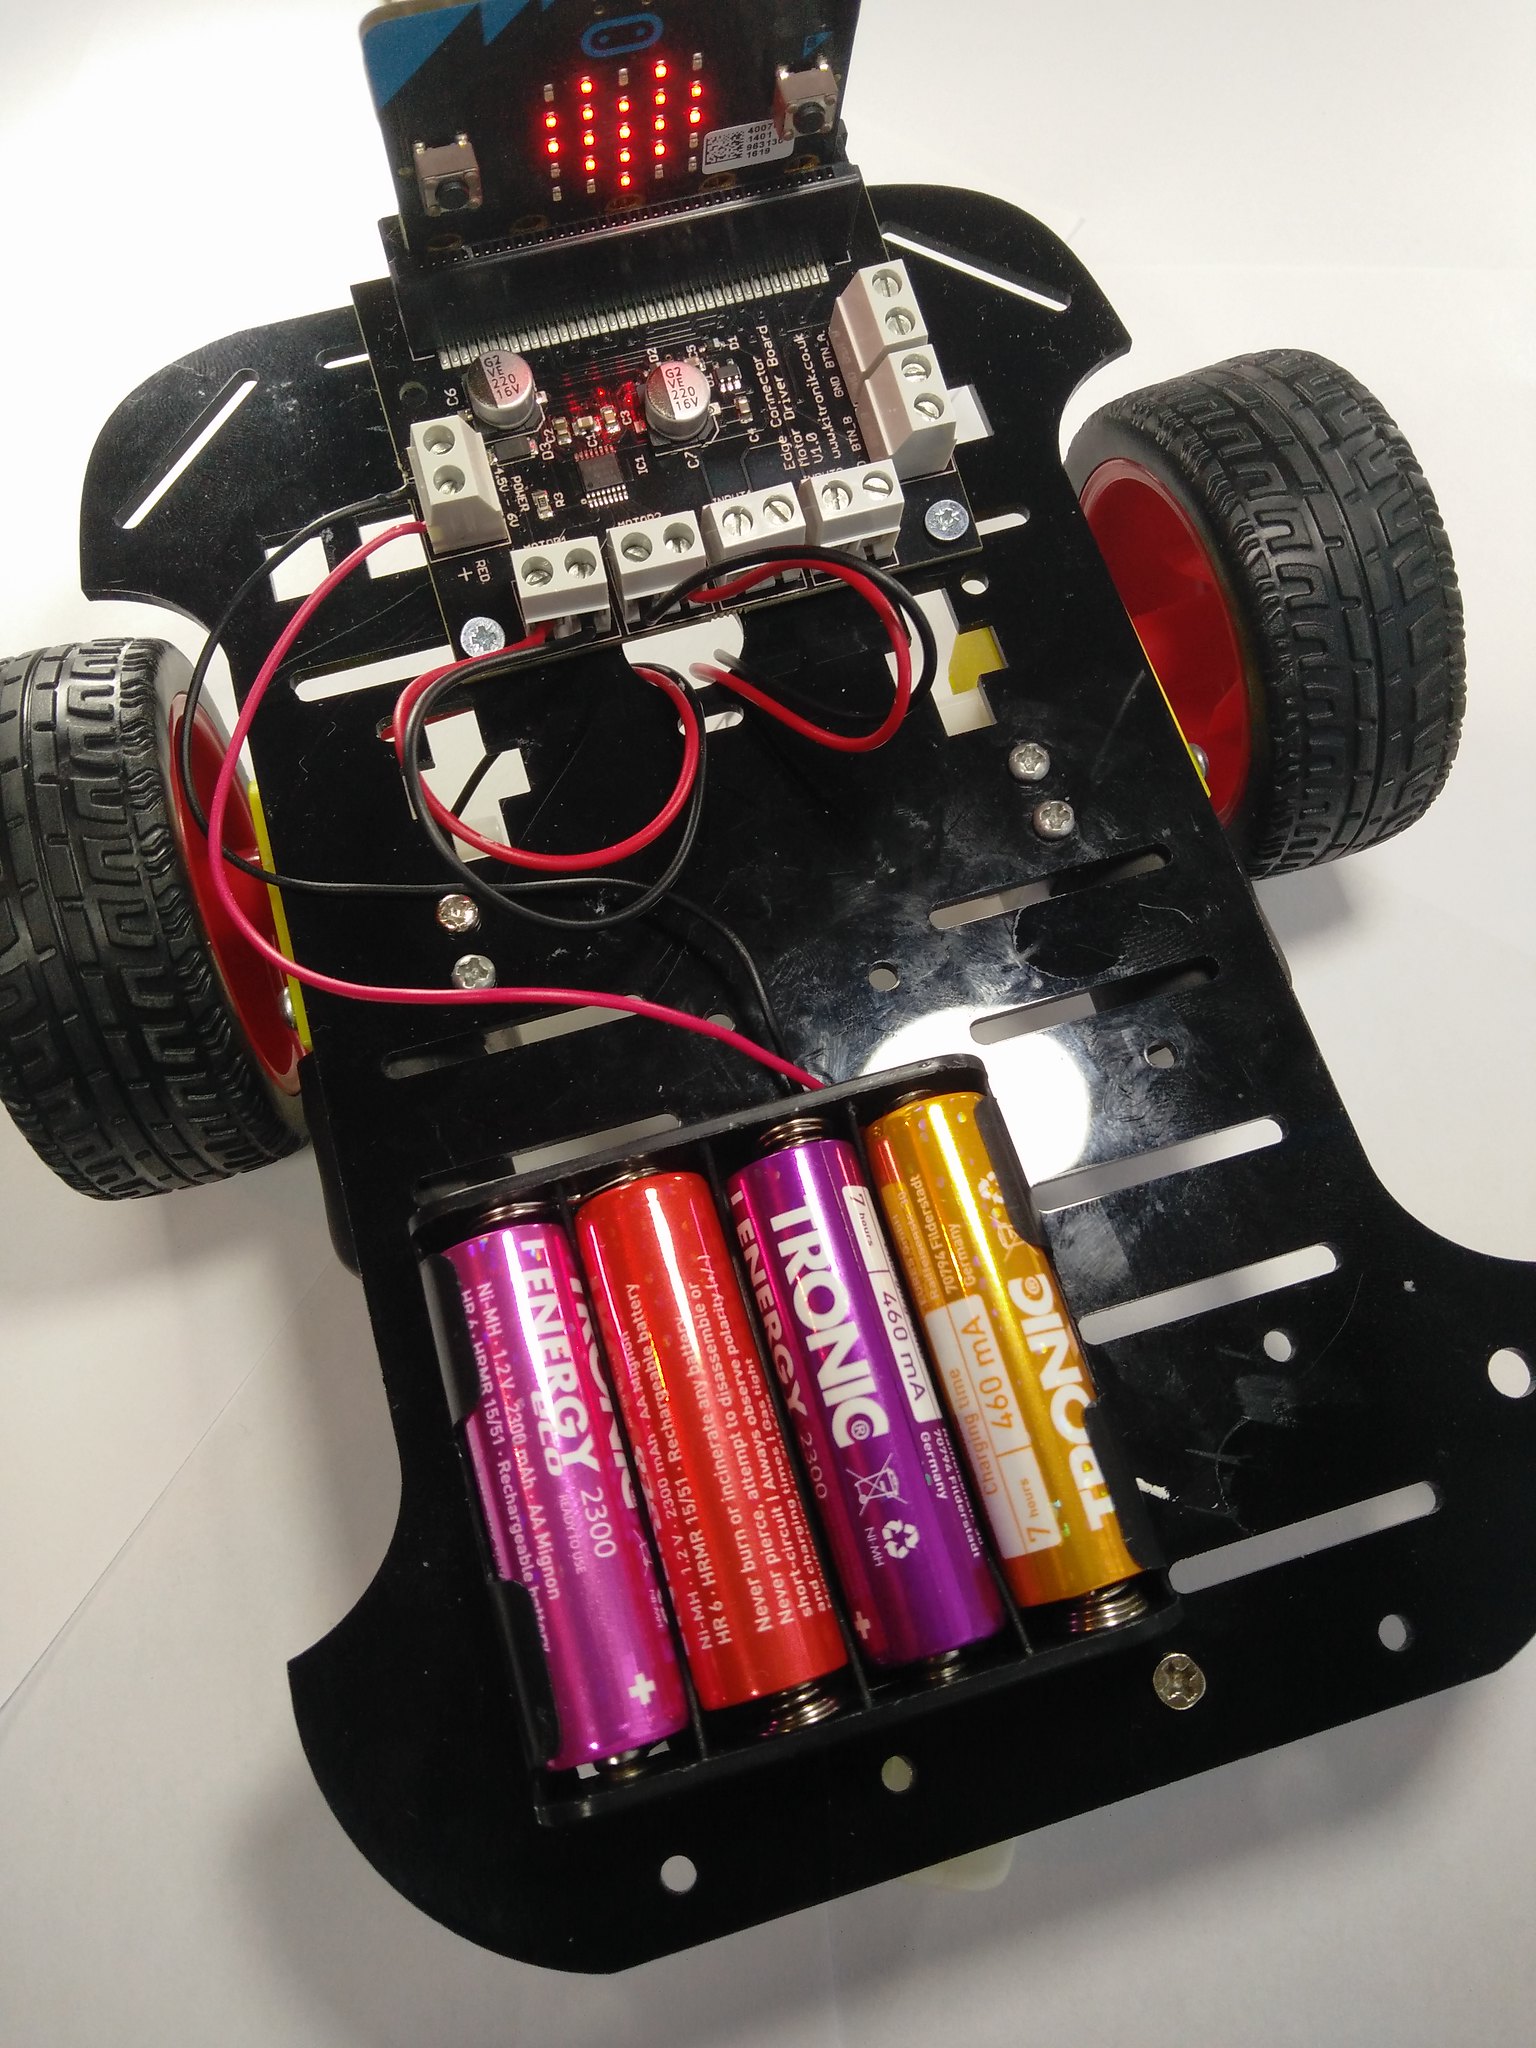
A really simple motor control board for the micro:bit. The micro:bit plugs into the top of the unit and there are a number of screw terminals around the edge of the board. Power is provided via the power terminals (4.5V to 6V, enough for micro gear metal motors or those cheap yellow DC motors) and this also powers the micro:bit.
How does it work?
The board can be programmed using any language currently available for the micro:bit (for example micro Python and Blocks) and to control the motors is as simple as control the state of the pins they are connected to via the screw terminals.
For example
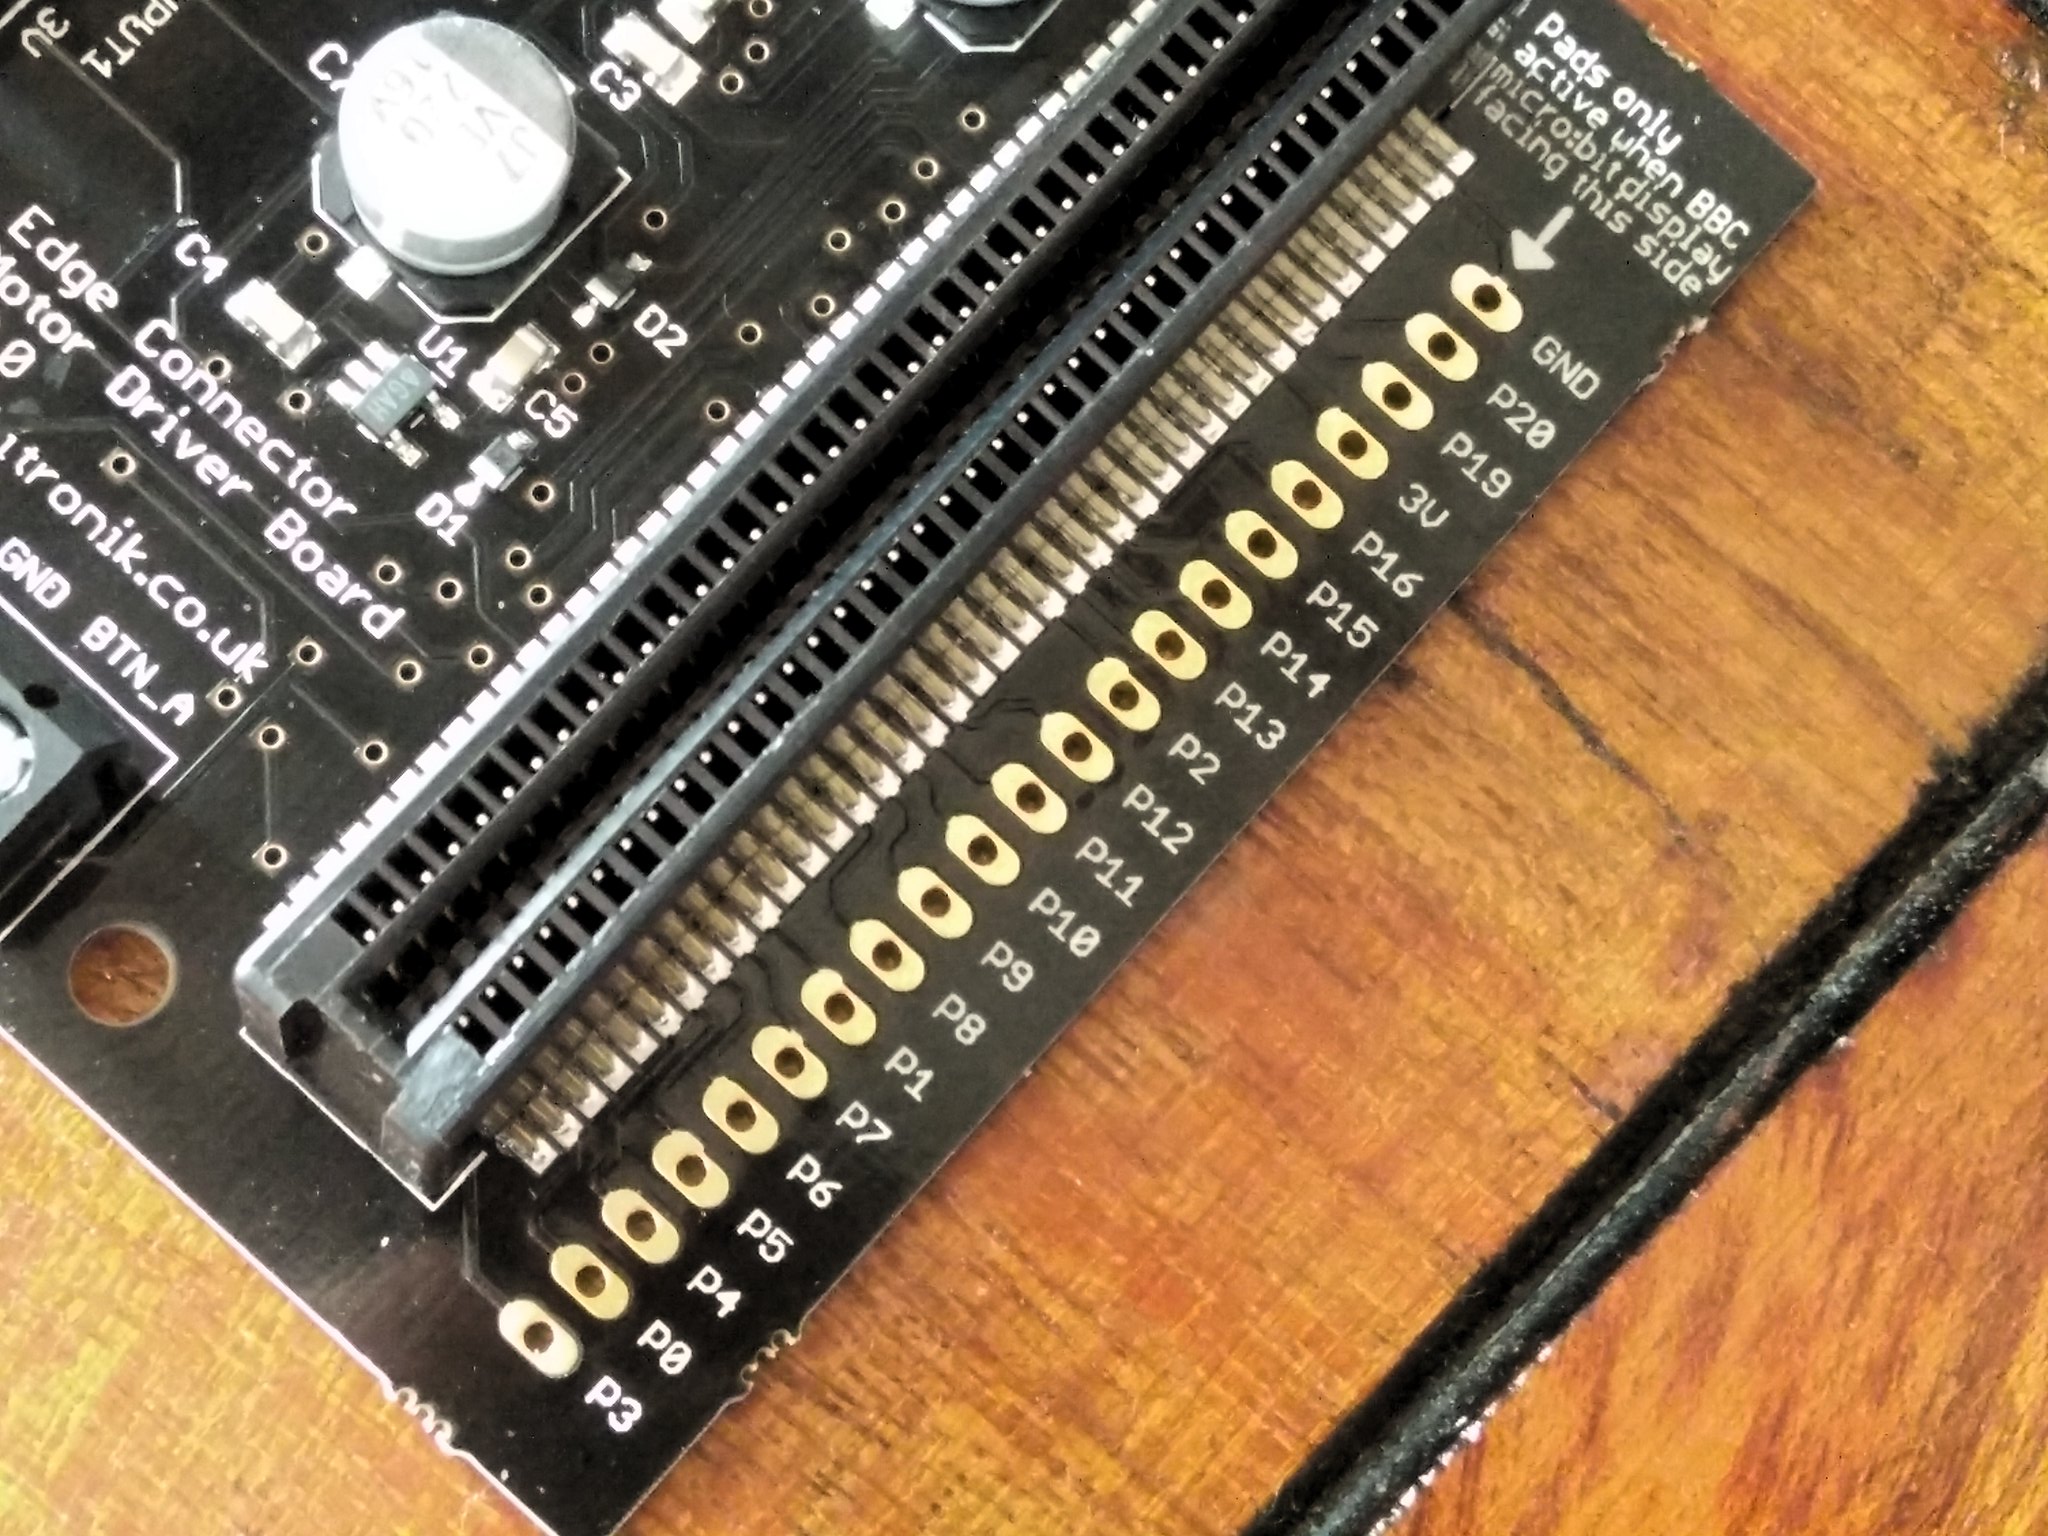
Motor 1 is connected to P12 and P8
Motor 2 is connected to P16 and P0
So by controlling the state of these pins we can control the direction of the motor, as simple as turning an LED on and off!
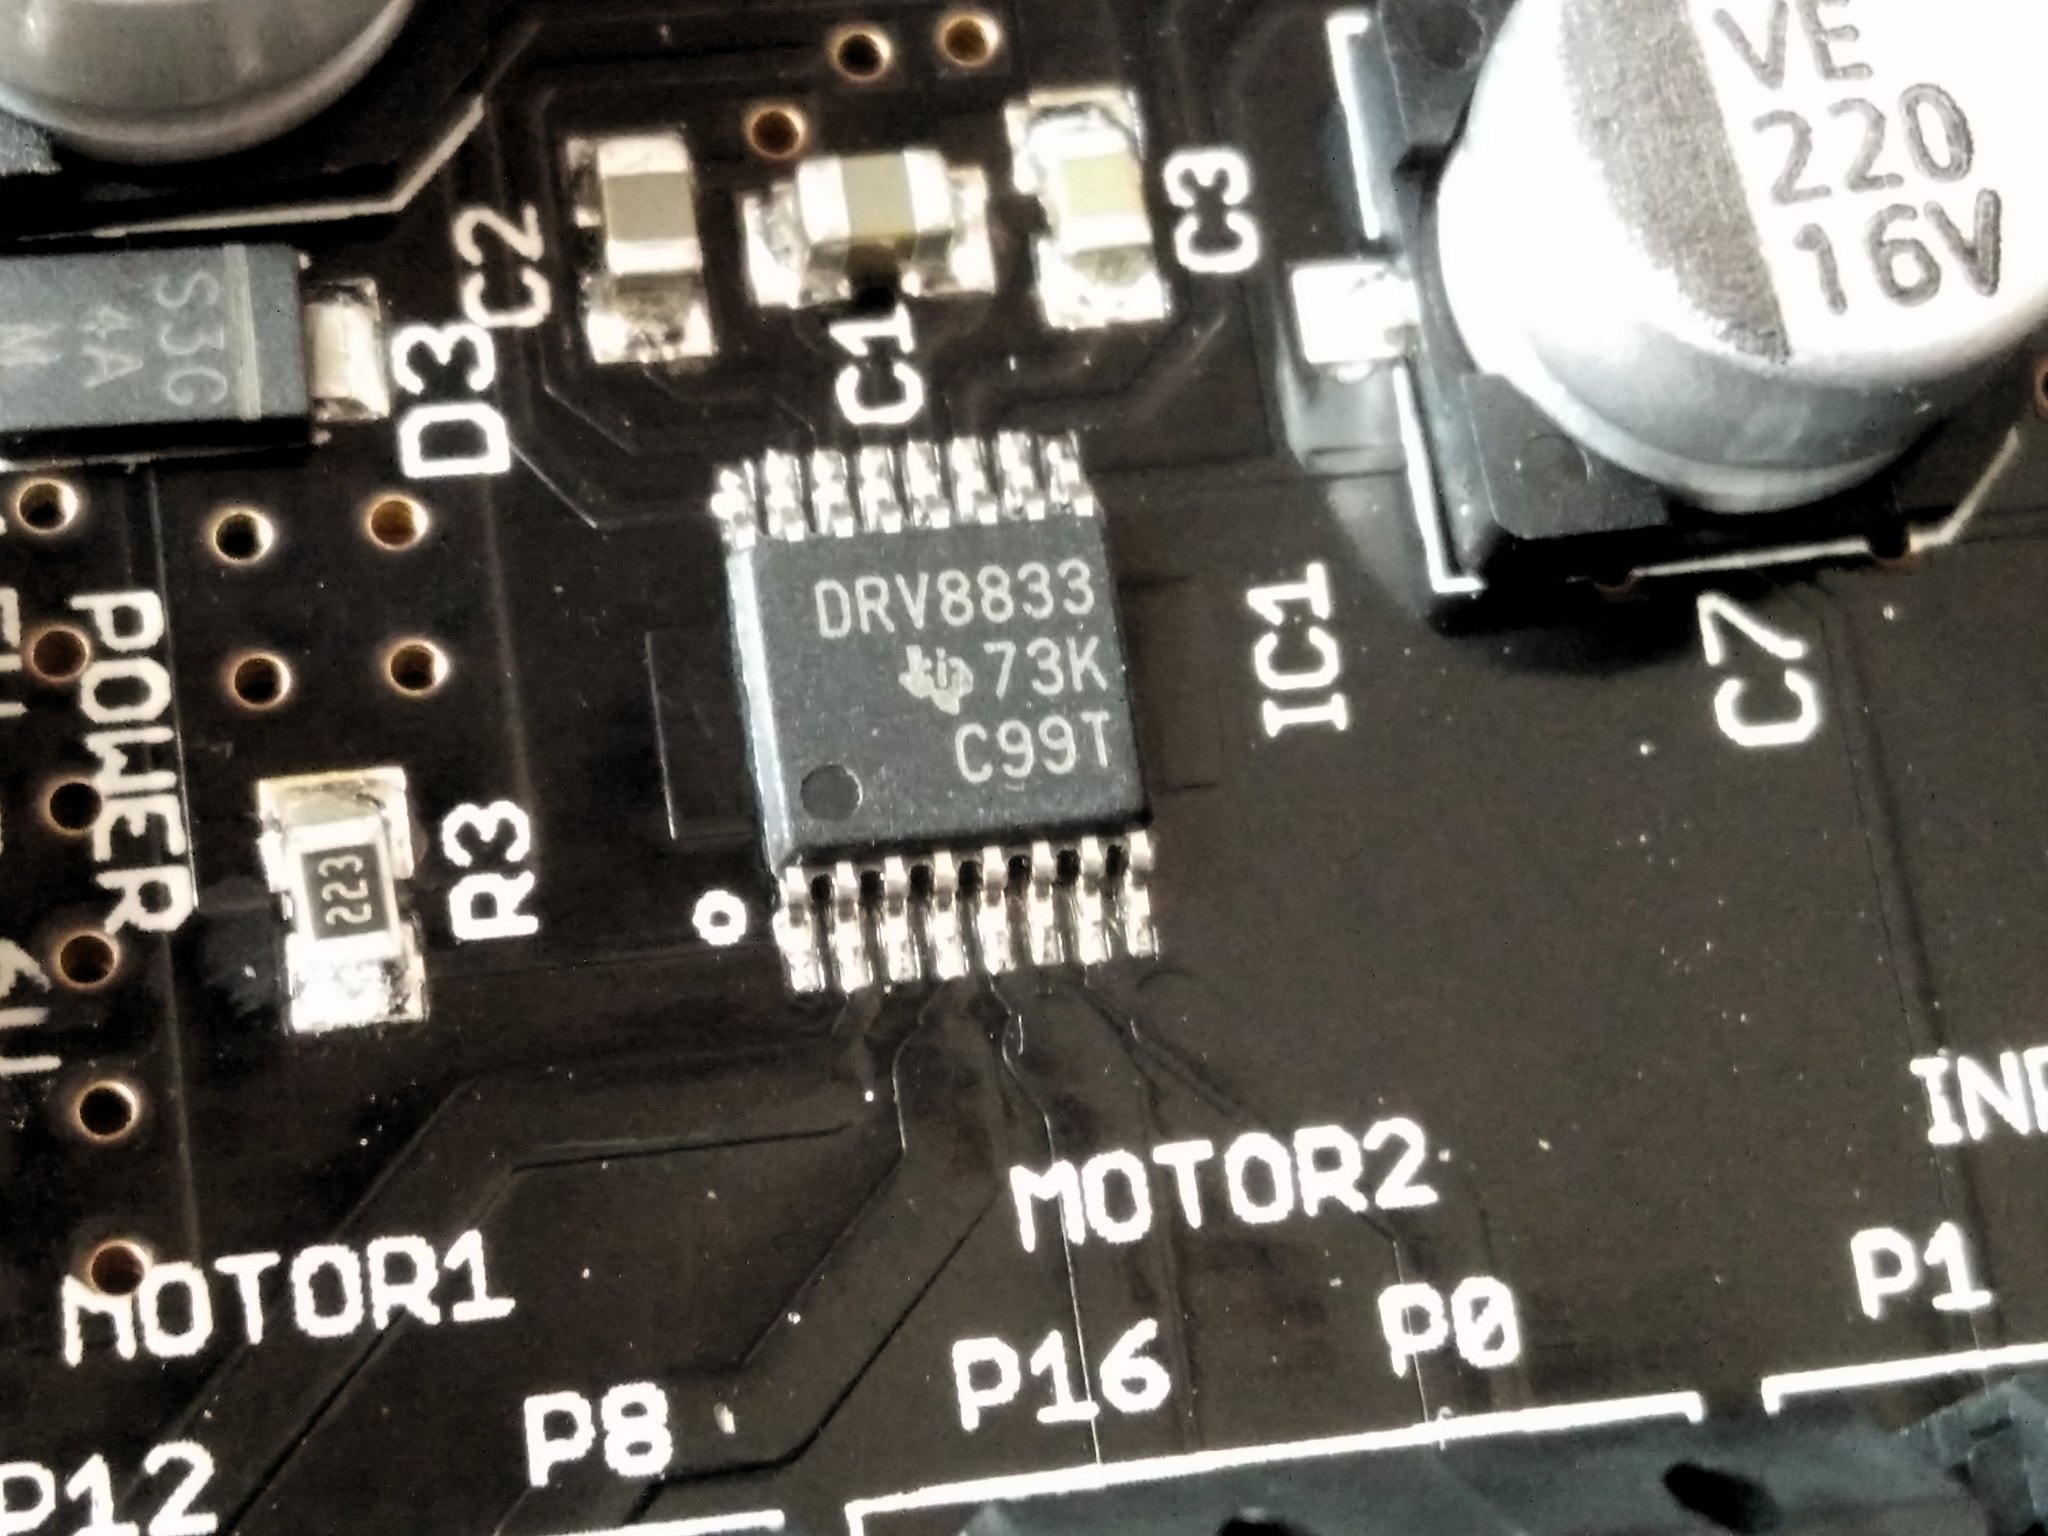
For those who know their motors, then the control board uses the DRV8833 motor control chip, a favourite in the basic robotics community as it is so cheap and reliable, sure it isn't as powerful as an L298 series controller, but for the micro:bit it has plenty of power.
If you need inputs (sensors etc) they can also be connected, and there are two screw terminals to breakout the A and B buttons which can be used for simple "bump" sensors using micro switch buttons.
Honestly I love this board. I have the original version 1 board, a basic motor control board, and I recently purchased version 2, which can also be used as a basic breadboard breakout. But not at the same time as the motor controller as the micro:bit needs to be inserted backwards in order to work.
So where can I get one?
You can buy direct from Kitronik or from Pimoroni (which is where I picked up V2 of the board) for around £13.
If you need a robot chassis...then these are super cheap and fun to build!
So go forth and build cool robots...just don't call them Skynet...ok?