micro:bit Monday: Valenta Off-Roader
Where we're going we don't need...roads
Making robots is a personal love of mine. Choosing the correct components, building them into something that moves and reacts to input are exciting opportunities for experimentation and learning.
- But if you are new to robotics, then where do you start?
- Do you jump straight into buying a Raspberry Pi robot?
- Do you buy an Arduino?
- What do you do?
micro:bit Robotics
The micro:bit is not an obvious platform for robotics. On the face of it the board looks too simplistic, with few GPIO pins and no connectivity. But delving a little deeper we have built in radio transceivers that can be used to send and receive data wirelessly, and we can easily code this feature using the MakeCode editor. As for GPIO, we have many more pins available via a breakout boards.
The simplicity of the micro:bit is a big feature when it comes to robotics. It enables us to focus on the project and not wrestle the equipment. We just plug in the micro:bit, write some code using the online MakeCode editor and then download it to the micro:bit. We just need a laptop / desktop computer running Windows, OSX, Linux and we are ready to go.

Hi reader!
Valenta Off-Roader
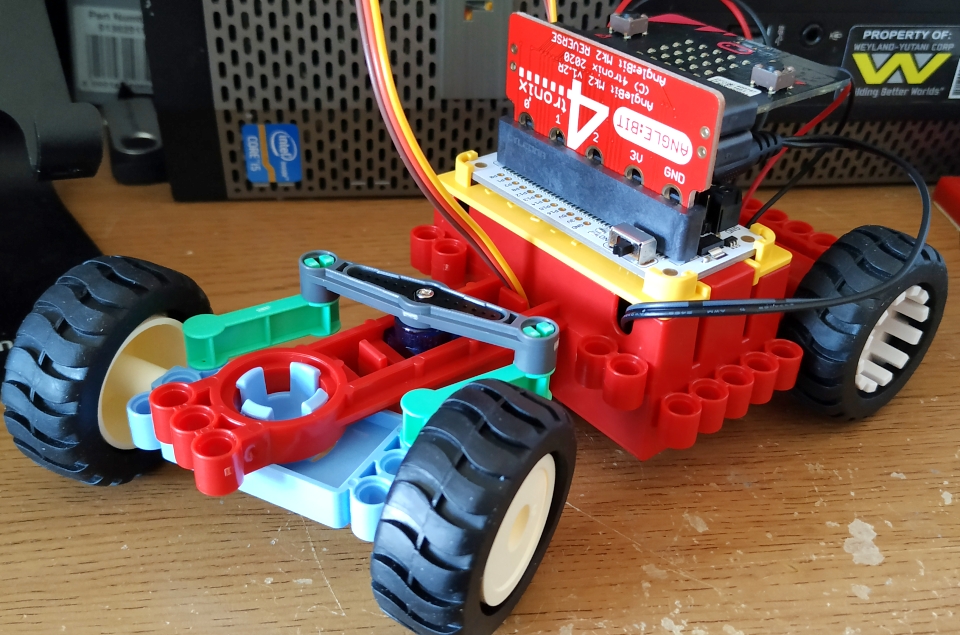
Coming as a kit, the Valenta Off-Roader is a simple project to build. Created as a partnership between Hummingworks and 4tronix the Valenta Off-Roader is physically an all plastic kit that feels like a mix between Lego and Meccano. In fact the kit is compatible with Lego Technic pieces. The components snap together with friction fit parts, and the included instruction book is easy to follow and full of detail.
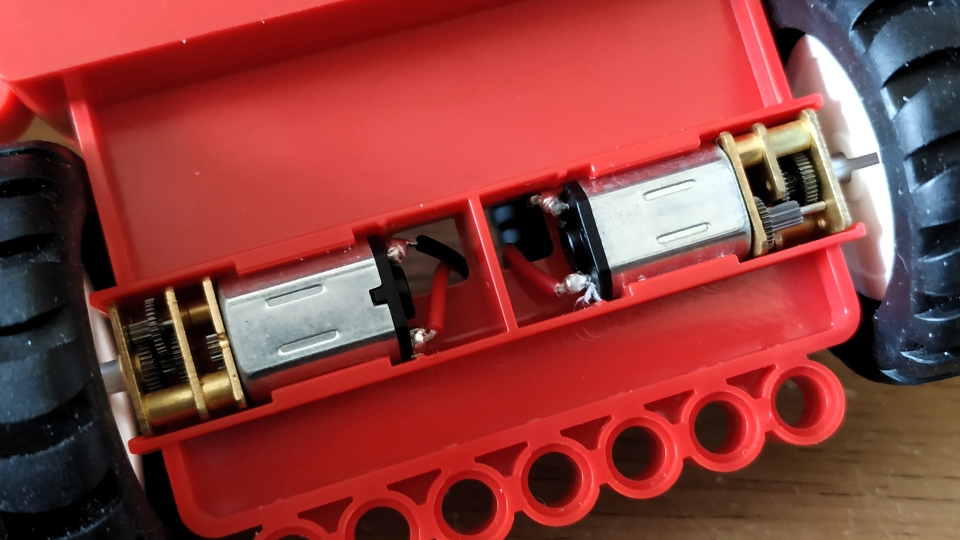
The car is a typical rear wheel drive system, with two DC motors providing forward and reverse movement.
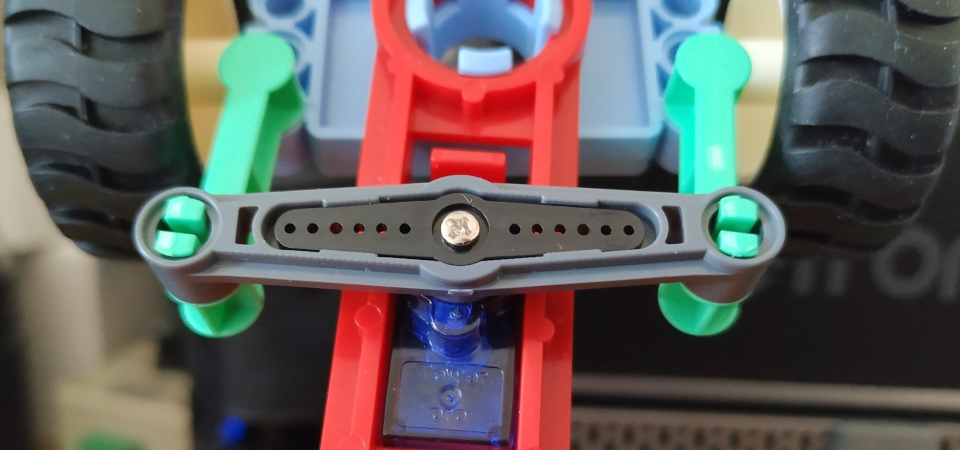
Steering is controlled via a servo, which will pivot the front wheels using a simplified steering rack mechanism. Very different to typical robotics projects which use individually controlled motors to control the direction of travel. My only niggle with the steering was that if the steering angle was too severe, the front wheels run against the steering rack and the car stalls.
The electronics part of the project is where we see the micro:bit interface with a custom control board, VALENTA ZERO.
VALENTA ZERO?

The VALENTA ZERO board is what enables our simple micro:bit to control
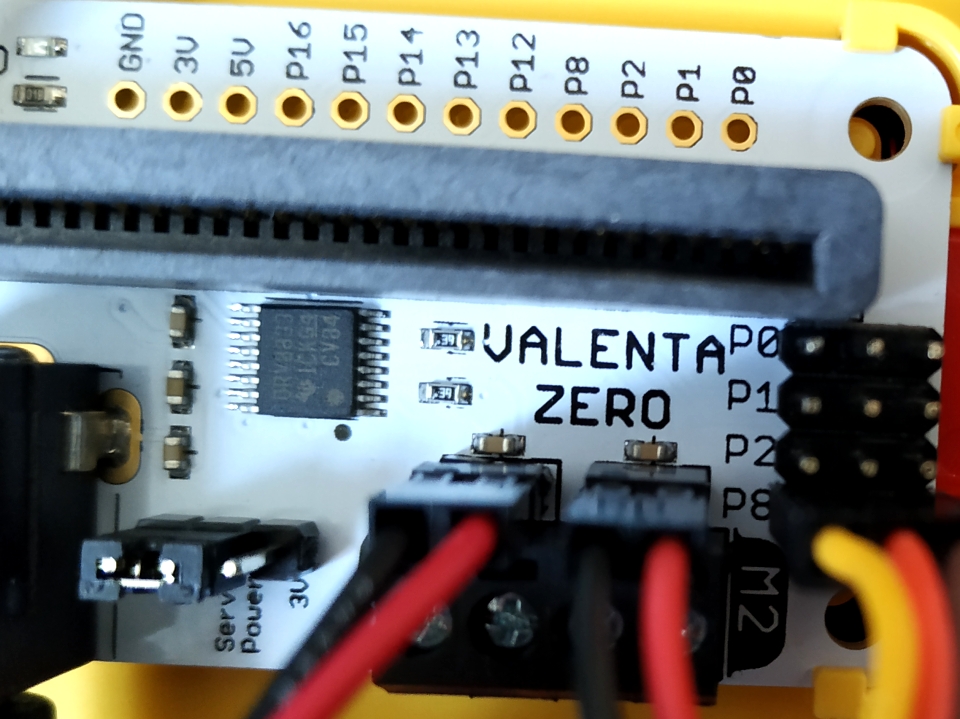
- 2 x DC motors, connected via male header pins or screw terminals. The onboard motor controller is a DRV8833 H bridge, a great controller for this project.
- 1 x Servo.
- Access to P0 to P2 via male header pins.
- User soldered GPIO breakout pins, giving us access to more GPIO pins for sensors and LEDs.
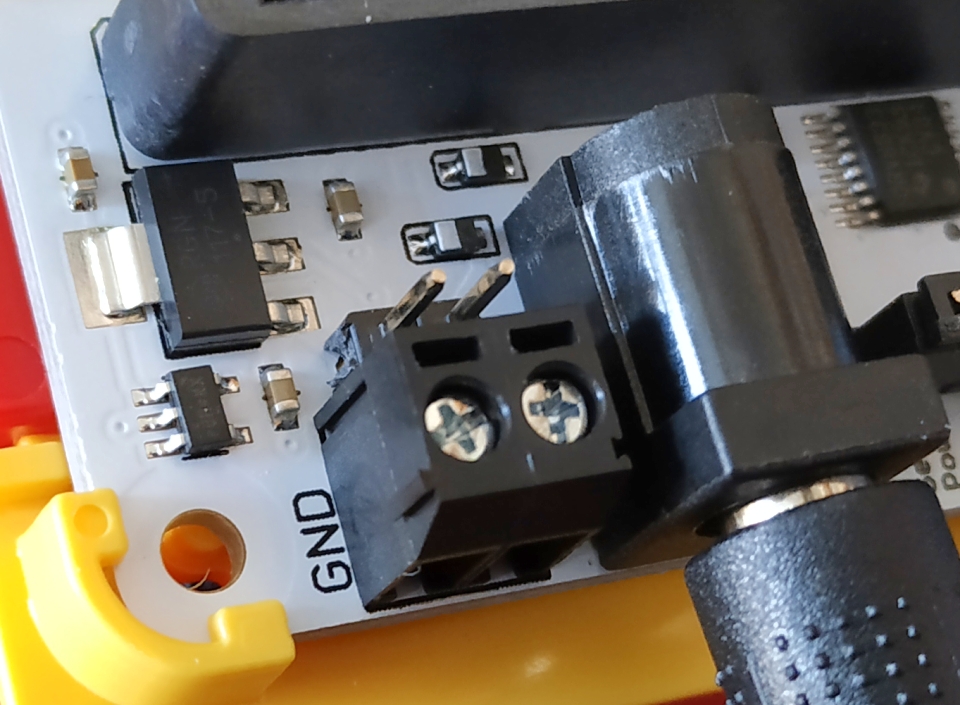
- 7 - 10V DC power input via DC jack, male header or screw terminals.
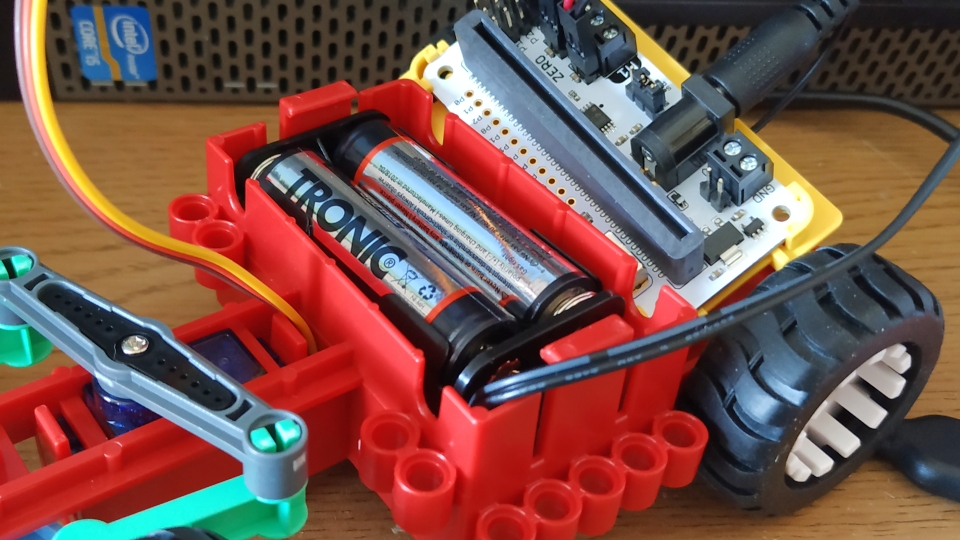
The board sits atop of a yellow plastic tray which also hides the 4 x AA battery pack.
How do I code it?
If you are a MakeCode user then 4tronix have kindly created a MakeCode extension that we can easily use.

Just go to Advanced >> Extensions and paste this link in https://github.com/4tronix/Valenta, then press Enter to search. Click on Valenta to load the extension.
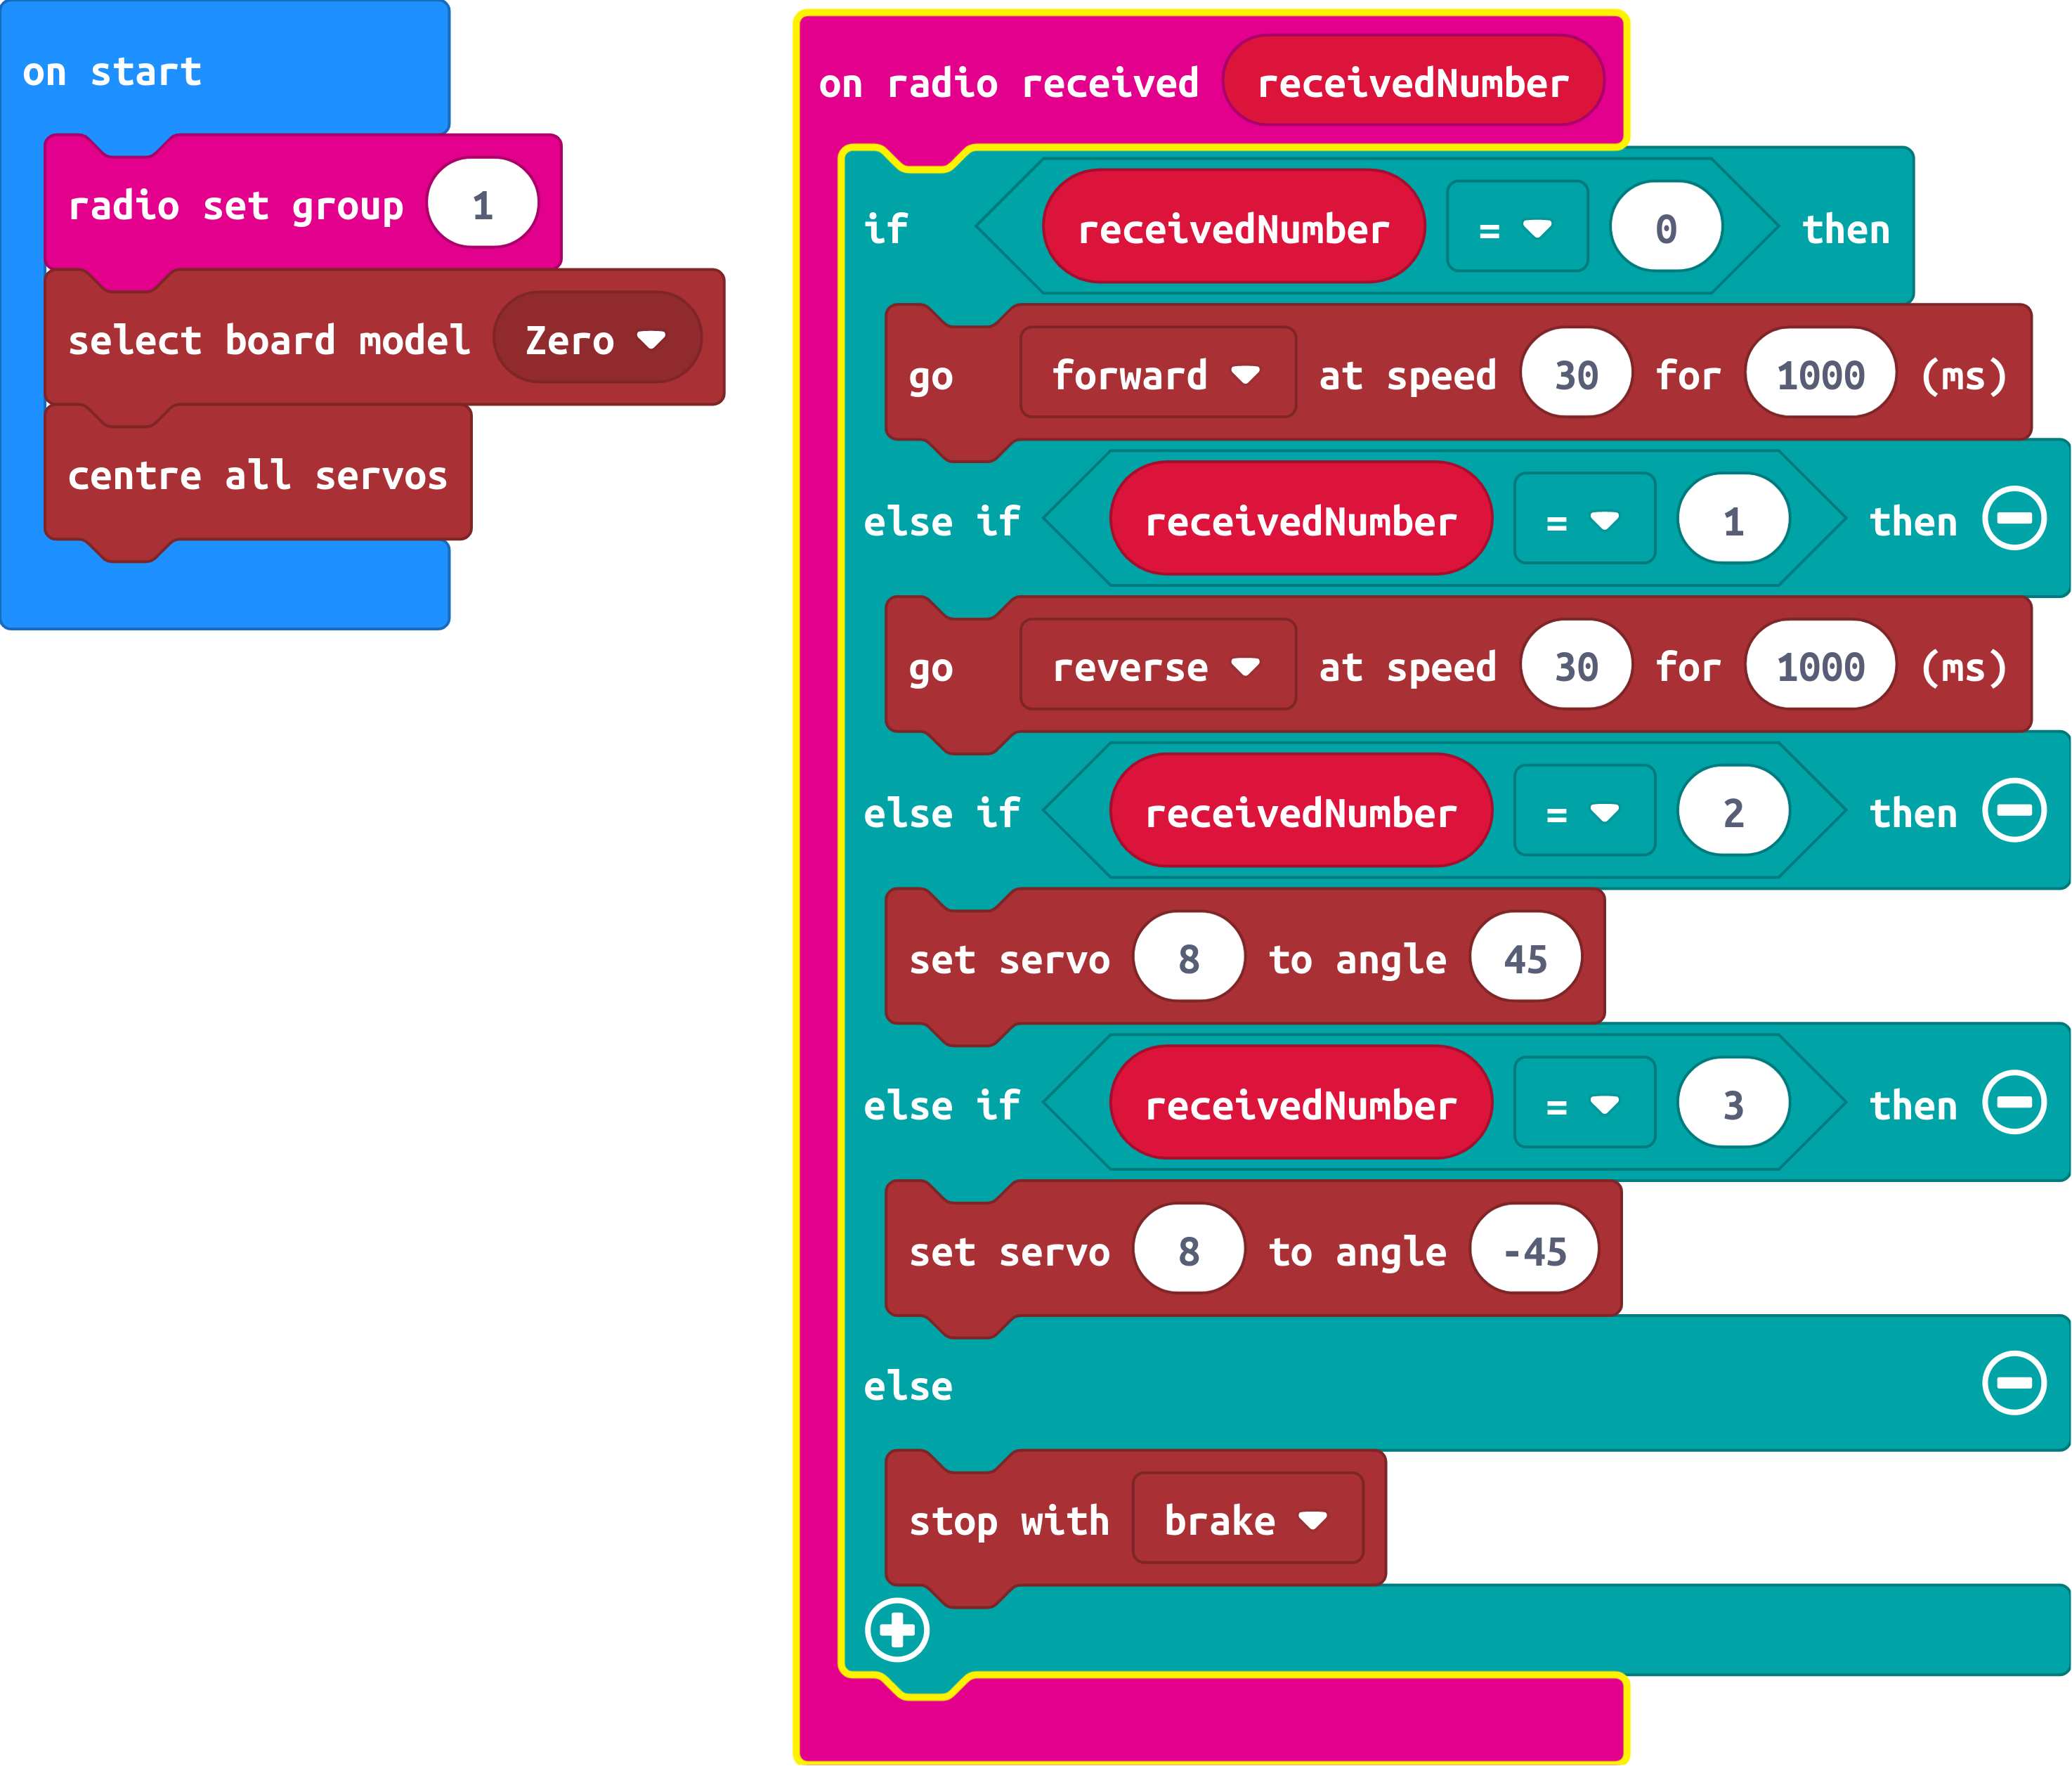
I wrote a few blocks of MakeCode that would receive a radio signal from another micro:bit and interpret the number received as a command to perform a certain task. I then flashed this code to the micro:bit that would be attached to the Valenta Off-Roader, which I call the Receiver.
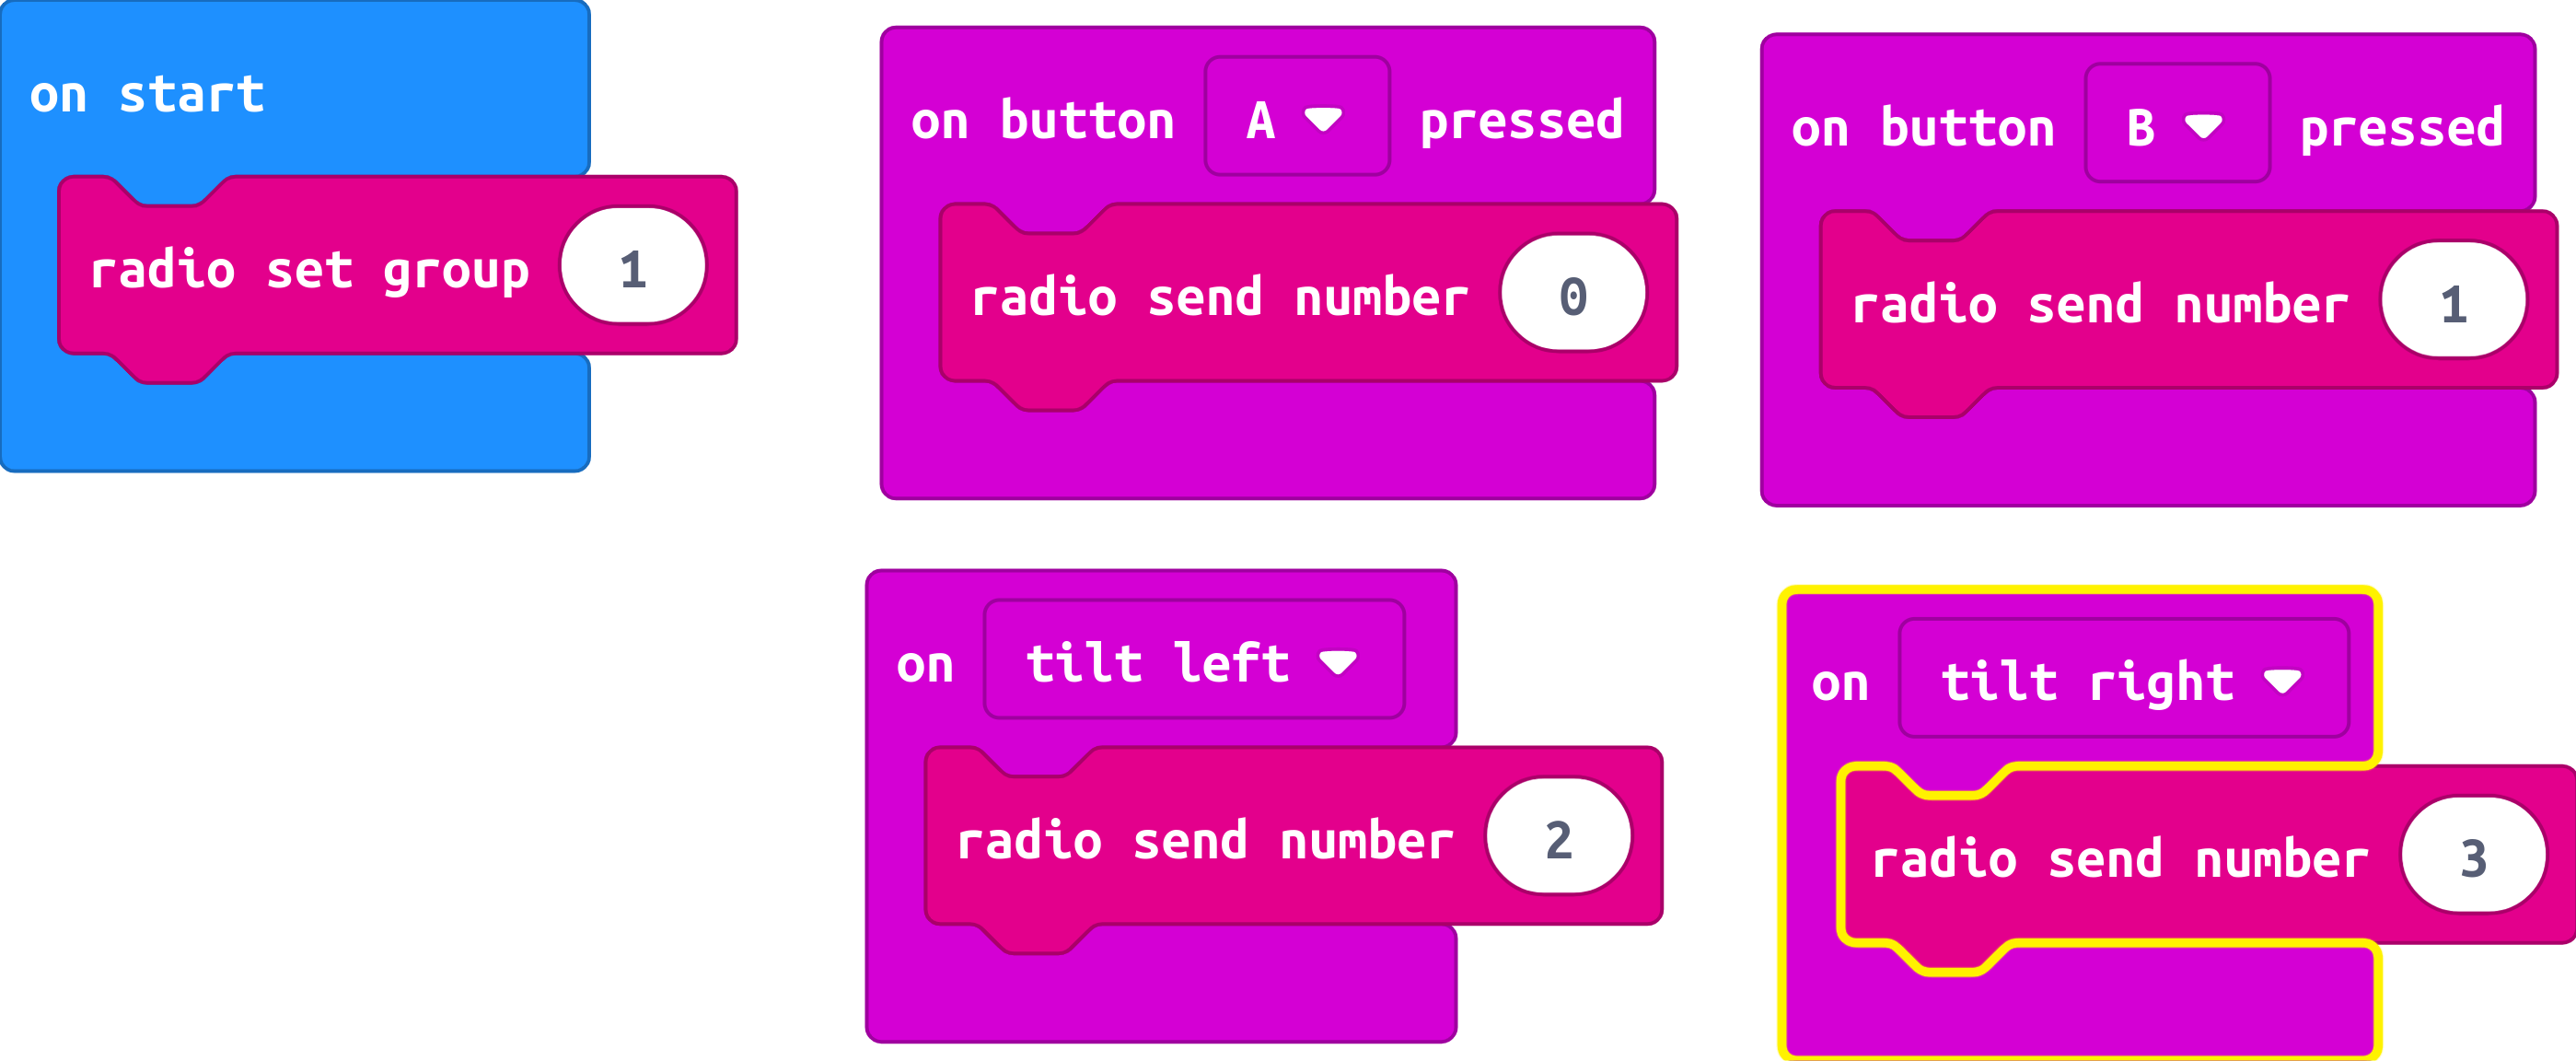
I then created a new project for another micro:bit which will act as a remote controller, which I call the Transmitter. By pressing a button, or moving the micro:bit I can send commands to the Receiver in the Off-Roader.
So what do I think of Valenta Off-Roader
The Valenta Off-Roader is a great kit. We get the chance to build and learn how car steering works, how to work with servos and DC motors for precise control and create moving projects.
If you have any HC-SR04P sensors, then the robot can be given "sight" to navigate complex courses / mazes. But as it is we can write code to navigate a course using trial and error, a great opportunity to use PRIMM methodology.
PRIMM?
I first learnt about this methodology from Sue Sentance's great talk at PyConUK in 2018
Predit - Look at the code and try to predict what it will do.
Run - Run the code, what happens? Check against your prediction.
Investigate - Look through the code, label the lines and understand what it does.
Modify - Make small changes to the code and re-test.
Make - Once the class are confident with the code, create your own projects.
With Valenta Off-Roader we have a great opportunity to do just this!
If you are looking for a robot / car kit to introduce robotics then you can't go far wrong with this. The plastic kit is easy to build and compatible with Lego Technic components, enabling makers to hack their rides! The plastic used is bright and strong. This is a great fun kit, and at the time of writing it is in the prototype stage but you can read more about it via 4tronix's blog post