Pimoroni HyperPixel Mega Post!
Have you heard about...
HyperPixel!?!
So the other day on #BilgeTank, the pirates from Sheffield-on-the-sea released their latest add on board, HyperPixel.
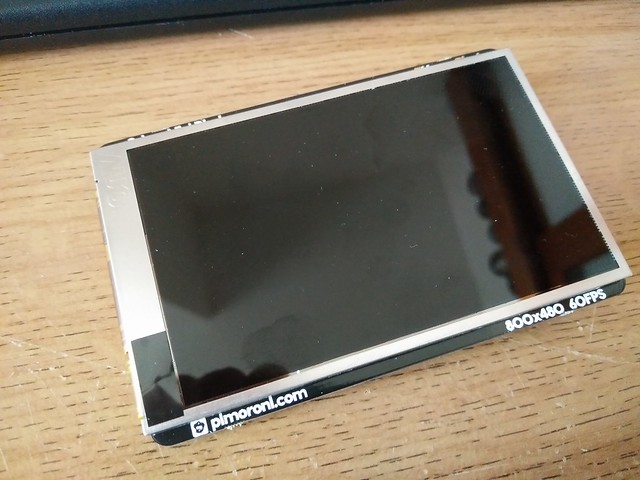
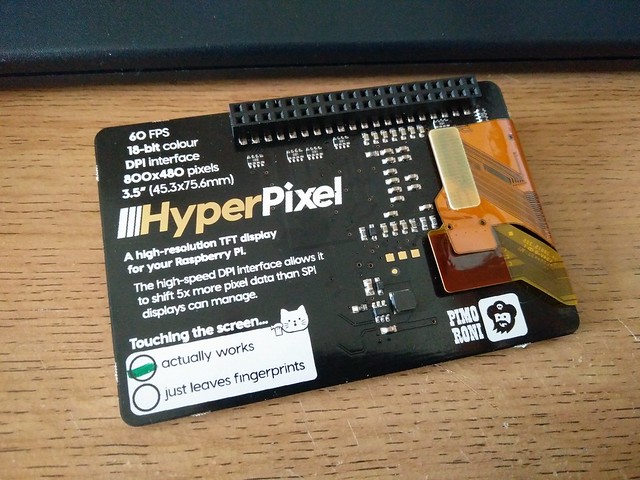
It is an 800 x 480 resolution screen for all 40 pin GPIO models of Raspberry Pi that can display 60fps and has 18-bit colour depth! All for £40. So of course I bought one to play with.
You can buy your own, and find the install instructions on the Pimoroni website.
Now the one limitation of this screen is that there is no analogue audio output, as the board uses PWM for the backlight, and analogue audio on the Pi also uses PWM.
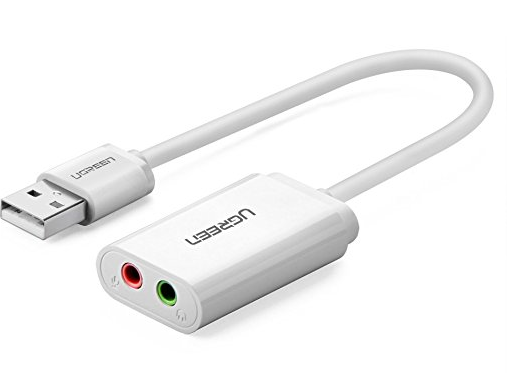
So I purchased a USB sound card from Amazon which will enable me to output audio to an external speaker.
Purpose of this blog post?
To show how an external USB sound card can be used with the Raspberry Pi and Hyper Pixel.
Plug in the USB sound card
I used the USB sound card with a Pi Zero W, so I required a micro USB adapter, of which I have plenty. Attaching the sound card was easy, then I attached the Hyper Pixel to the GPIO. (Note if you are using Hyper Pixel with other models of Pi, use the included GPIO extension and the rubber foot to secure the board)
Set the USB sound card to be default
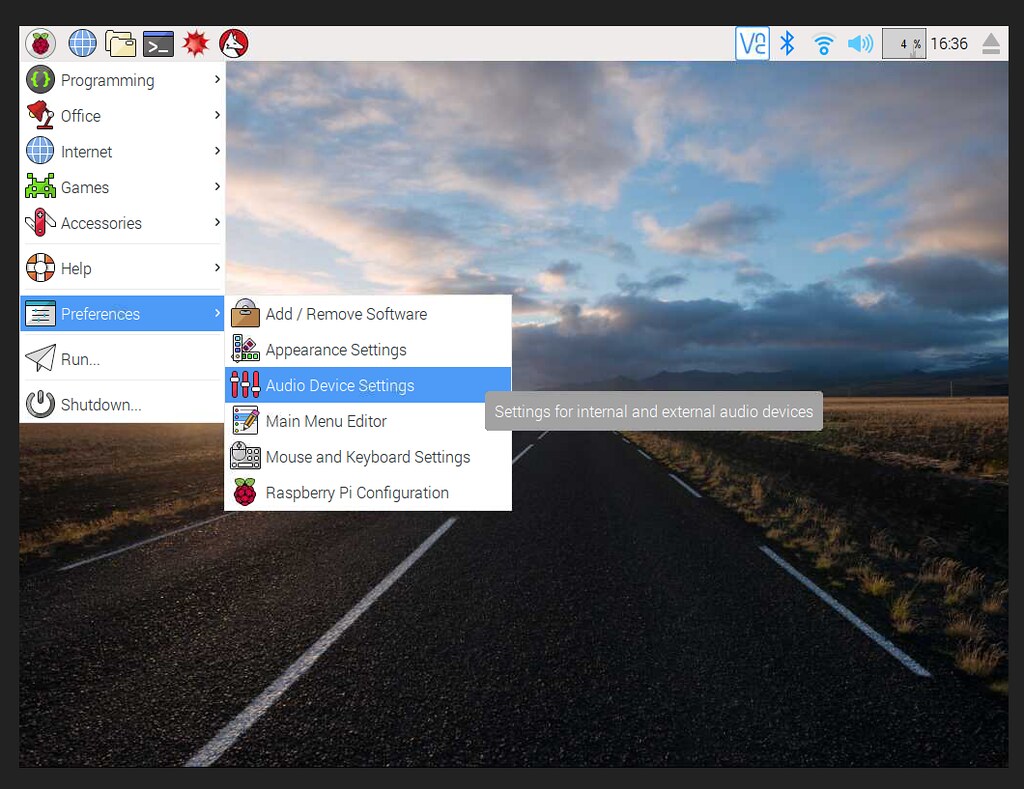
To ensure the audio is sent to the USB device we need to go to the Audio Device Settings option in the Preferences menu.
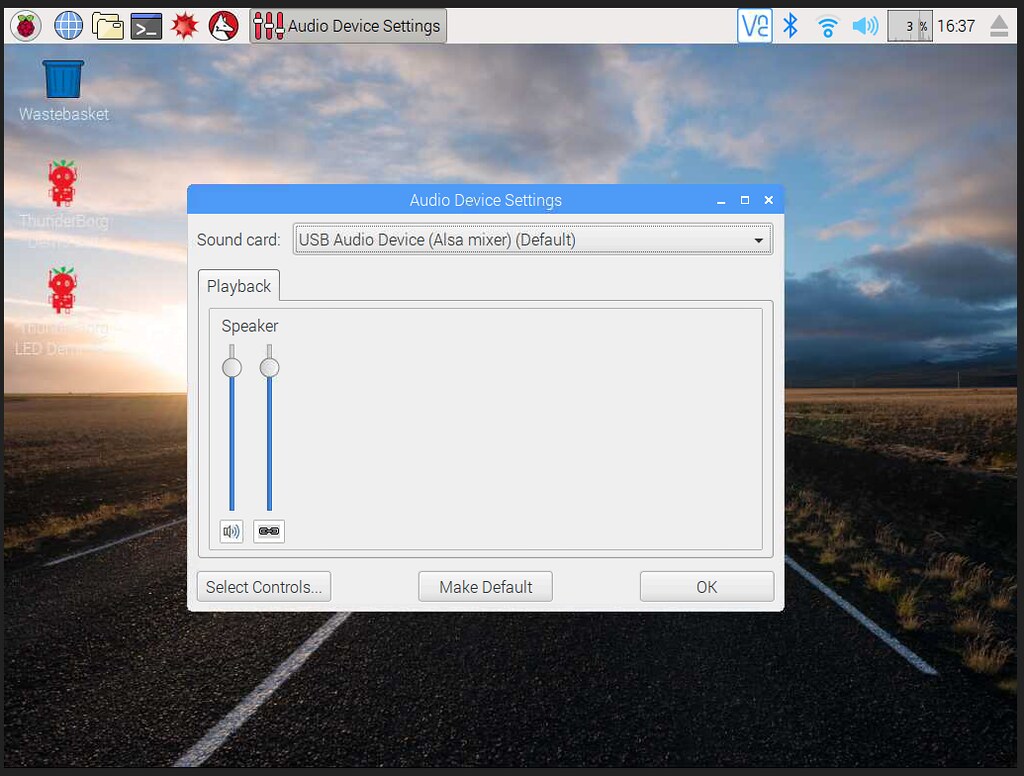
Using the Sound Card drop down, change the option to your USB Audio Device.

Click on Controls to open a new menu. These are the inputs and outputs for the card. I selected the Speaker and clicked Close this then enabled me to control the audio levels for the speaker attached to the USB sound card.
That's it!!
Playing the video
With our audio sorted, lets open a Terminal and play a video which has been copied to the SD card. For example I played a trailer that I downloaded from Youtube (using Youtube-dl) but the screen resolution / ratio was not optimum for the HyperPixel, so I instructed omxplayer to plat the video in a window --win "0 0 799 479", with a resolution of 800 by 480. We then instruct omxplayer to use our external USB sound card, which we set as default, as the output -o alsa:hw:1,0.
omxplayer "Video Filename" --win "0 0 799 479" -o alsa:hw:1,0
End Result
I can play video using the rather lovely HyperPixel screen and have quality audio....
Now all I need to do is work this into a project! I'm thinking of trying out RetroPie for the Pi Zero and running SNES / Megadrive (Genesis) games on it...you know FOR SCIENCE!!
BONUS Content
Bluetooth Audio Test
This additional content was prompted by David Glaude
Alternative option for the sound might be BT, but sync with video might be challenging... Do you have the gear to test that?
— David Glaude (@DavidGlaude) June 13, 2017
So I connected my Jam Classic Bluetooth speaker, using the Bluetooth tool in the top right of the desktop.
I then opened Chromium and loaded a trailer to test the audio.
It worked pretty well, admittedly The speaker was only 15cm away from the Pi3...so your mileage may very.
I couldn't get it to work with omxplayer :(
More Bonus Content!
RetroPie
Ahhh old games consoles, let me just remember the days when learning to do a spinning pile driver with Zangief was the most complex part of my life....
Anyway, I was asked by Chris
Does retropi work on the little screen les
— N:CS Computing (@ncscomputing) June 14, 2017
Hold My Beer...!
"Testing" retropie on @pimoroni HyperPixel pic.twitter.com/8ebrzYxCq8
— biglesp (@biglesp) June 14, 2017
Bonus Feature!!!
Analog audio (3.5mm headphone jack) worked with RetroPie, as the HyperPixel backlight was just turned on, not using PWM.
So I got lovely 16-bit sound!