Staying sane - Your guide to writing multiple Raspberry Pi SD cards
If you are like me then you probably host a lot of Raspberry Pi themed events. You've probably built up quite a stash of kit, including around 20 Raspberry Pi. So what do you do if you need to create a bunch of SD cards in a rush?
Well dear reader, you take a trip to poundland and buy lots of these.
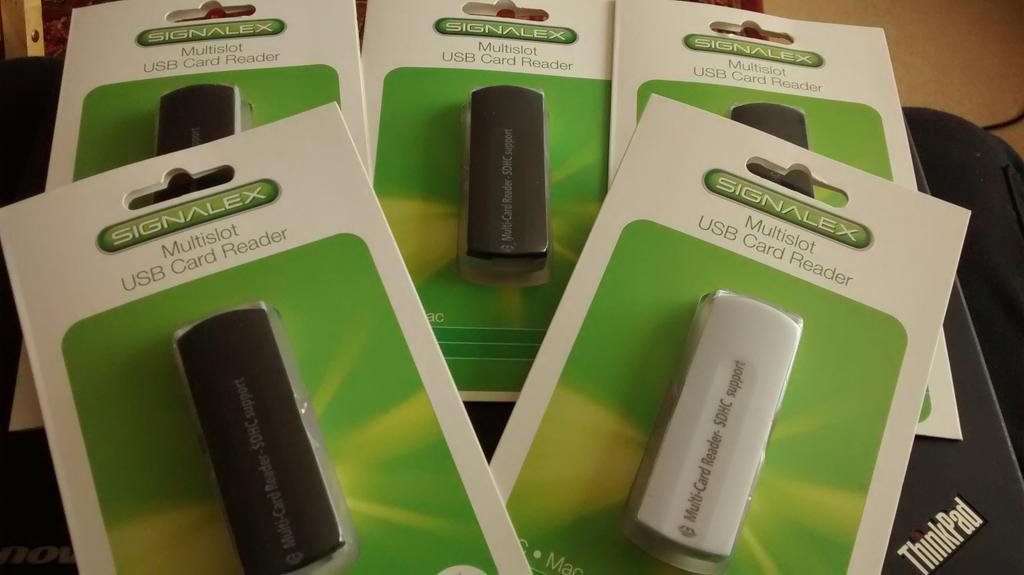
TOP TIP
Buy more than what you need as a few may fail.
With the hardware sorted it's time to get the software. I used a number of debian based distributions (Crunchbang, Linux Mint and Ubuntu) on my various machines but all used the same piece of software which was dcfldd
To install open a terminal and type
sudo apt-get update
sudo apt-get install dcfldd
It shouldn't take too long to install. But dear reader you're probably thinking "Les you fool, you should of used dd to write the images" Well yeah I could of but I can only write one card at a time, and time was against me. So I used dcfldd to write multiple cards.
I already had the hackpool image on each machine so I grabbed a handful of card readers and SD cards and proceeded to attach them all.
I had four machines in use
- A: Dell 1520 Intel Celeron with 2GB of RAM
- B: Lenovo X61 Dual Core 2Ghz with 4GB of RAM
- C: Dell Studio 1737 Quad Core 2.4Ghz with 4GB of RAM
- D: Lenovo X220 Core i5 2.4Ghz with 8Gb of RAM
A and B could only manage one image at a time, but it helped keep things moving along. C was able to belt out 3 cards at a time, what a legend! D, the most powerful managed only 2 cards..curious!
So how did I do it? Well using dcfldd is eady but first you need to know what cards have been detected and mounted by the operating system and the command to use is df
Filesystem     1K-blocks     Used Available Use% Mounted on
/dev/sda1      118817044 48308416  64450032  43% /
none                   4        0         4   0% /sys/fs/cgroup
udev             2007336        4   2007332   1% /dev
tmpfs             404396     1352    403044   1% /run
none                5120        0      5120   0% /run/lock
none             2021964    19600   2002364   1% /run/shm
none              102400        8    102392   1% /run/user
In this output you can see that /dev/sda1 is mounted and that is the hard drive inside my laptop. Subsequent drives would be mounted as /dev/sdb /dev/sdc etc
When looking for the drives we do not need to know the number, i.e /dev/sda1 is the first partition on the volume sda, ignore the number.
So I had two USB sd card readers plugged in and an SD card in my internal SD card reader, mounted as /dev/mmcblk0 for reference. I opened the terminal and entered the following
sudo su
dcfldd if=./Hackpool.img of=/dev/sdb of=/dev/sdc of=/dev/mmcblk0 sizeprobe=if
To give myself root powers, needed to write the image to the cards I used sudo su to elevate my powers!
The dcfldd command takes the following arguments
if= The input file, i.e the image we wish to write to the cards.
of= The destinations, sdb and sdc the USB card readers and /dev/mmcblk0 the interal SD card reader
sizeprobe=if Gives us a handy percentage/countdown to show progress.
So with the cards in, the command entered I sat back and waited around 25 minutes for the cards to write. Hey presto it worked and I had Z E R O card issues when tested.
WHOOP!!!
45 SD cards and @Raspberry_Pi ready for #hackpool tomorrow pic.twitter.com/a15tkuegJb
— biglesp (@biglesp) June 18, 2015It has also kickstarted me to write a script to automate the process. It's still heavily work in progress and probably wrong but hey it's a start.
Massive thanks to Winkleink for pointing me in the direction of this blog post >> http://richardhayler.blogspot.co.uk/2015/01/making-your-own-sd-card-clone-army.html