The Great Raspberry Pi Heatsink Test
Update 15/1/2017
After a good chat with Pete Lomas it seems as though we need to consider other factors for the test to be considered reliable.
-
Was the CPU throttled at any point in the test? From what I understand if the CPU goes over 80c it will throttle the speed to 1GHz rather than the full 1.2GHz.
-
Was a level temperature reached for the CPU? Pete suggests "thrash the heck out off the processors with code but choose a clock speed that doesn't cause them to overheat / throttle. Heat input is then consistent over all the sinks and their performance will be reflected in the effective CPU temperature obtained."
In light of this I will rewrite the test and update the findings.
So this first test was a "successful failure" it kickstarted a process that we can use to write a better test for this experiment. :D
A discussion was started on Twitter, and it revolved around a tiny heat sink made of a "Micro-Porous Ceramic Heat Sink" MPCHS for short. This heat sink offered to remove the heat from a Raspberry Pi 3 CPU but allow the user to connect HAT boards atop the Raspberry Pi CPU. This conversation was between Pete "Mr Pi" Lomas, Kev "GetYrGeekOn" Howson and myself. We all wanted to see what this new ceramic heat sink could do. So after I asked Kev if I could just use a bath tile...lol, Kev posted me a ceramic heat sink for this test.
Les, what is a heat sink?
A heat sink is a device that pulls heat away from components, such as a CPU which produces plenty of heat when in use. The heat sink prolongs the lifespan of the component it is attached to, otherwise a CPU would either reach a cut off temperature and shutdown the computer, or in a worst case scenario the CPU would cook itself to death. (Yeah I did that in 2001 with an AMD 1Ghz, cost me £200 replace the CPU)
Contenders..READY
So which heat sinks did I test?
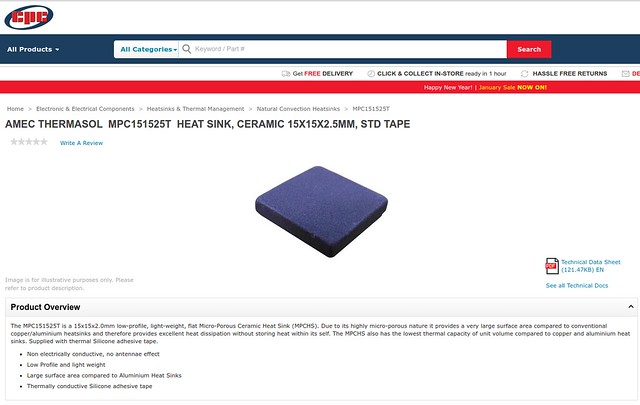
AMEC Thermasol MCP151525T "Micro-Porous Ceramic Heat Sink" MPCHS
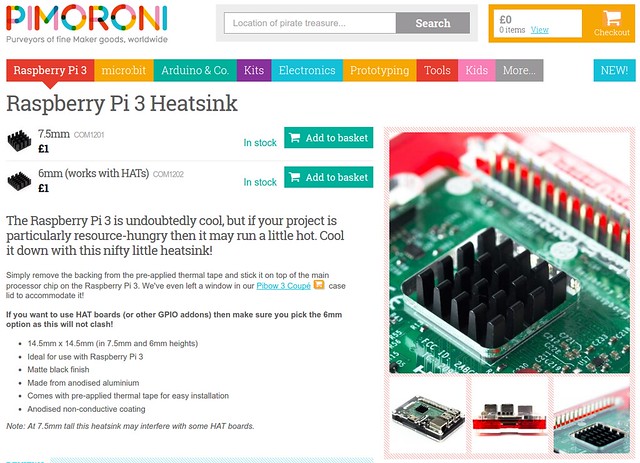
6mm Raspberry Pi Heat Sink (Anodised Aluminium)
Both heat sinks are affixed to the CPU of the Raspberry Pi using an adhesive tape that also acts as a conductor for the heat.
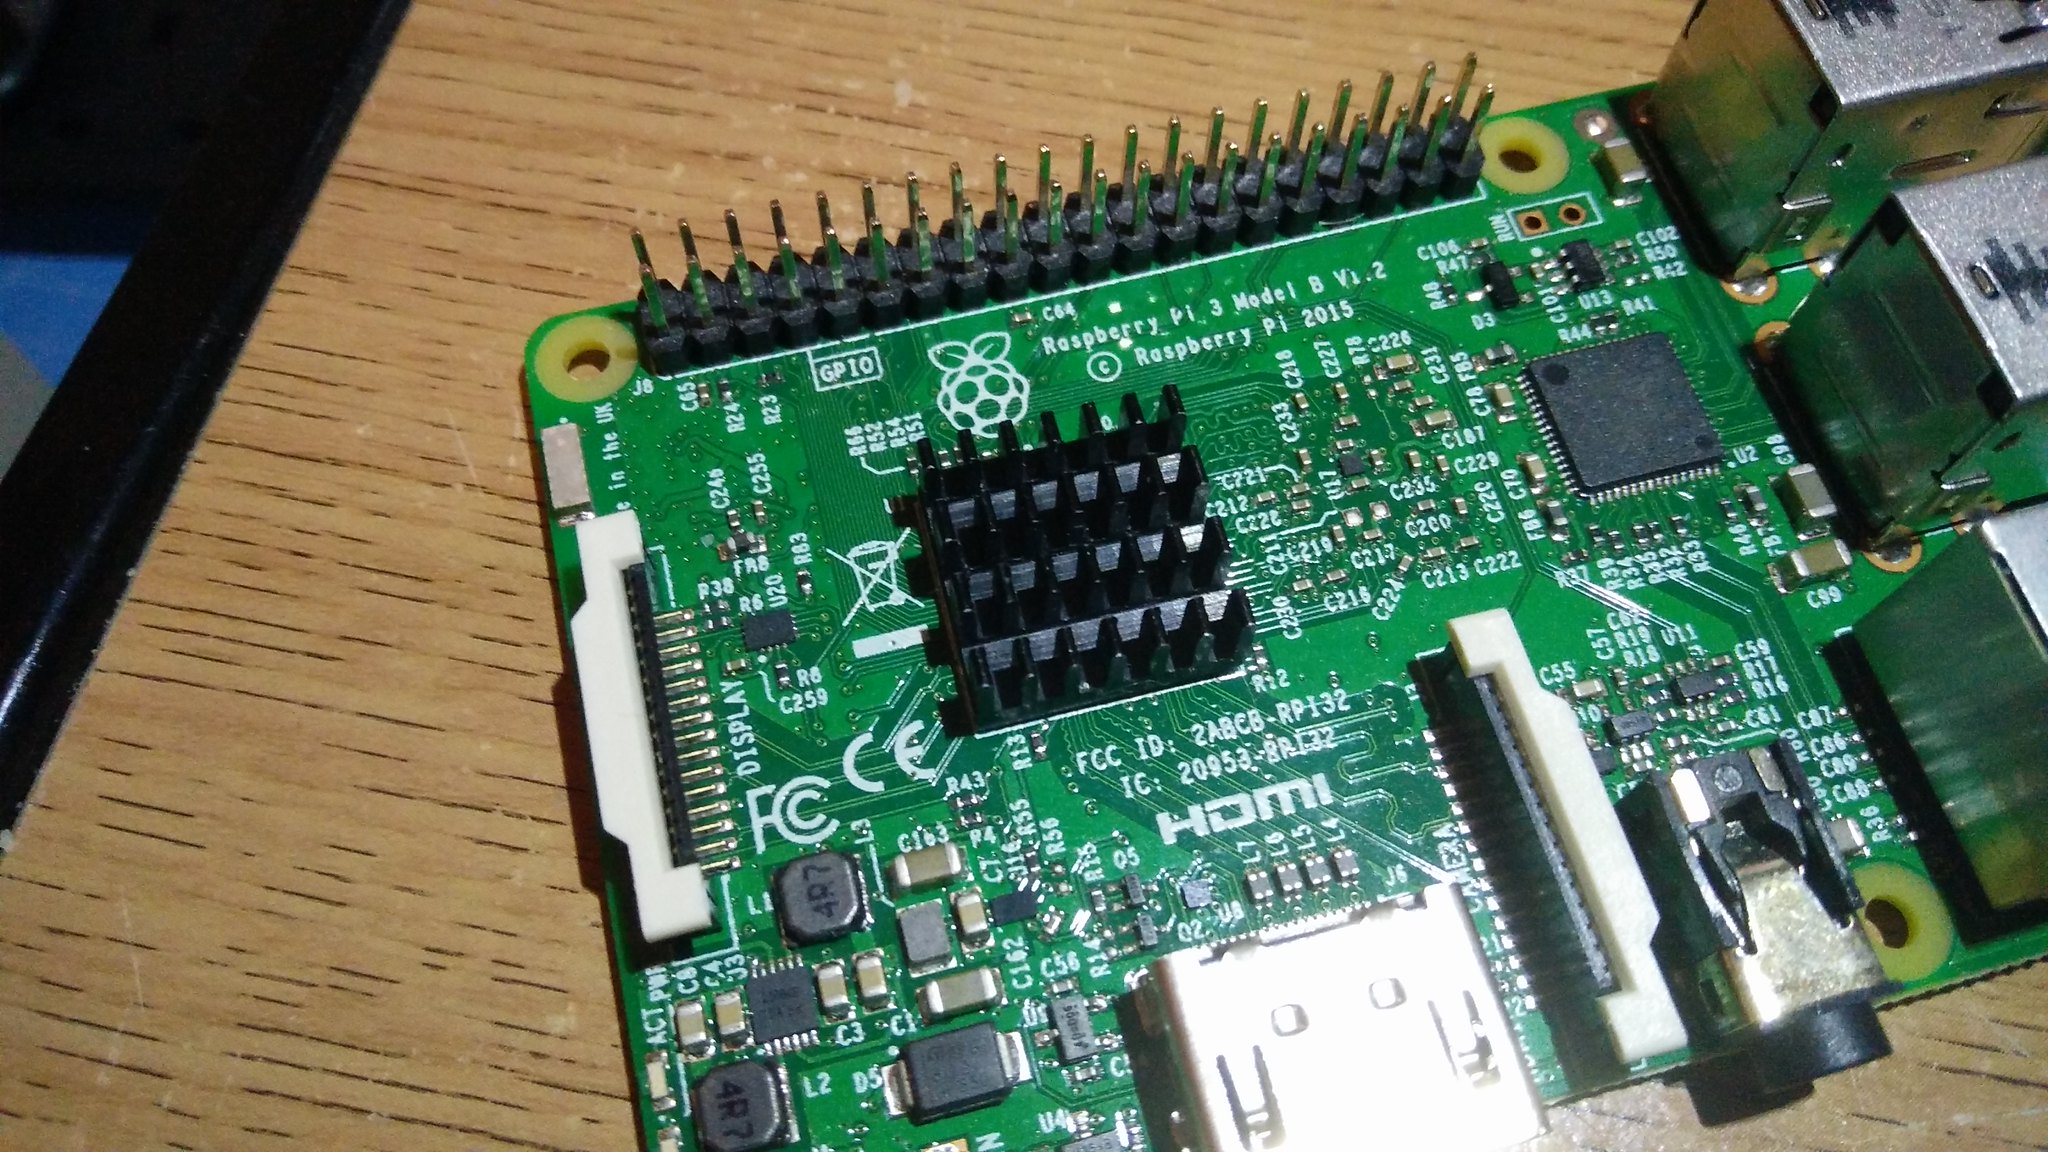
Pi 3 with the 14.5mm x 14.5mm x 6mm anodised aluminium heat sink from Pimoroni
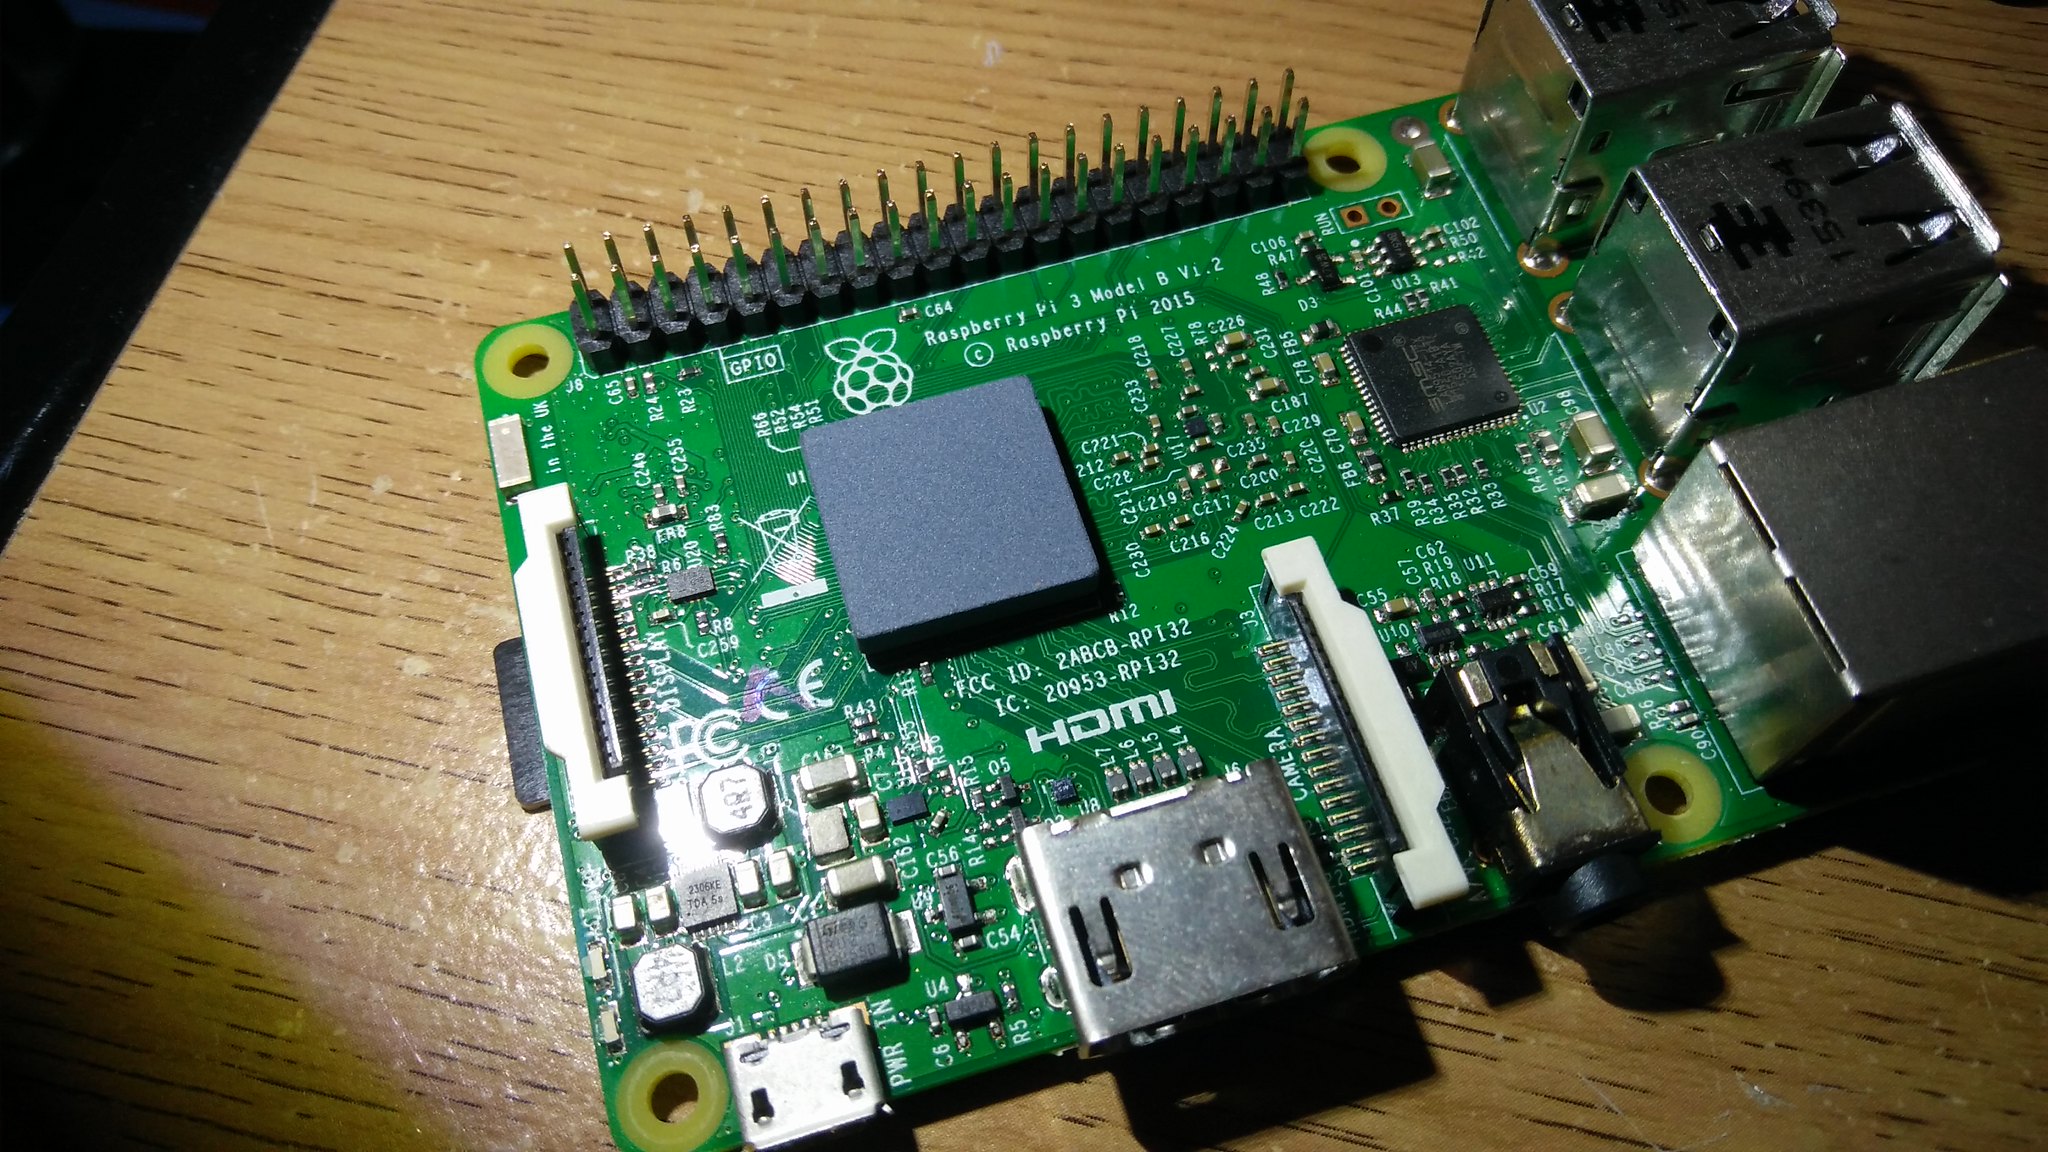
Pi 3 with a 15mm x 15mm x 2mm ceramic heat sink from CPC
I also used a Raspberry Pi that had no heat sink attached. This was to be my "control" Raspberry Pi.
Data, we need data!
Testing criteria
In order for this to be a fair test the following criteria were observed.
- All tests conducted using a Raspberry Pi 3.
- The Raspberry Pi 3 were not contained in a case and used "bare".
- All tests using the latest version of Raspbian "Pixel".
- All Pi were allowed to warm up to a steady temperature before tests.
- I accessed the Pi over an SSH connection. No desktop / X session started.
- Before the test was conducted for each Pi, I ran a "warm up" test, code below.
Warm Up test
To get the CPU to a normalised temperature I ran the following code.
sysbench --num-threads=4 --test=cpu --cpu-max-prime=10000 run
This code would use all four cores present in the Raspberry Pi CPU to calculate prime numbers up to 10000. I use this code to benchmark new single board computers.
Once this warm up test was complete, I allowed the CPU to return to their idle temperatures, typically in the mid 40C range, over a two minute period.
The Test Code
I love BASH, the interface commonly used on Linux machines. Using the command line is so quick, well I have been using it for 18 years now. I wrote a quick bash script that would check the temperature of the CPU every 30 seconds. This was then written to an external file for me to later import into a spreadsheet.
#! /bin/bash
touch temps.txt
date >> temps.txt
echo "sysbench start"
while true;
do
 #date >> temps.txt
 vcgencmd measure_temp >> temps.txt
 sleep 30;
done
Not very elegant but it did the job. I also needed to make the file executable so I used.
chmod +x temp-test.sh
So I could then run the command from the terminal.
Running the test
I had three terminal windows open.
Window 1
Runs the sysbench command but this time I push the prime numbers to compute up to 50,000! Again for all four CPU cores.
sysbench --num-threads=4 --test=cpu --cpu-max-prime=50000 run
Window 2
Here I run the command to start my temperature logger code.
./temp-test.sh
The actions in Windows 1 and 2 happen at nearly the same time, requiring me to merely change my window focus and press Enter as the commands are queued up ready for use.
Window 3
This window shows the output being written to the temps.txt file. Yeah I could of just used echo in the my shell script to print the data to the shell, but instead I wanted to use my old favourite command "tail" which is used to monitor updates to a file.
tail -f temps.txt
What were my findings?
The Control Pi
The temperature started at 47.8c and rose to 80.6c from 270s (4m 30s) where it dipped slightly at 300s (5m) to 80.1c. Strangely at 420s (7m) just as the CPU stopped running the prime number calculations, the temp dropped 7c. Possibly due to the CPU load being reduced and the CPU being able to start the cool down process.
The Pimoroni Heat Sink
The aluminium heat sink reduced the idle temp to 43.5c a reduction of 4.3c from the Control Pi temperature. From 30s to 330s (5m 30s) there was a descending difference in temperature. Initially this different was quite large, at 30s it was 9.2c difference. But over the course of this period the temperatures slowly narrowed until at 330s (5m 30s) the temperature difference was only 1.6c. Meaning we were nearing the limit of what heat this heat sink can efficiently remove.
The CPC Ceramic Heat Sink
This heat sink started with a temperature of 45.1c, 2.7c cooler than our control, but 1.6c warmer than the Pimoroni heat sink. From 30s to 240s (4m) we can see only a few degrees of temperature difference when compared to both the Control aluminium heat sink. But from 270s (4m 30s) we see that the temperature matches that of the Control Pi, except for the Control Pis blip of 80.1c at 300s (5m), of 80.6c. This means that the ceramic heat sink is now no longer operating as an efficient heat sink. At 420s (7m) we see that the temperature has reach 81.1c, the highest recorded temperature in all three tests.
Interactive Google Sheet
Sorry mobile users, it seems that embedding Google Sheet charts is a little wonky for you
Raw Data
Conclusion
The winner is
Pimoroni's Aluminium Heat Sink (6mm)
But why? Well the simple answer is surface area. The aluminium heat sink has a greater surface area thanks to the "fins" of aluminium that help radiate the heat away from the CPU.
I aim to repeat these tests to ensure that the data is reproducible and the data will be added to this blog post.