Tuesday Tooling: Wokwi Circuit Simulator
Simulate a microcontroller, a circuit, a project, from the comfort of your sofa.
So What is it?
Wokwi is a project to simulate IoT projects in the browser. Hat tip to Heeedt for telling me about this.
So What Boards Does it Simulate?

Here's the long list, including a few surprises.
- Arduino Uno (C++)
- Arduino Mega (C++)
- ESP32 (including ESP32-S2 and ESP32-C3) (C++)
- Arduino Nano (C++)
- Raspberry Pi Pico (C++)
- MicroPython on ESP32
- ATtiny85 (one of my favourites, oh and SURPRISE!)
- TinyPICO
- Raspberry Pi Pico (SDK)
- CircuitPython on Raspberry Pi Pico (SURPRISE!)
- Franzininho Wi-Fi (ESP32-S2)
So How Does it Work?
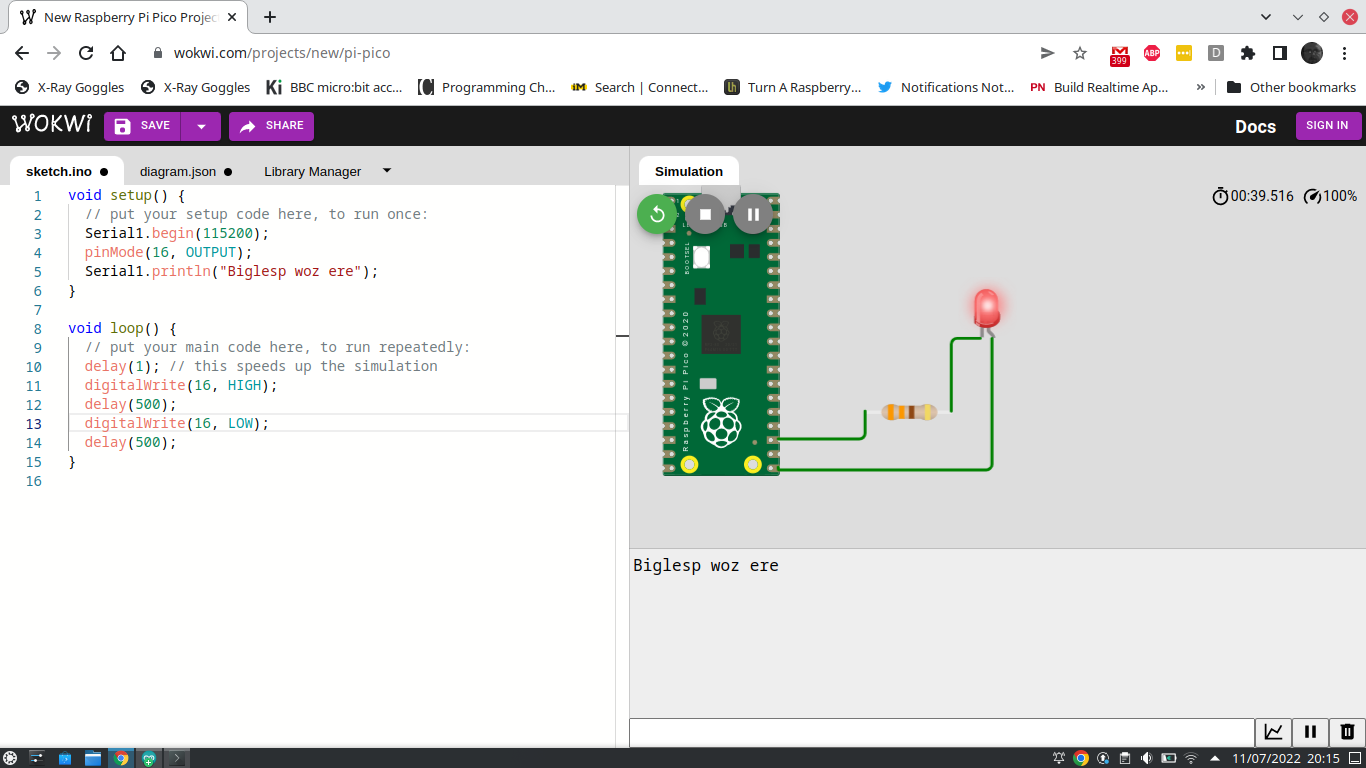
It really is easy. You click on the board, and it opens a new simulator. For my test I opened a Raspberry Pi Pico, and I was presented with the Arduino / C++ language on the left of the screen, on the right was a virtual Raspberry Pi Pico.
The left screen has three tabs. The "sketch" where we write our code. "Diagram.json" which is a text file containing the components in our circuit. Finally we have a library manager, which shows any installed libraries for the project.
I wrote a little code to print a message to the serial console, and to flash an LED connected to GPIO 16.
void setup() {
  // put your setup code here, to run once:
  Serial1.begin(115200);
  pinMode(16, OUTPUT);

}

void loop() {
  // put your main code here, to run repeatedly:
  delay(1); // this speeds up the simulation
  digitalWrite(16, HIGH);
  Serial1.println("Biglesp woz ere");
  delay(500);
  digitalWrite(16, LOW);
  delay(500);
}
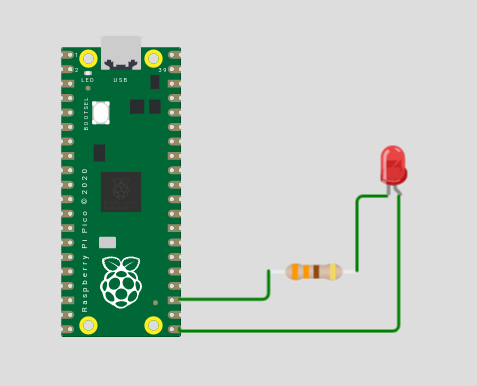
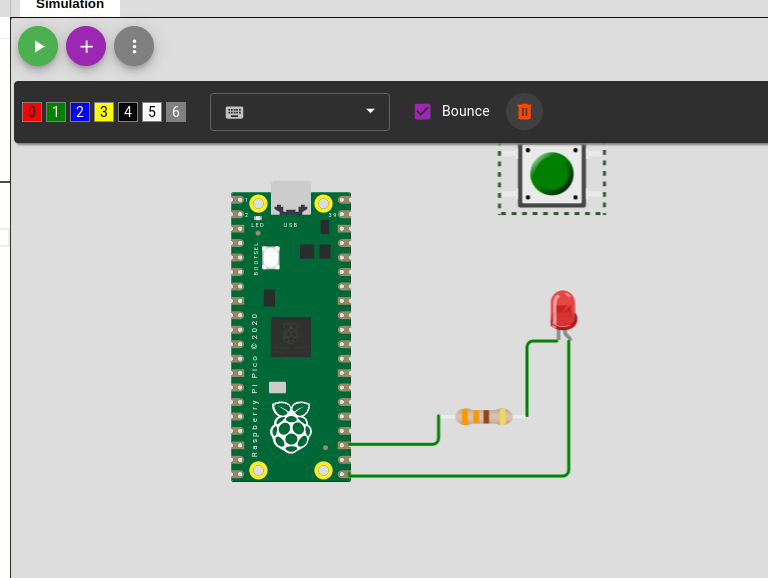
I then wired up a circuit, an LED with a 330 Ohm resistor. Wiring up is similar to Fritzing, if a little clunky. You click on a GPIO pin, component etc and then draw it to where you want to go. Clicking as you move to the destination adds a bend.
Components are contained in a list found under the + symbol.
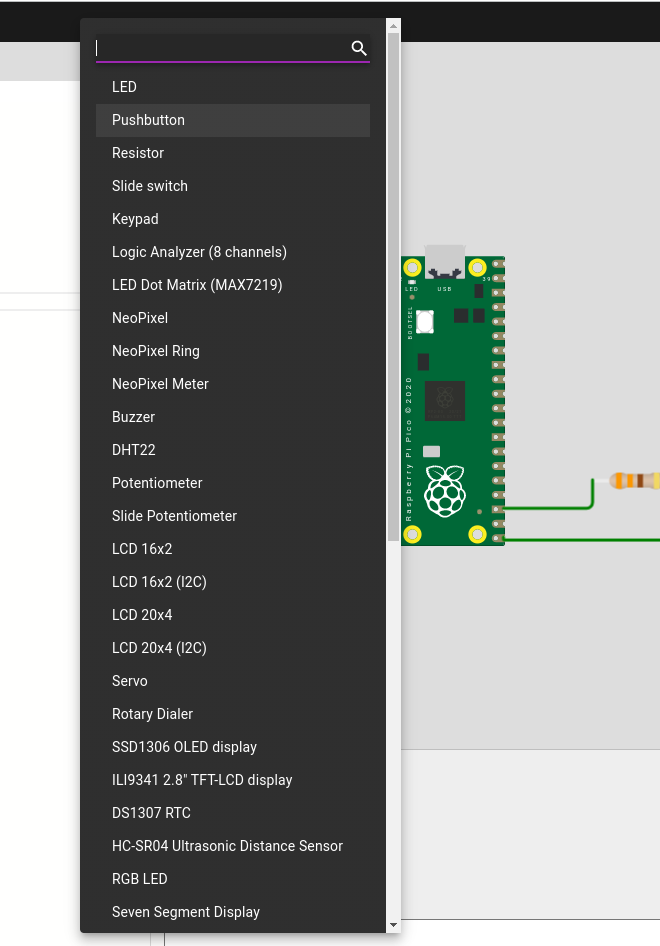
Choose your component and then place it in the circuit. We can choose the colour of the component too.
All of the wiring and components are saved as a JSON file, which is rather handy to refer to.
{
  "version": 1,
  "author": "Anonymous maker",
  "editor": "wokwi",
  "parts": [
    { "type": "wokwi-pi-pico", "id": "pico", "top": -79.82, "left": -132.71, "attrs": {} },
    {
      "type": "wokwi-led",
      "id": "led1",
      "top": -14.63,
      "left": 68.62,
      "attrs": { "color": "red" }
    },
    {
      "type": "wokwi-resistor",
      "id": "r1",
      "top": 68.21,
      "left": 5.77,
      "attrs": { "value": "330" }
    }
  ],
  "connections": [
    [ "pico:GP0", "$serialMonitor:RX", "", [] ],
    [ "pico:GP1", "$serialMonitor:TX", "", [] ],
    [ "r1:2", "led1:C", "green", [ "v0" ] ],
    [ "r1:1", "pico:GND.5", "green", [ "v0" ] ],
    [ "pico:GP16", "led1:A", "green", [ "v2", "h156.16" ] ]
  ]
}
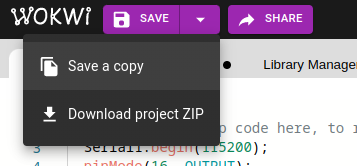
Projects can be saved, and downloaded as zip archives. The code can then be used on real devices.
CircuitPython on a Raspberry Pi Pico
Hidden in the main screen is an option to run CircuitPython (my favourite way to hack) on a Raspberry Pi Pico.
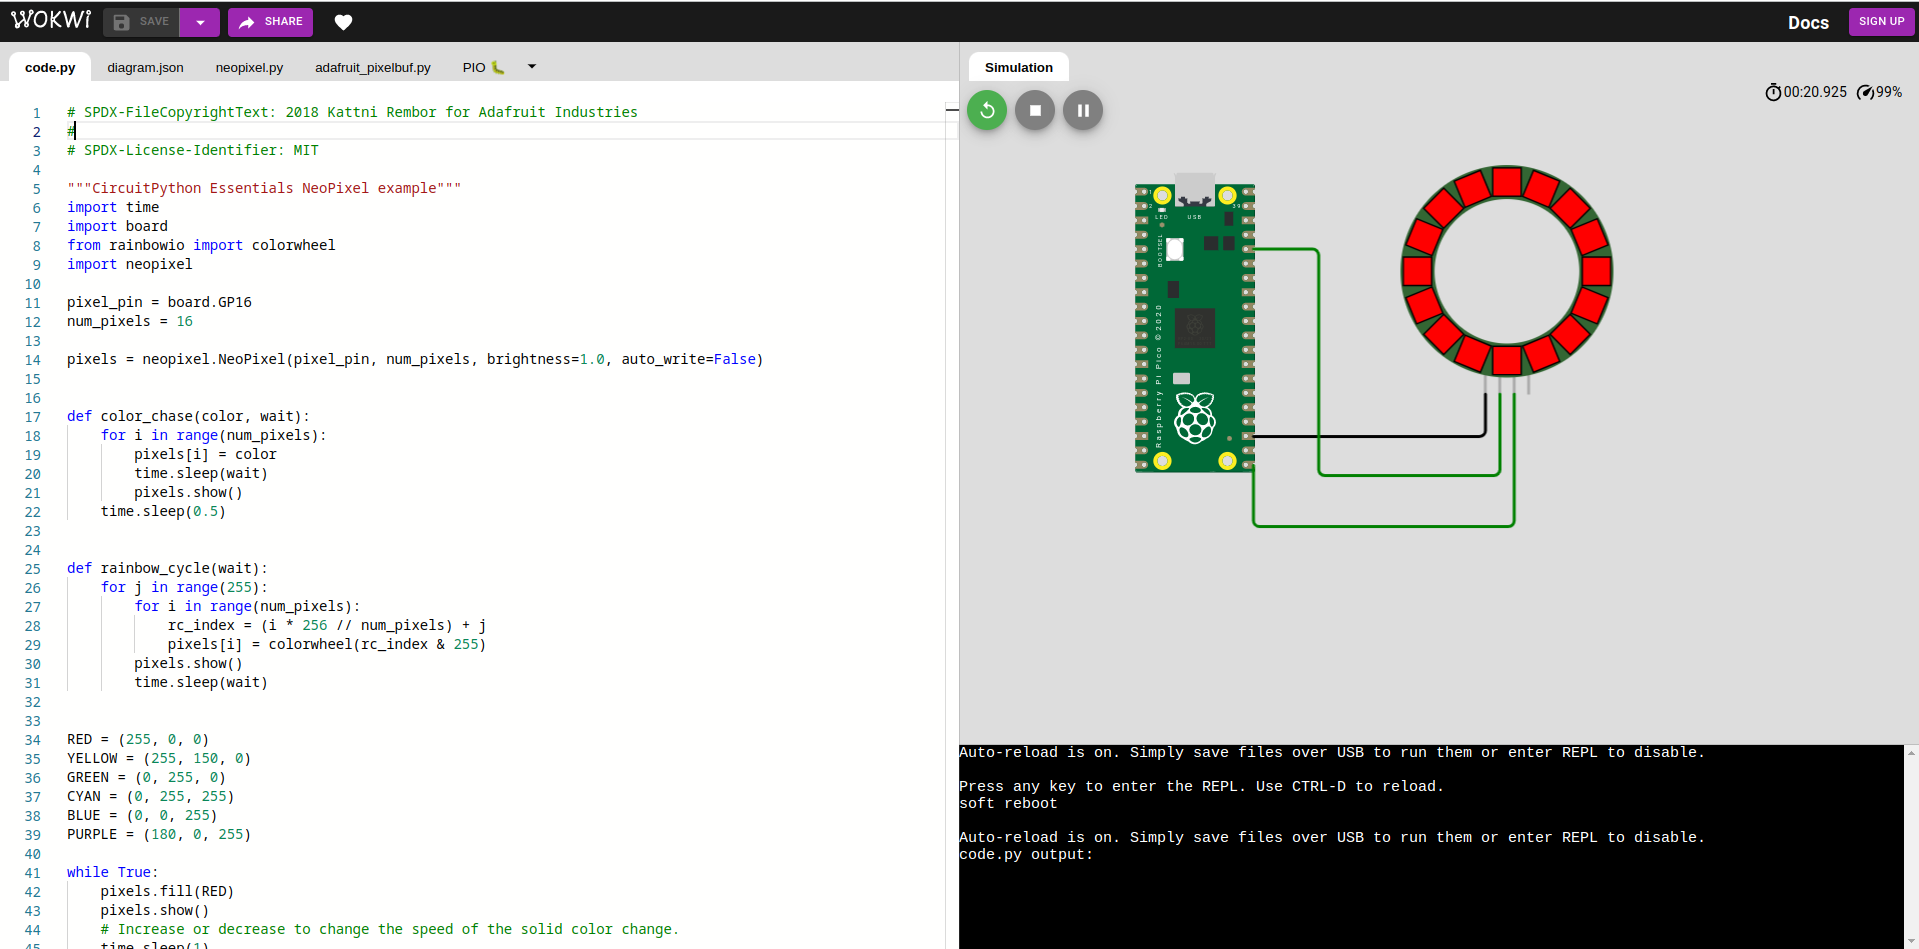
I downloaded the example NeoPixel code from Adafruit's excellent resources.
I tweaked the code to use GPIO 16 and connected a virtual NeoPixel ring with 16 pixels.
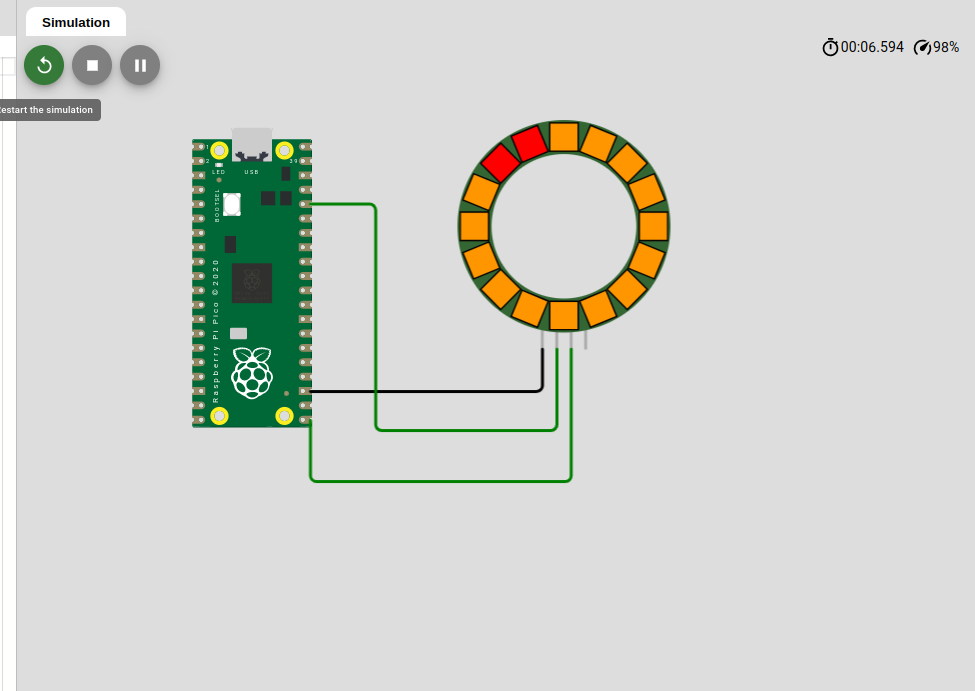
In order to use the NeoPixel I need to install two libraies. Wokwi doesn't provide these, sadly. So I visited circuitpython.org and downloaded the Python library package, then I uploaded neopixel.py and adafruit_pixelbuf.py to Wokwi. With all that done, I pressed start and the simulator kicked in and I saw blinkies!
Final Thoughts?
I like Wokwi. It has enough functionality to be useful when on the move and we can download our code for use with real devices.