Monday micro:bit: Micro:bit X Raspberry Pi
Why would you need this?
For this post I bought something so you don't have to. The CZH-Labs Micro:bit X Raspberry Pi Interconnection HAT, Microbit to RPi Adapter Board looked promising at only $13. Two way control of the GPIO for both devices, sounds great! In reality, it wasn't so great. But lets start with the facts, move to the test, and then review our findings.
So what is it?
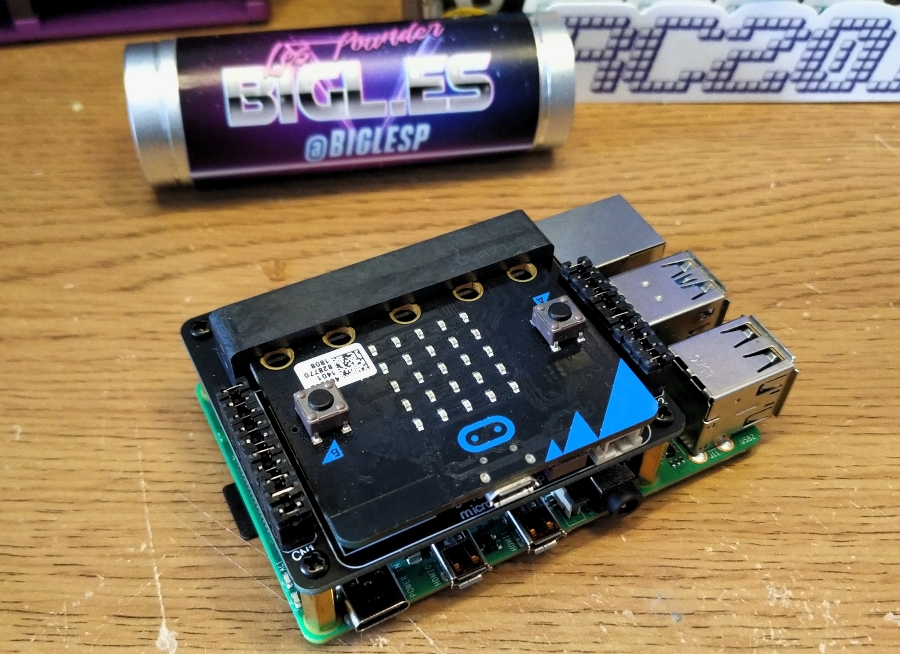
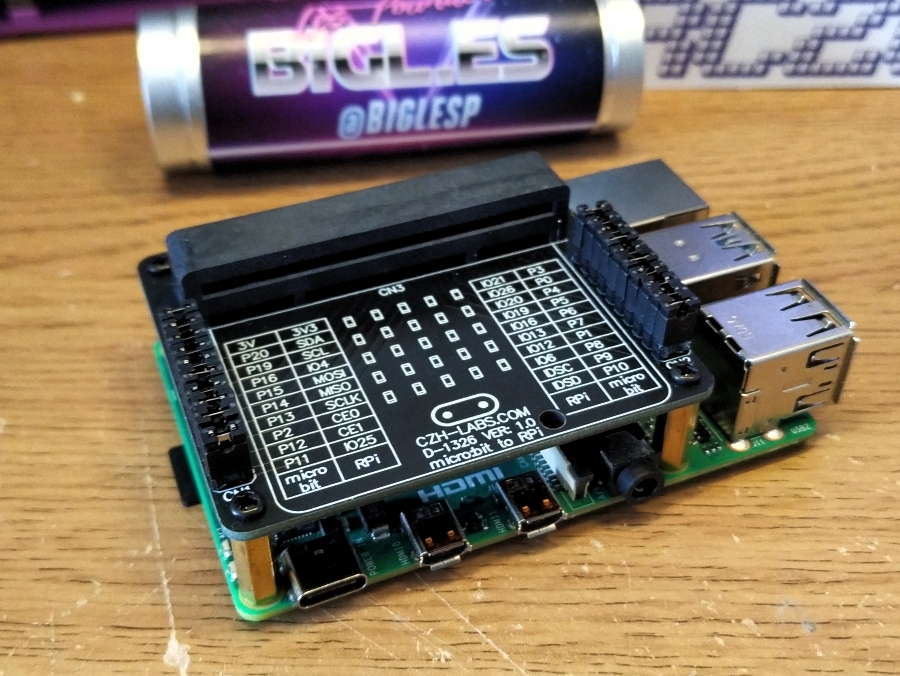
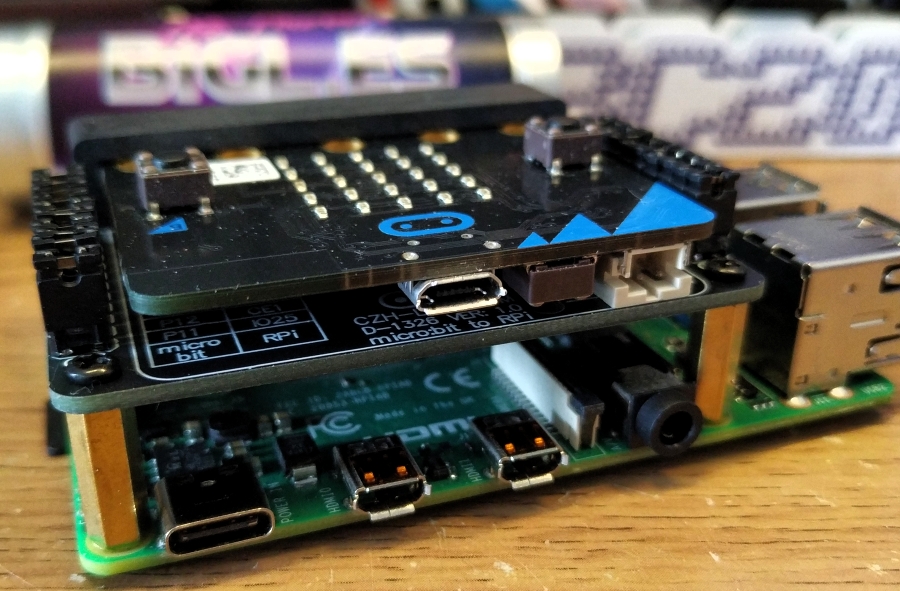
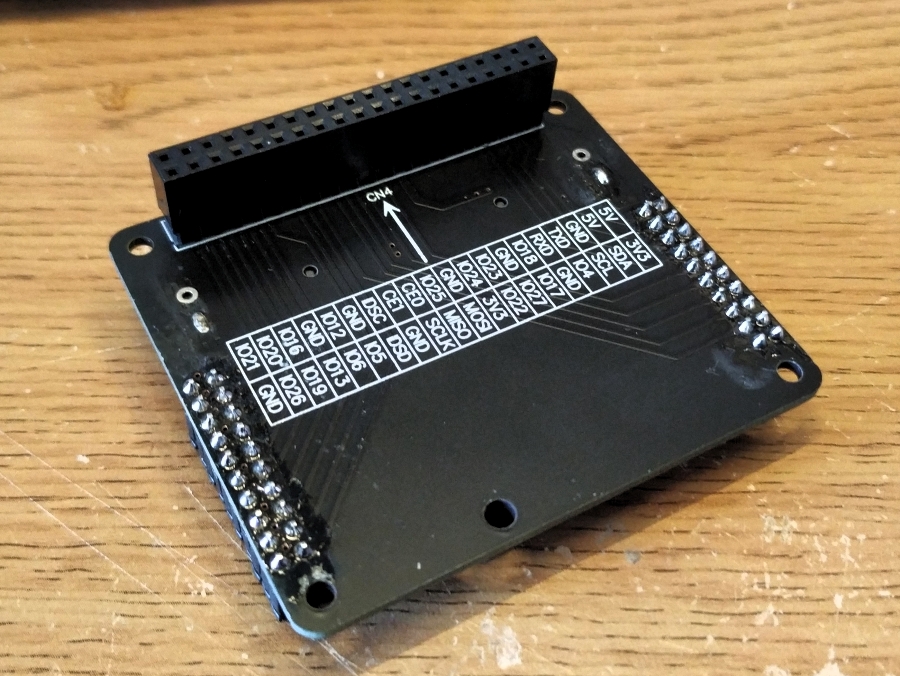
A micro:bit to Raspberry Pi GPIO HAT which enables the GPIO of a Raspberry Pi to talk directly to the GPIO of the micro:bit. Being a HAT board, it fits atop all 40 GPIO pins of the Raspberry Pi and comes with brass stand offs to fix the board into place. Along the left and right edges are a series of male jumper pins, which can be shorted using the included pin jumpers. By shorting a pin we create that connection between the Pi and the micro:bit The micro:bit fits snugly into the holder and we are ready to go.

Hi reader!
So how do I use it?
There is no special software or configuration needed for basic GPIO access (turning pins on / off) and I was able to turn on a GPIO pin which was linked to the LED matrix of the micro:bit, and yeah the LEDs turned on and off at my command. Cool!
But the micro:bit has so many cool sensors, temperature, humidity, acceleration, movement, orientation, compass and I wanted to use them, and well I can but I needed to learn a little I2C magic.
With the help of Twitter and Google I managed to connect to the micro:bit via I2C and read the accelerometer.
So what do I think?
The board is simple and it works, but the only things it can do is provide access to the GPIO of a micro:bit, including I2C etc. But we can already do this using makecode and MicroPython via a USB cable.
So what do I think? Save your money for something much better.