Tuesday Tooling: Build Pretty Python Interfaces
It has been a while, sorry about that. I hope that you are all well and keeping safe! Lets get straight back into finding cool tools in software and hardware!
Questionary? What is that?
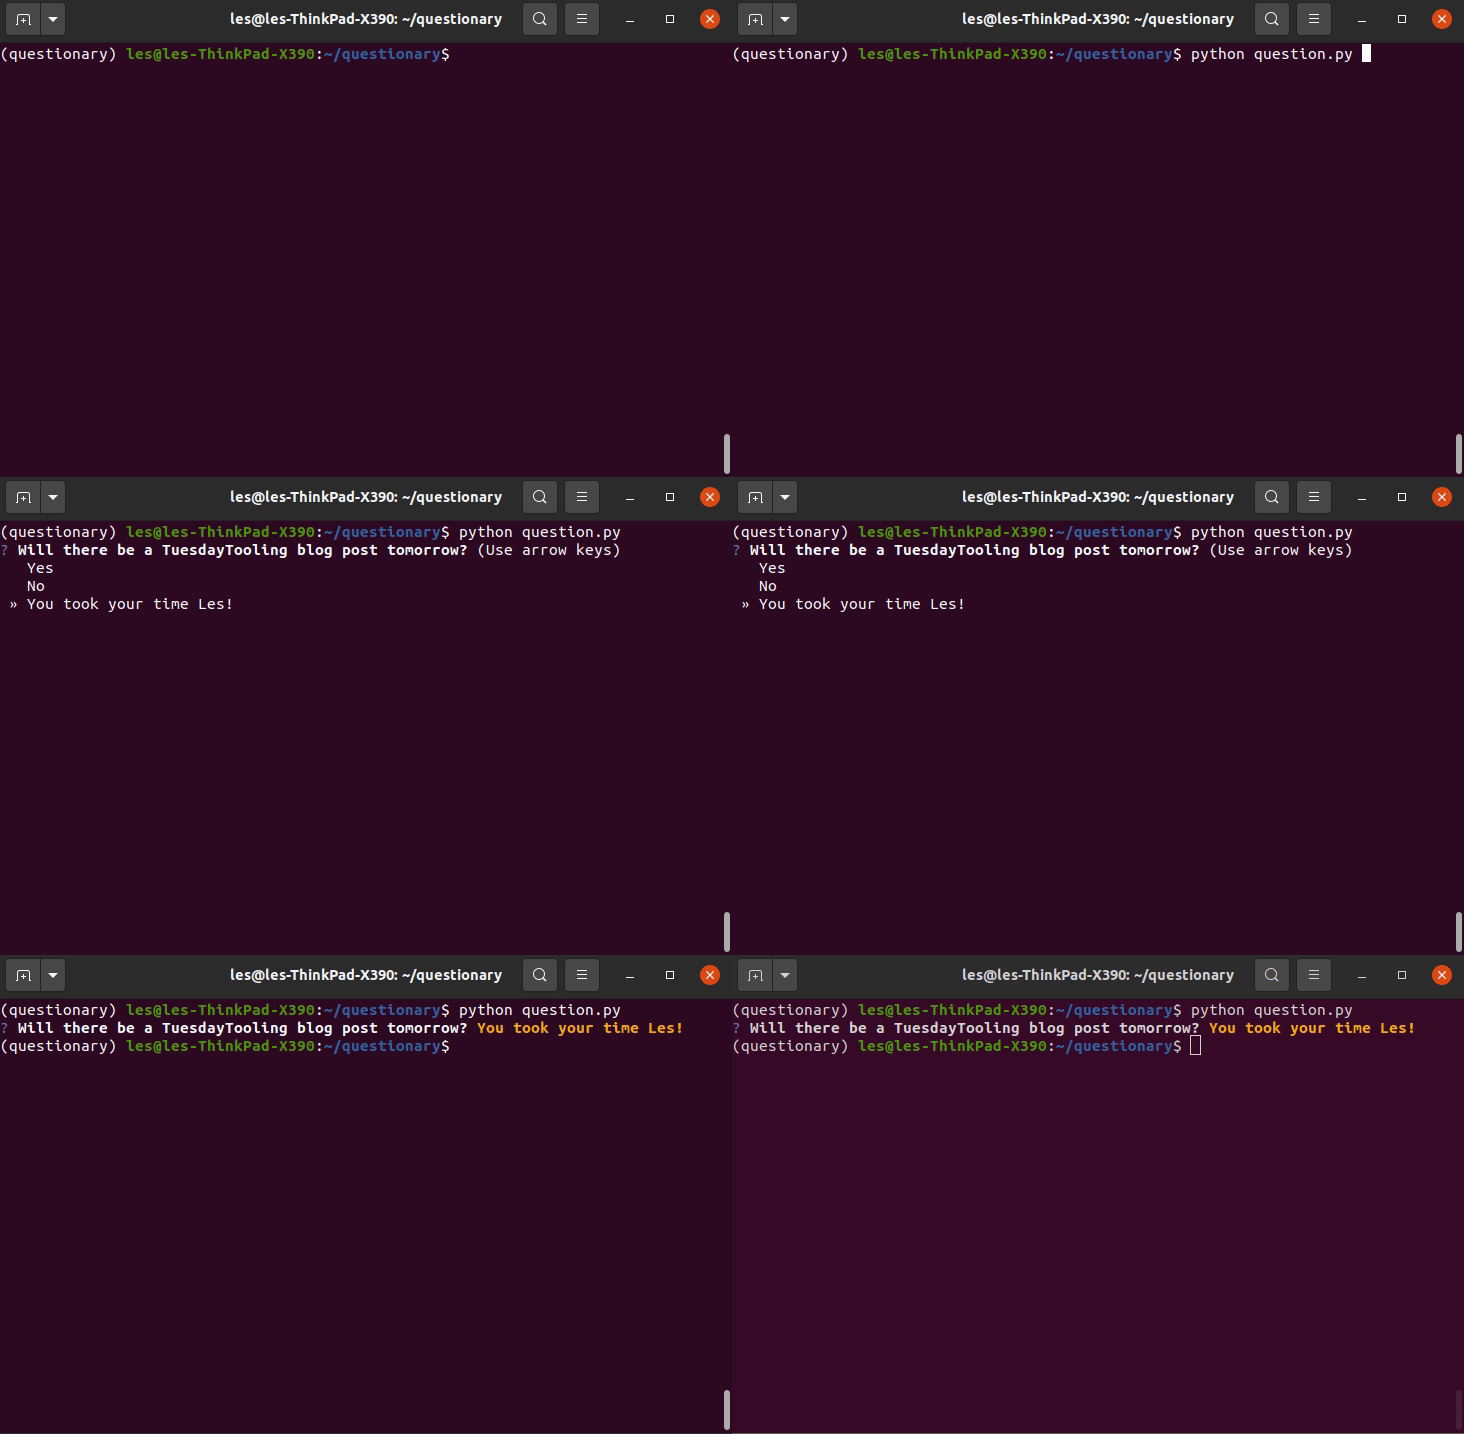
Questionary is a Python library for effortlessly building pretty command line interfaces
Questionary is a fun Python library which can be used to make different user interfaces such as.
- Text
- Password
- File Path
- Confirmation
- Select
- Raw select
- Checkbox
- Autocomplete

Hi reader!
So How Do I Install It?
Using pip!
On Linux / Mac with pip3 installed.
sudo pip3 install questionary
Windows
pip.exe install questionary
You can test out the library in isolation by using a virtualenv, a directory / folder on your machine which runs its own Python 3 environment. Here is an old blog post showing you how.
So How Do I Use It?
Text Input
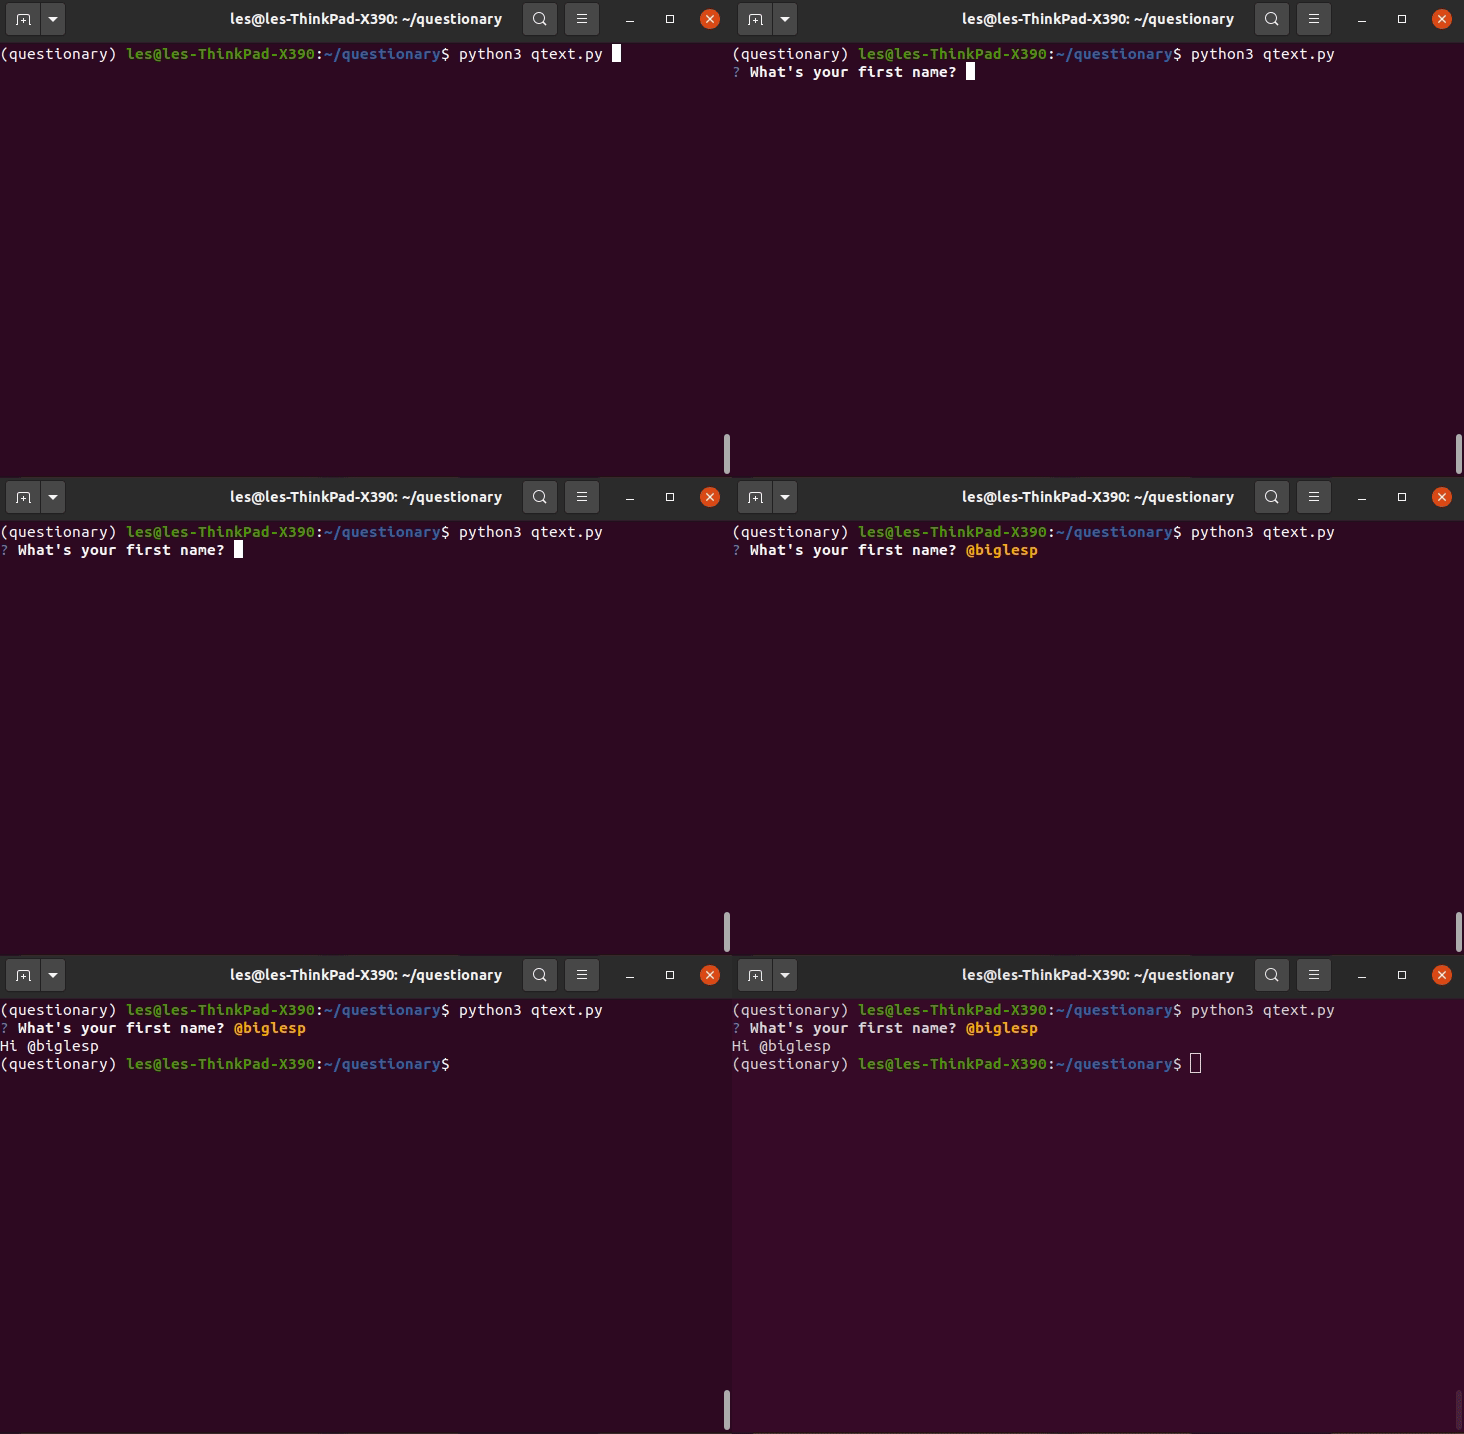
Here is the "Hello World" to get us started.
import questionary
name = questionary.text("What's your first name?").ask()
print("Hi",name)
We import the questionary library and then create an object name that will store the answer to the question "What's your first name?". Notice at the end of the line there is .ask(), we need that to ask the question. Then we print a hello to the user.
Select From A List
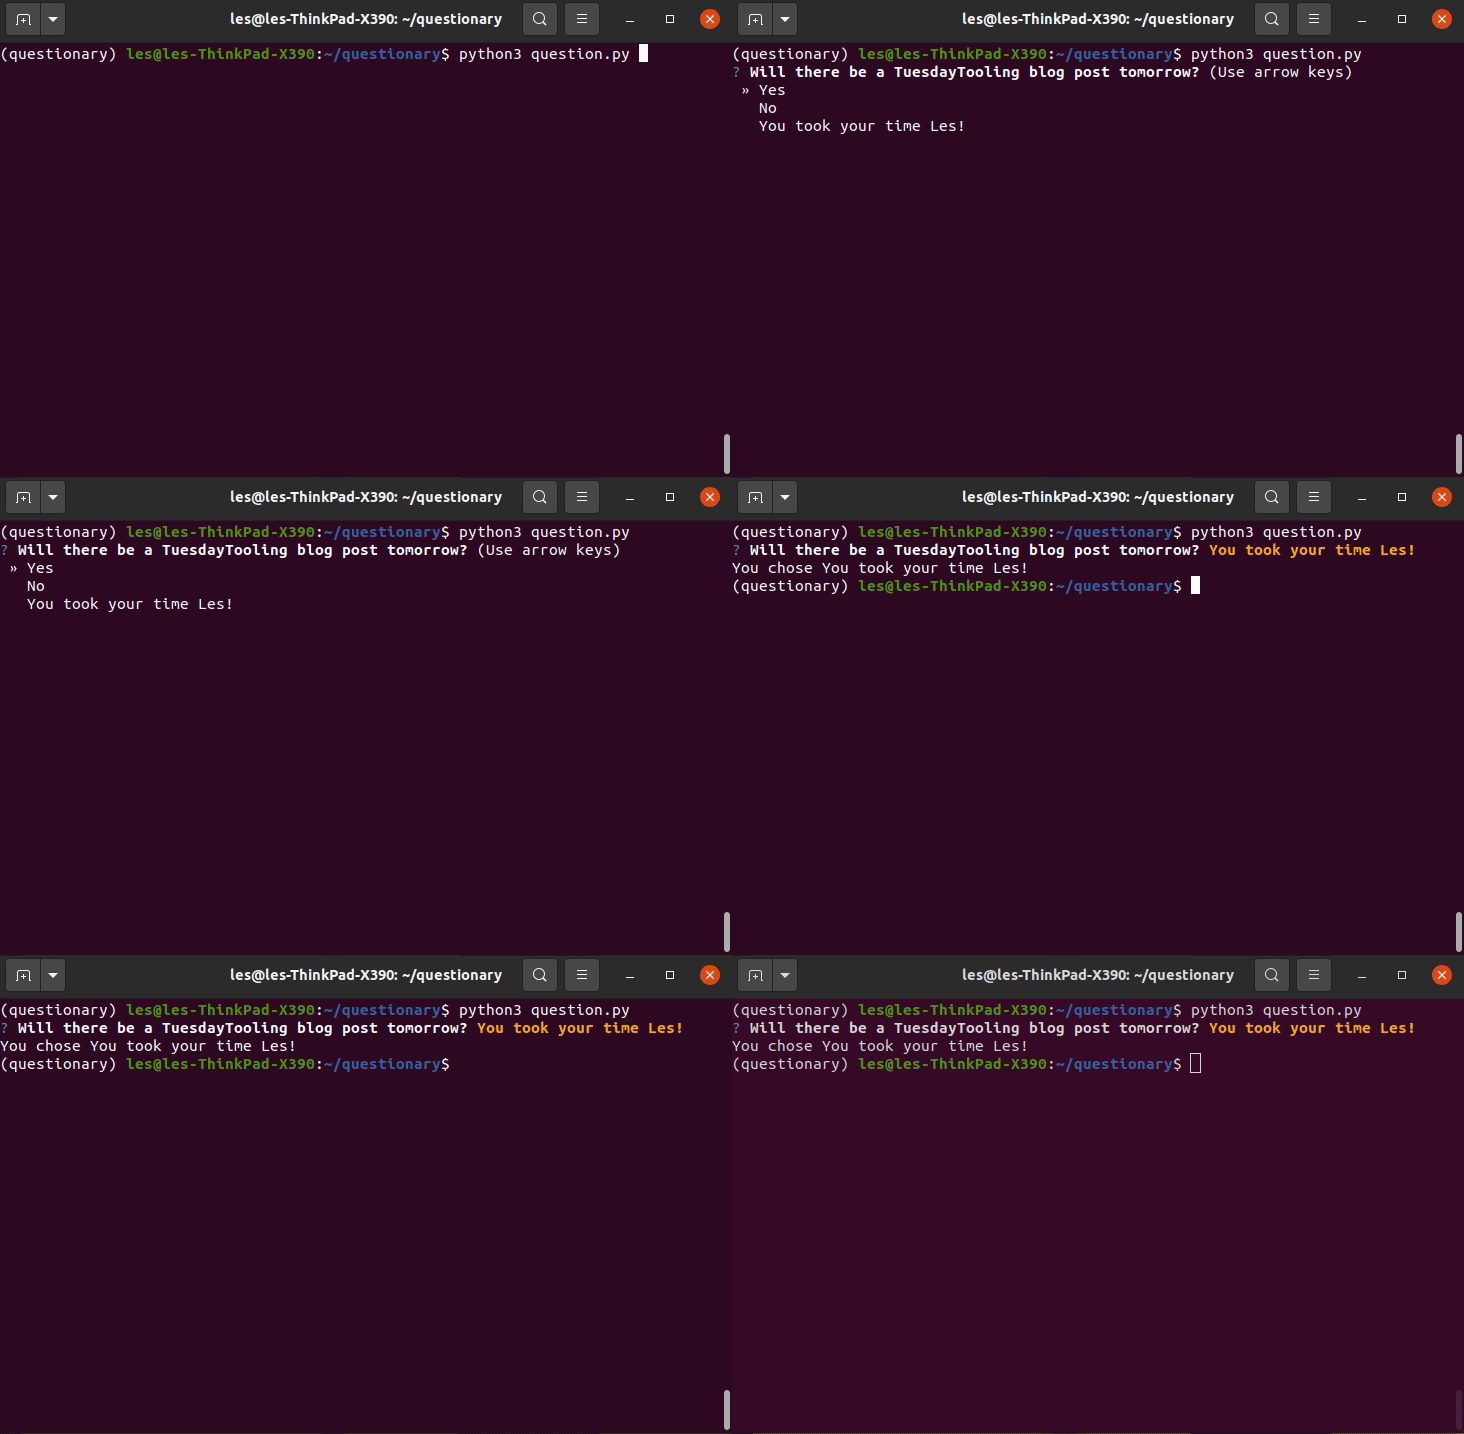
Sometimes we just need a specific answer, for those occasions we use a list.
import questionary

answer = questionary.select(
    "Will there be a TuesdayTooling blog post tomorrow?",
    choices=[
        'Yes',
        'No',
        'You took your time Les!'
    ]).ask()
print("You chose",answer)
We once again import the questionary library, then create an object to store the answer. This time we use questionary.select() to ask the question. We ask the question in the same manner as previous, but the pre-written answers are stored as a list (a Python datatype) which we can scroll through using the arrow keys. Finally we print the users choice to the screen, along with a short message.
Autocomplete
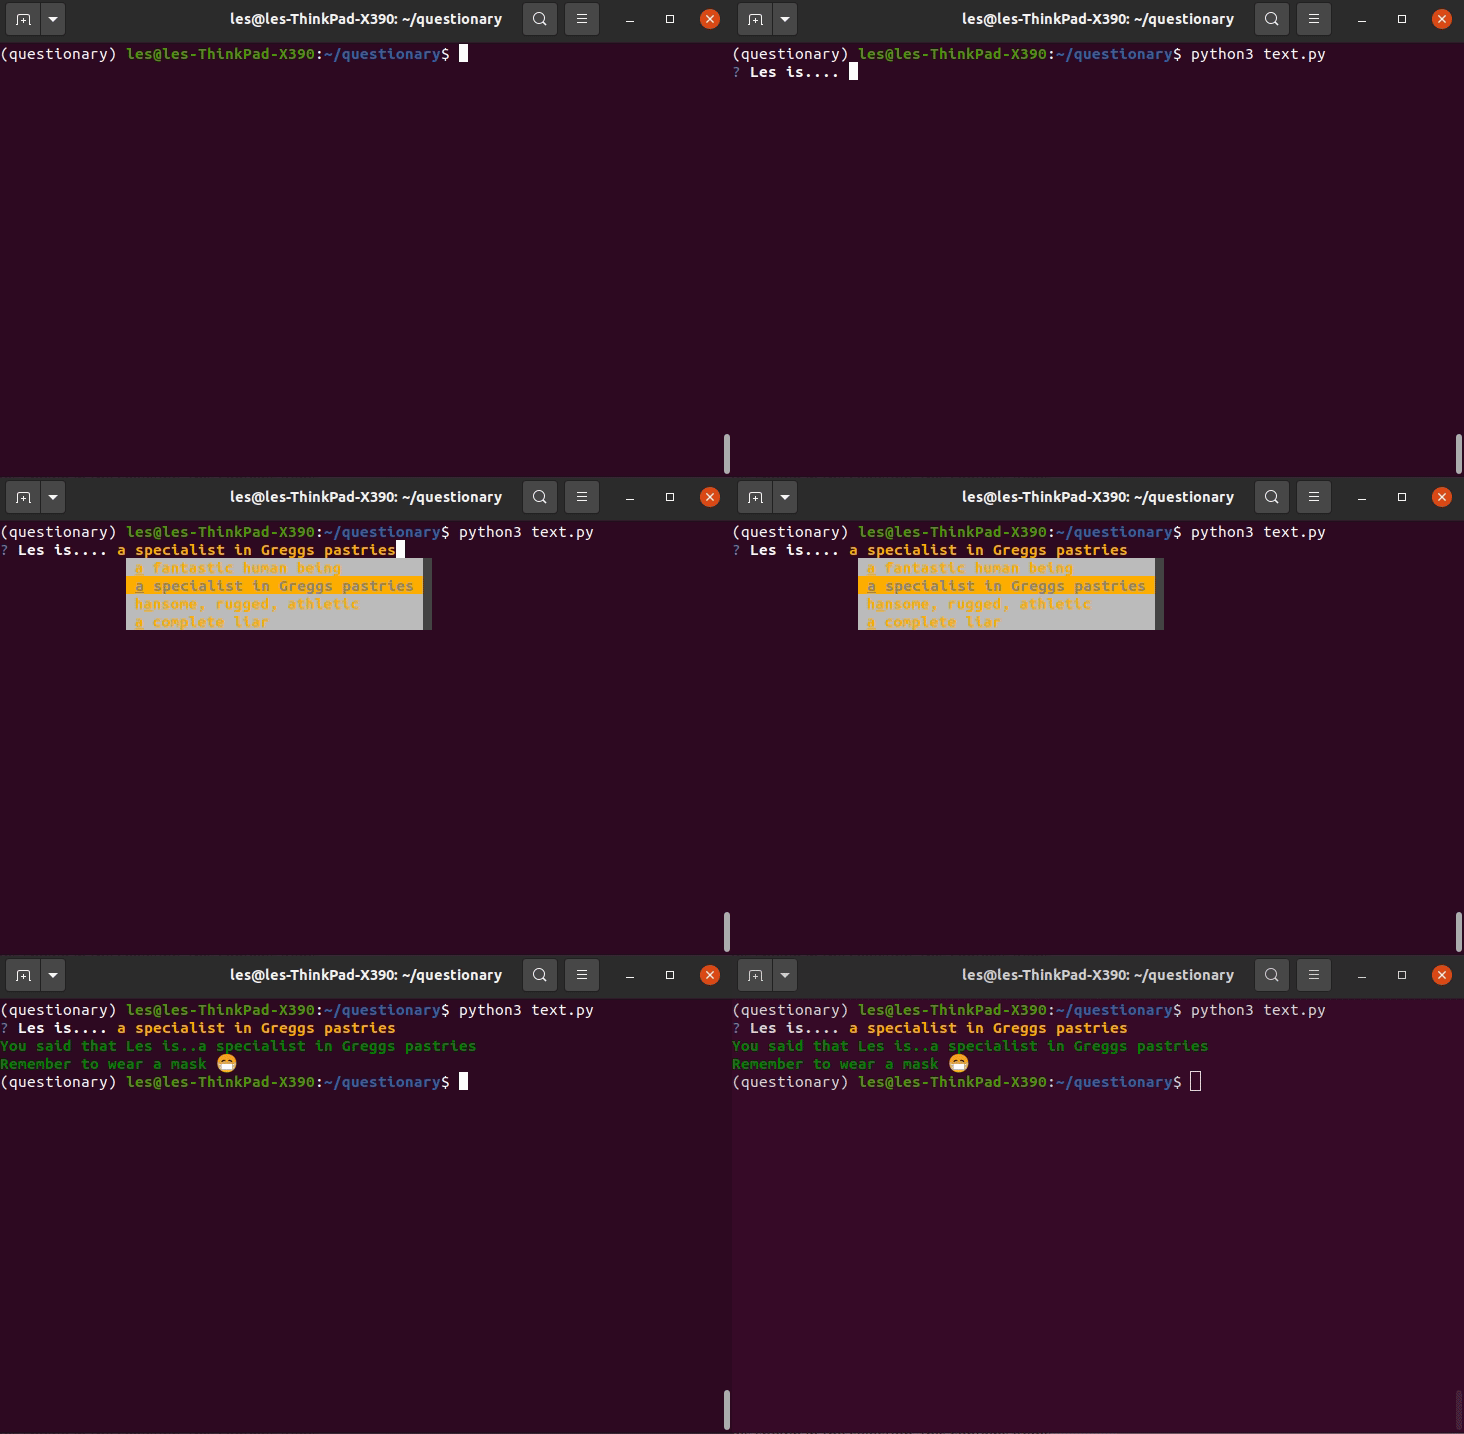
Autocomplete is great, unless you accidentally send a tweet to your boss saying that you love them, instead of saying you are going to be late. Questionary's autocomplete is rather useful. It can help direct the user to ensure the answer is formatted correctly.
import questionary
answer = questionary.autocomplete(
   'Les is....',
   choices=[
        'a fantastic human being',
        'a specialist in Greggs pastries',
        'hansome, rugged, athletic',
        'a complete liar',
   ]).ask()
answer = "You said that Les is.."+answer
questionary.print(answer, style='bold fg:green')
questionary.print('Remember to wear a mask 😷', style='bold fg:green')
Again we start by importing the questionary library, then we create the answer object that will store the output. The questionary.autocomplete() function uses the same syntax as the select from a list function. It has a list that contains the autocomplete responses. We then update the answer object to store a response to the user that includes their choice. Something new is questionary.print() which is a special print function that we can use to style our print output. Here we set the style='bold fg:green' to format the output as bold text, coloured green. The final line, again a print function with the same format, but you can see an emojii. I copied this emojii from the web and pasted it directly into the code.
Checkboxes
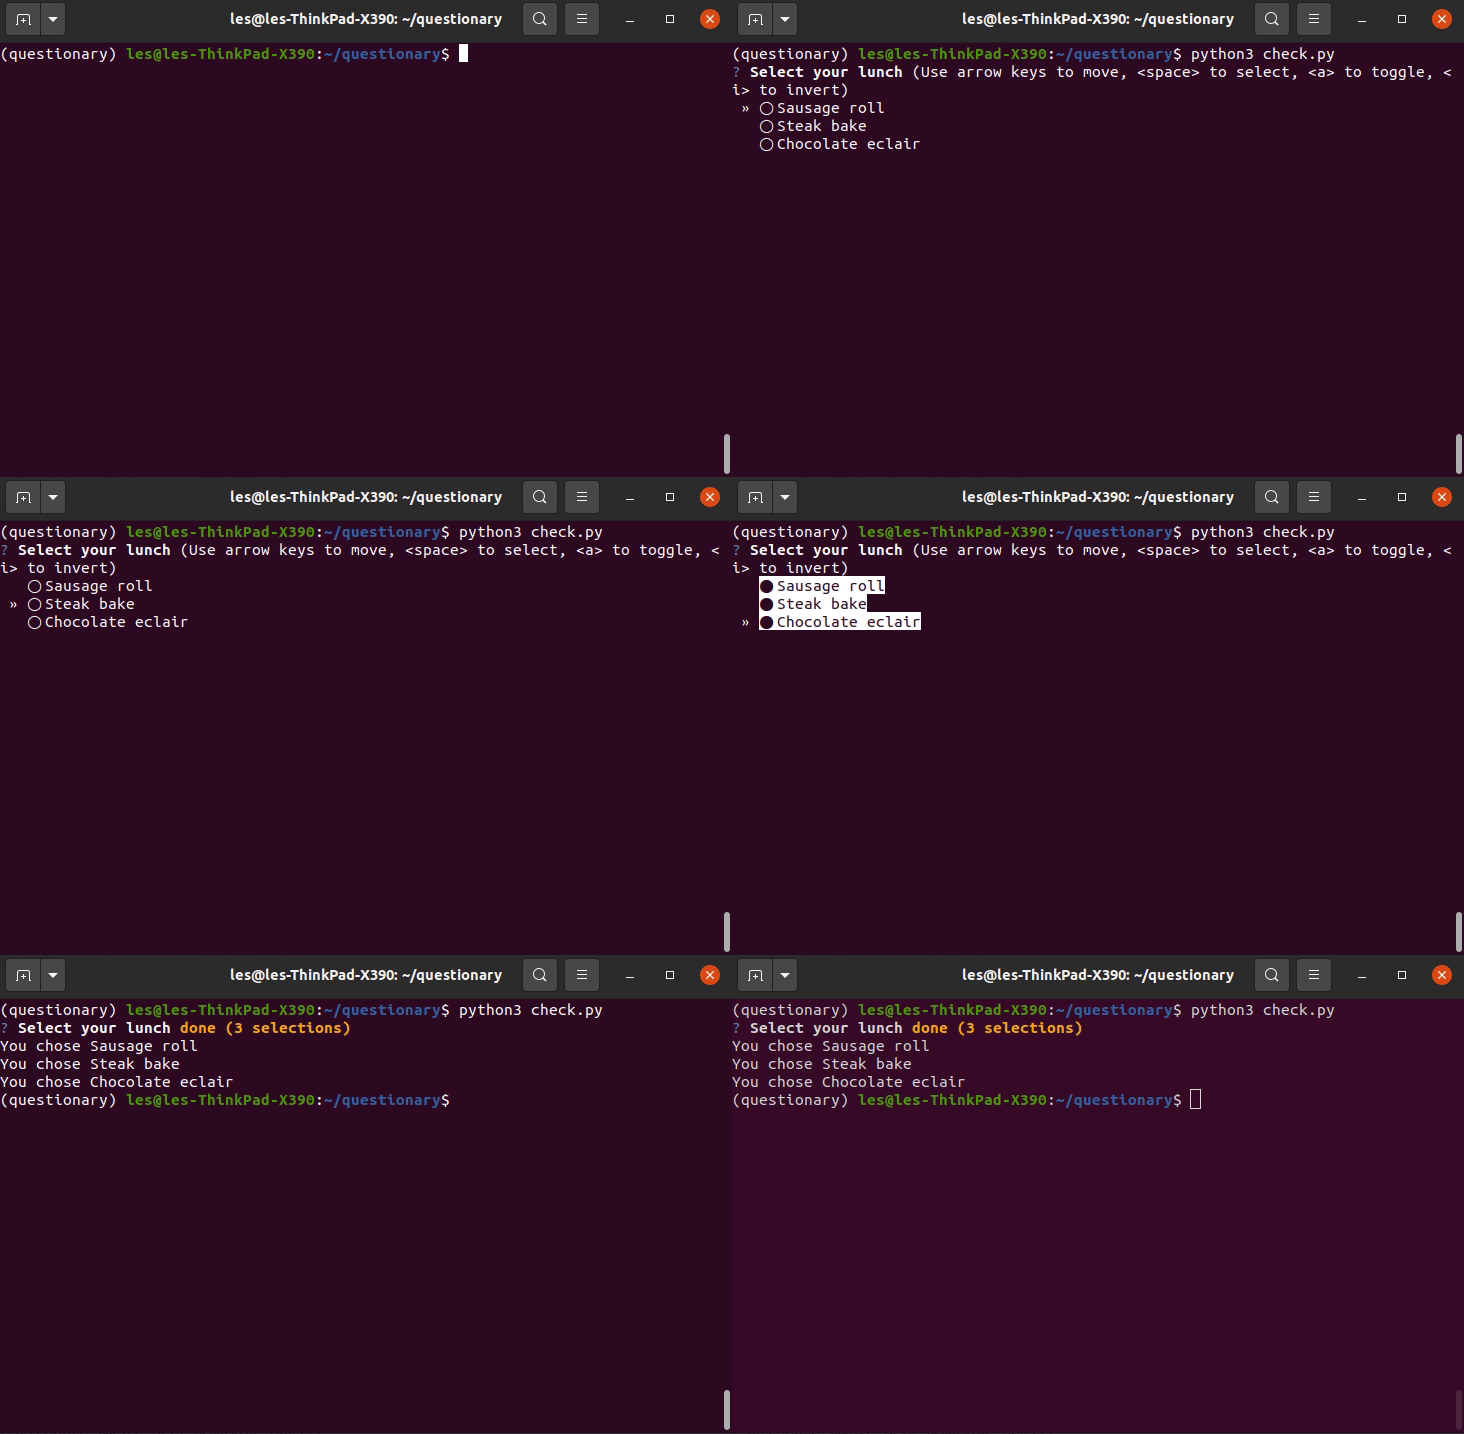
In the final example, I create a checkbox to make sure my Greggs order is taken!
import questionary
greggs = questionary.checkbox(
   'Select your lunch',
   choices=[
       "Sausage roll",
       "Steak bake",
       "Chocolate eclair",
   ]).ask()
for i in range(len(greggs)):
    print("You chose",greggs[i])
Again we start by importing the questionary library, then we create the greggs object that will store the Greggs lunch order. The questionry.checkbox() function uses the same Python list structure from the previous two examples. As checkboxes can store multiple responses, the function creates a list that stores our responses. A for loop`` will iterate every item in the list (usinglen(greggs)``` to determine the length of the list) and print the lunch order at the end of the project. Running the code, we need to select / deselect items using the space key. Press Enter when done.
So What Can I Use Questionary For?
The simple answer is, anything! We can use it to trigger any Python code. For example the Select from list function could be used to launch a series of demos at an event. Checkboxes used to trigger only certain actions with a robot, autocomplete for posting tweets in your own Python Twitter app!
More examples can be found on the Questionary documentation page.