Simple VNC connections
Creating a VNC connection
Controlling a Raspberry Pi using VNC is a great way to remotely control a robot.
But how can you do it?
For this project you will need.
- A Raspberry Pi
- A WIFI dongle
- Monitor
- Keyboard
- Mouse
- Power Supply
Pre-requisites
Your Raspberry Pi will need a working Internet connection to download software.
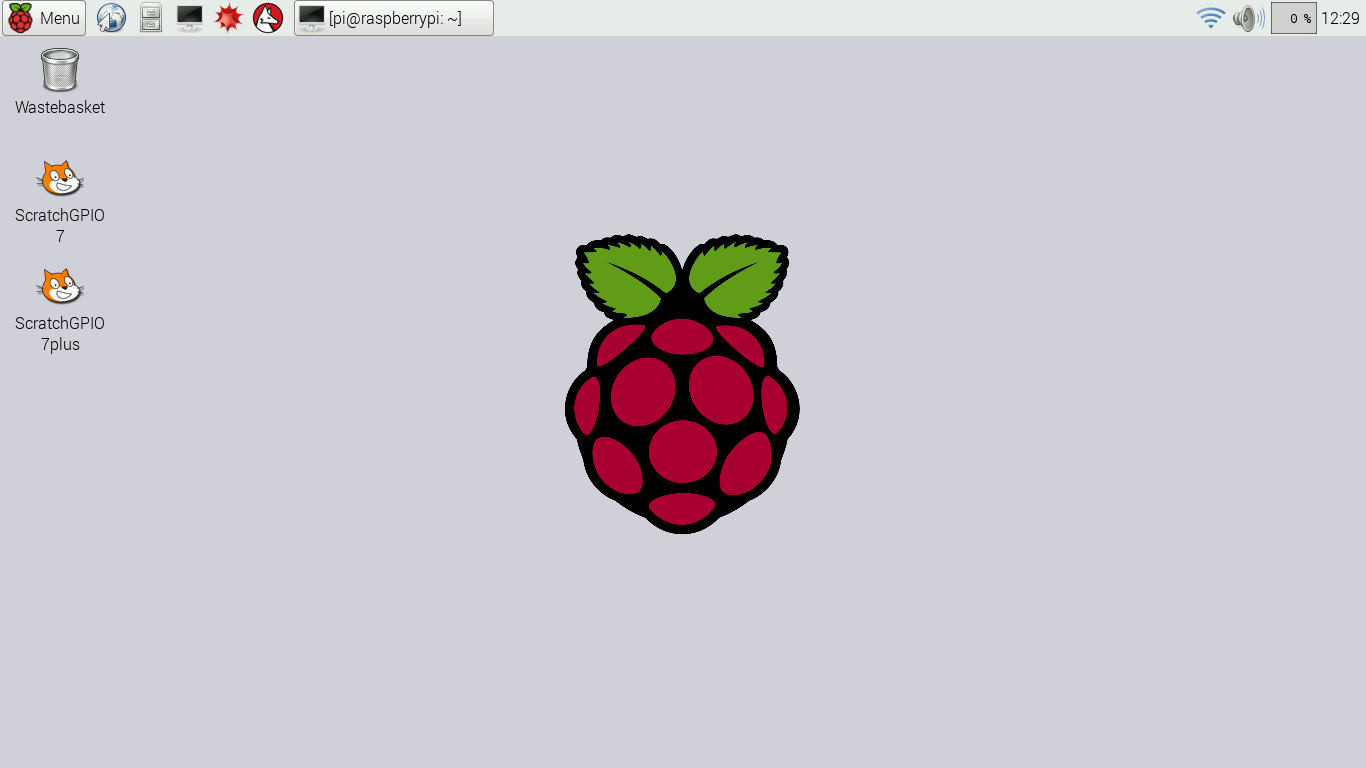
You will need to boot your Raspberry Pi as normal and get to the Raspbian desktop. You can do this by logging in and then typing.
startx
In the desktop open a terminal. You can see the icon for this in the top left of the screen, it looks like a PC monitor.
With the terminal open enter the following command.
sudo apt-get update && sudo apt-get install -y tightvncserver
This will update the list of software available for your Raspberry Pi and then install the tightvnc server. This may take a few moments to install.
Once installed the terminal will be returned to you.
Configuring tightvncserver
To use tightvncserver we first need to set a password. In the terminal type.
tightvncserver
You will be prompted for a password, I always use raspberry as the VNC connections that I use are always on trusted local networks and never on the Internet.
Re-type your password to confirm that it is correct.
Now you will be asked if we require a view only password, which we don't so simply answer No and press Enter.
Once complete you will see something like this.
New 'X' desktop is raspberrypi:1

Starting applications specified in /home/pi/.vnc/xstartup
Log file is /home/pi/.vnc/raspberrypi:1.log
This is telling us that we have successfully started a VNC server and it is the first one, denoted by :1.
So we have our VNC server running, now lets configure it to run at boot.
Running the VNC server at boot
When a Raspberry Pi boots it follows a list of instructions to start background applications, such as networking. We will create a new application to start when the Pi is booted.
In a terminal type the following.
crontab -e
In this new window, navigate using the cursor keys, to to the last line of the document which is blank.
In that blank line add the following.
@reboot sudo tightvncserver
To save the file press CTRL+O and to exit press CTRL+X
You will be returned to the terminal, lastly we need to find our IP address.
Finding our IP address
Still in the terminal we can use the following command.
hostname -I
This will show our current IP address, make a note of this.
Reboot your Pi
In a terminal type
sudo reboot
To reboot your Raspberry Pi and load the tightvncserver on boot.
Connecting up
We can use many different VNC viewer apps to control our Pi, but the best are from RealVNC you can also find apps from them in your tablets app store.
Download and install the viewer app and then launch it.
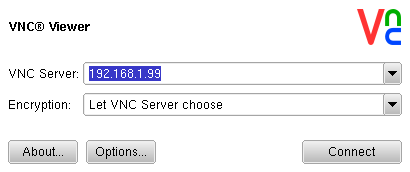
Instruct it to connect to your Raspberry Pi IP address and add the :1 number to tell the viewer which VNC server screen to attach to.
You will be prompted for a password, enter the password that you chose for the tightvncserver.
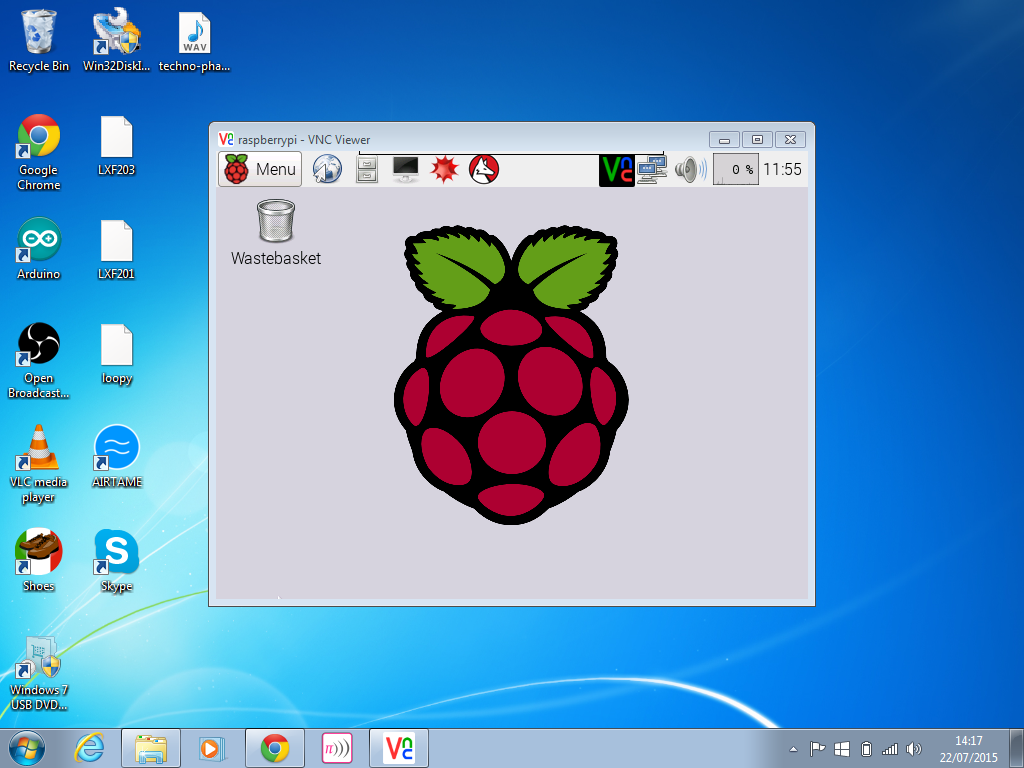
Hey Presto!
Remote controlled Pi
Need a downloadable version of this document? Click >>Here<<