Tooling Tuesday - easygui
This time we take a look at an easy way to make a GUI (Graphical User Interface) for our Python 3 projects.
So what is it?
easygui is, well an easy to use Python library to create Graphical User Interfaces (GUIs) using nothing more than a function call.
Originally created by Stephen Ferg, but now under the wing of Robert Lugg and team, easygui is a great library for quick GUI elements.
I first used easygui back in 2014 while running Python CPD sessions as a way to illustrate the power of Python especially for students.
So how can I install it?
easygui is available via the pip3 package manager, and under Linux we can install it as so...
sudo pip3 install easygui
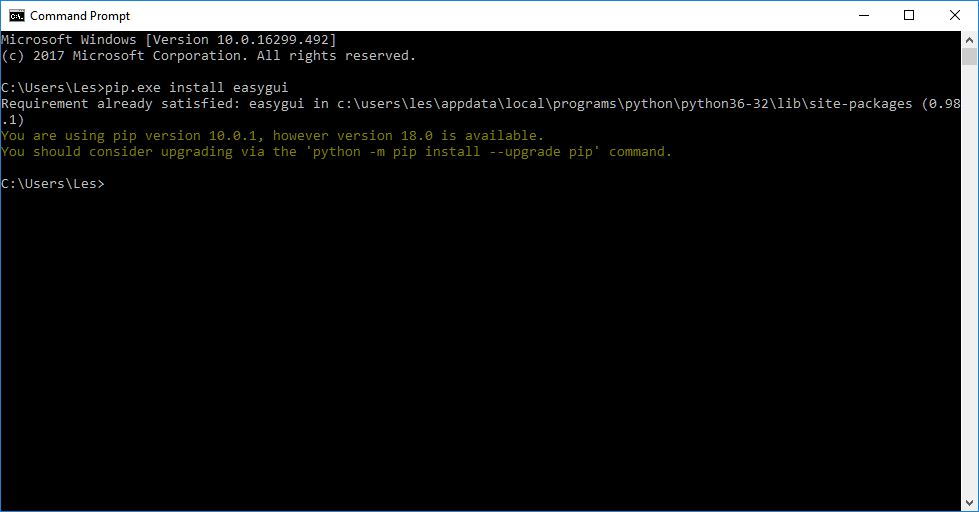
For Windows users, you will need to open a command prompte and type.
pip.exe install easygui
I even checked that it works on Windows!
So how can I use it?
Open up your favourite Python editor, and go into the Python shell (REPL) and running the following to see a demo of every function and feature found in easygui.
import easygui as eg
eg.egdemo()
Feel free to explore the demo and learn about the different dialog boxes and windows that can be created.
Quick Project

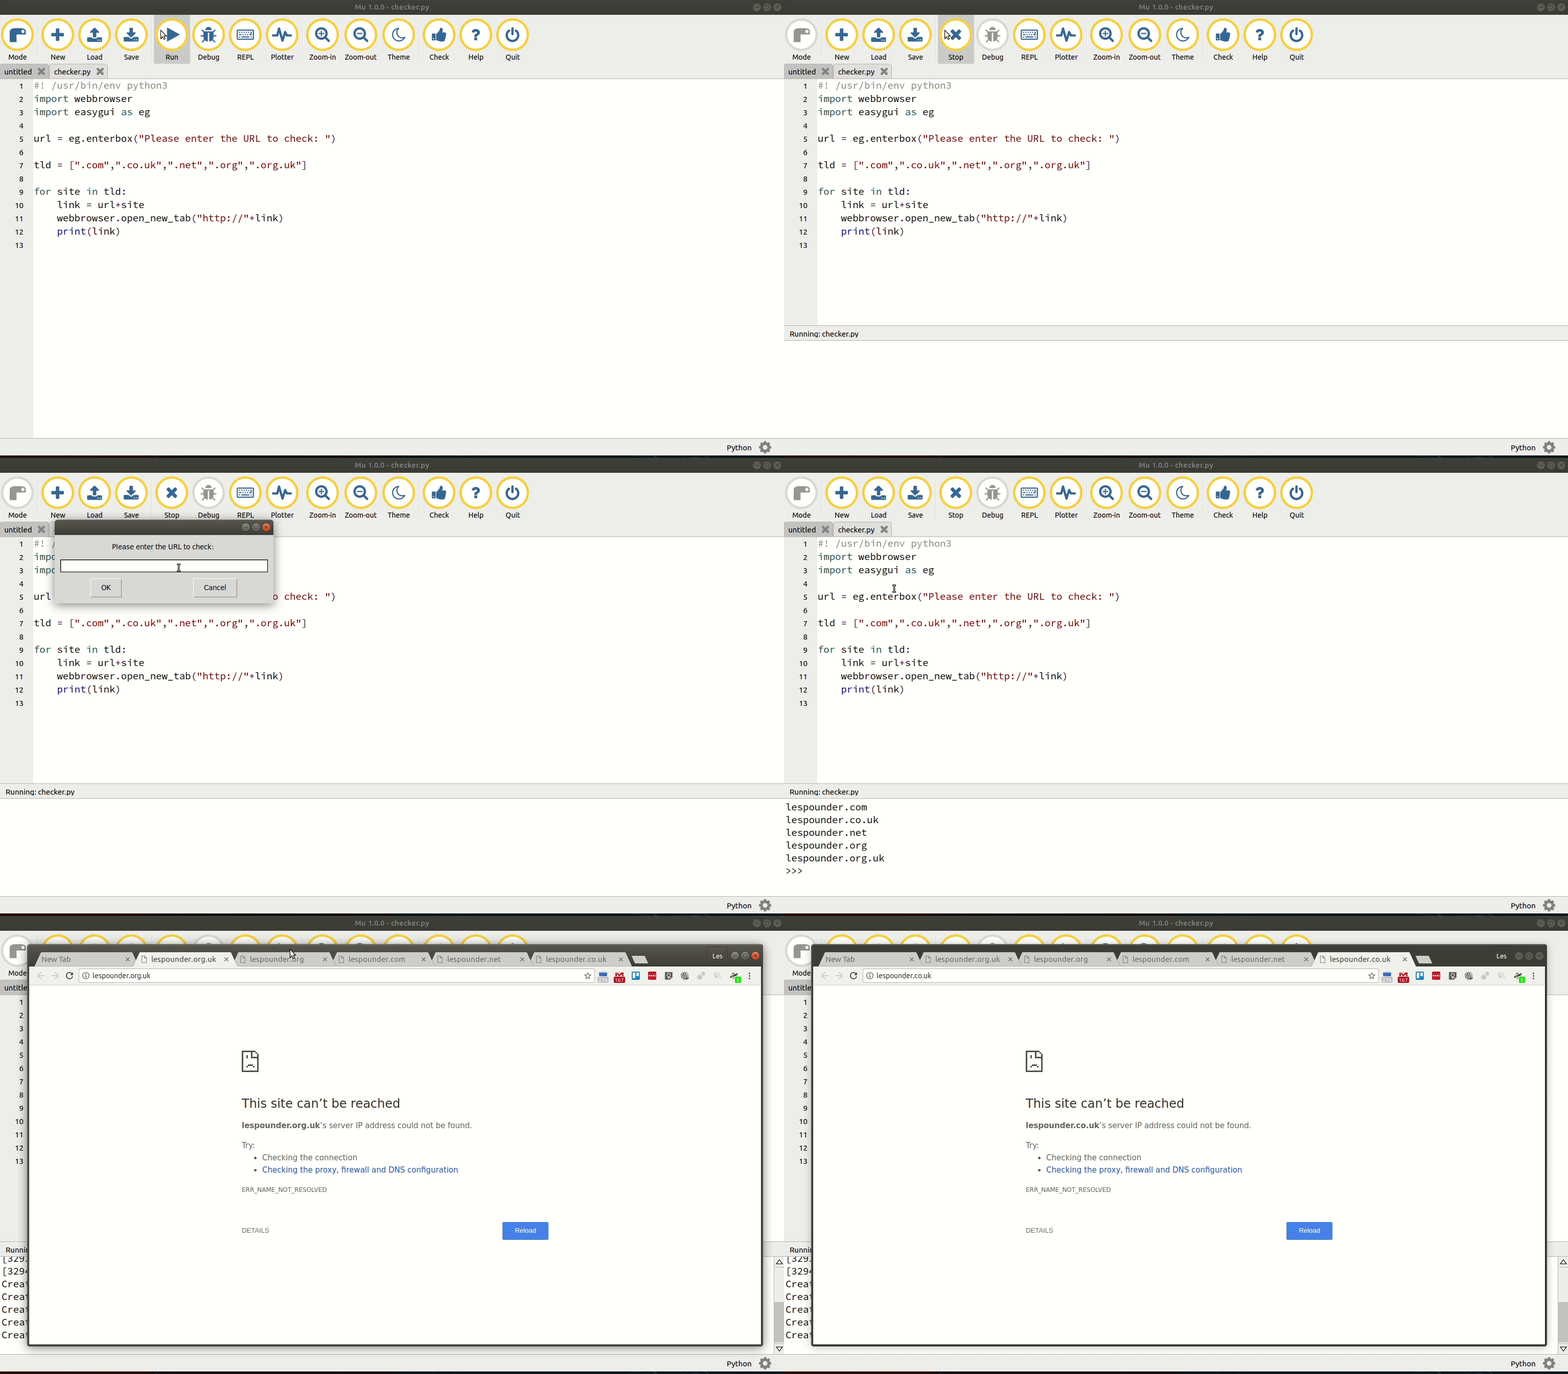
So lets use easygui to create a simple Python project. This project shall ask for the first part of a domain name, and then add the last part, the top level domain (TLD), for example lespounder is added to TLD such as .com, .net etc and then a web page is opened to that address.
So we start by importing the webbrowser library, used to create new tabs / windows in any web browser installed on your system.
import webbrowser
Didn't know that Python3 has a webbrowser library? That's ok, head over to my introduction to using this great library.
Next we import the easygui library, and as we import the library we shorten the library name to eg as it saves typing easygui.
import easygui as eg
Now we create an object, a variable which will store the the first part of the URL that the user wishes to check. For this we use the enterbox function from easygui. The enterbox is a box for entering information. So we can use this as a way to ask a question and have the user enter an answer. The syntax for an enterbox is that we call the function, and inside the brackets we pass the question that we want to have an answer to.
url = eg.enterbox("Please enter the URL to check: ")
The
enterboxis similar toinputin Python 3, but it looks prettier.
With a means to capture the user's choice created, we next create a list (an array for those not familiar with Python) called tld which will contain the last part of the address, for example .com
tld = [".com",".co.uk",".net",".org",".org.uk"]
In Python a list is a data storage object which is mutable (we can change the contents) and stores data using an index, with the first item in the list occupying index 0. Further items in the list are indexed 1,2,3.... etc.
So how can we check all the TLD in our list? Well for this we need a for loop, a loop that will iterate over every item in the list and perform the actions that we wish. Our for loop will create a variable called site which is used to store each item in the ```tld
for site in tld:
But what happens each time the loop is run? Well first we create a variable called link, which will store the URL from the user and the TLD (site) each time the loop iterates.
link = url+site
So for the first time the loop iterates, if we choose to check "lespounder" as our URL. Then the first loop will check for "lespounder.com".
So how can we check each site?
To see if each site exists, lets use the webbrowser library, specifically the open_new_tab function that will open a new tab (or if not already open a new web browser session) for your default web browser. For this function we pass the argument (extra instructions for the function) to include the start of any web address, chiefly http:// and then we attach this (via a + used to concatenate..connect) to the link variable that we have just created.
webbrowser.open_new_tab("http://"+link)
The last step in the code is a simple print function which will print the link to the Python shell, this is a debug step.
print(link)
Save the code and give it a go!
What else can I make?
There are lots of dialog boxes that can be created with easygui, here are two more.
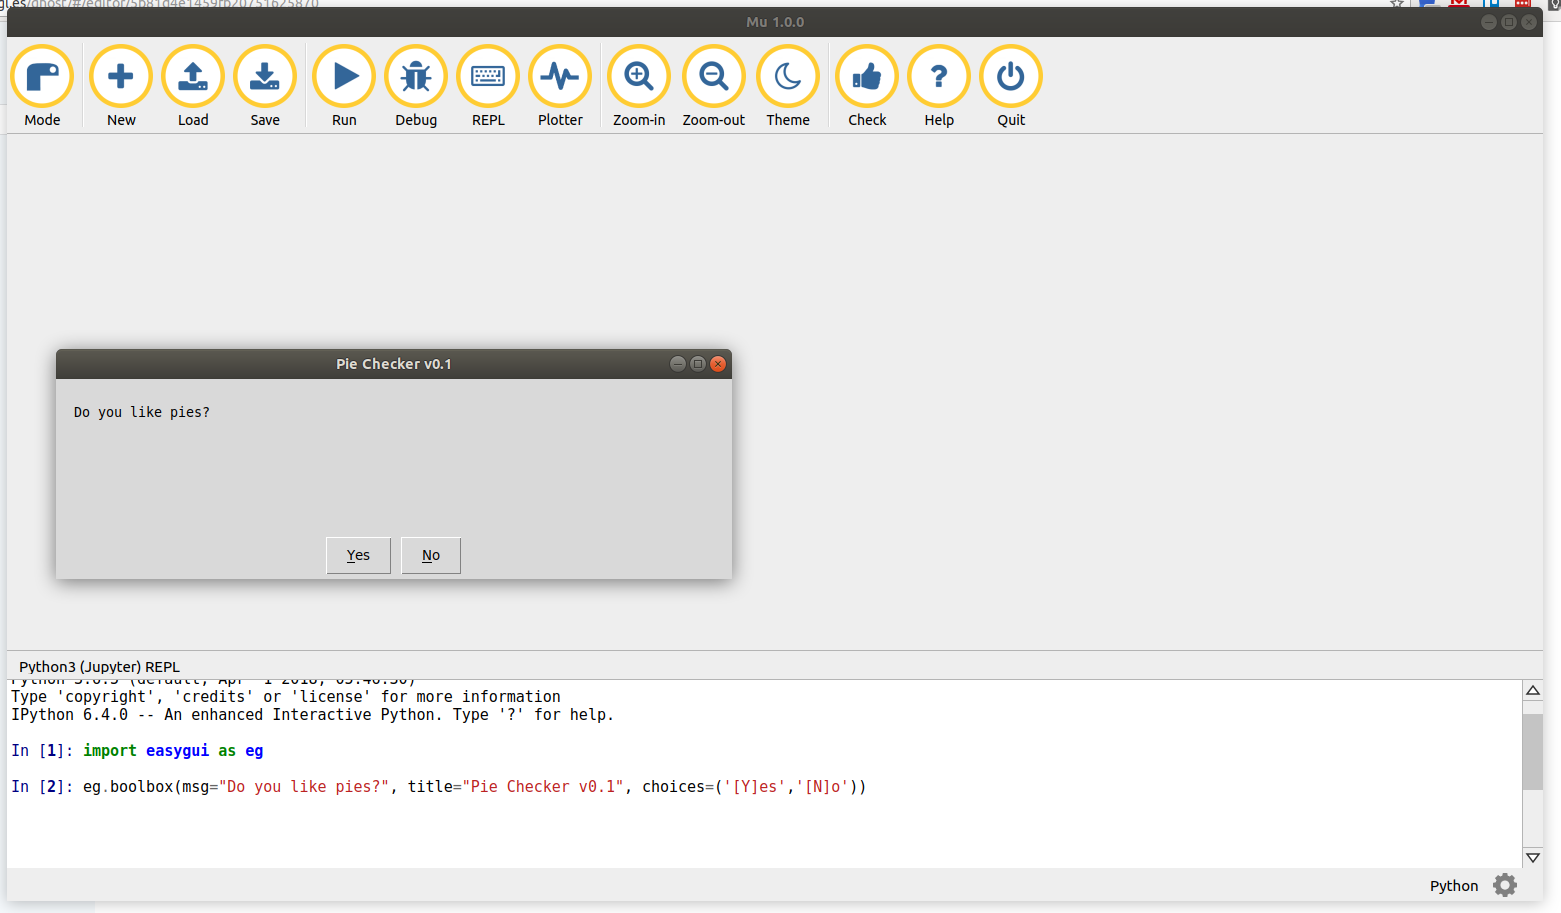
If you need to ask a simple Yes / No question then we can use a boolbox (boolean values.)

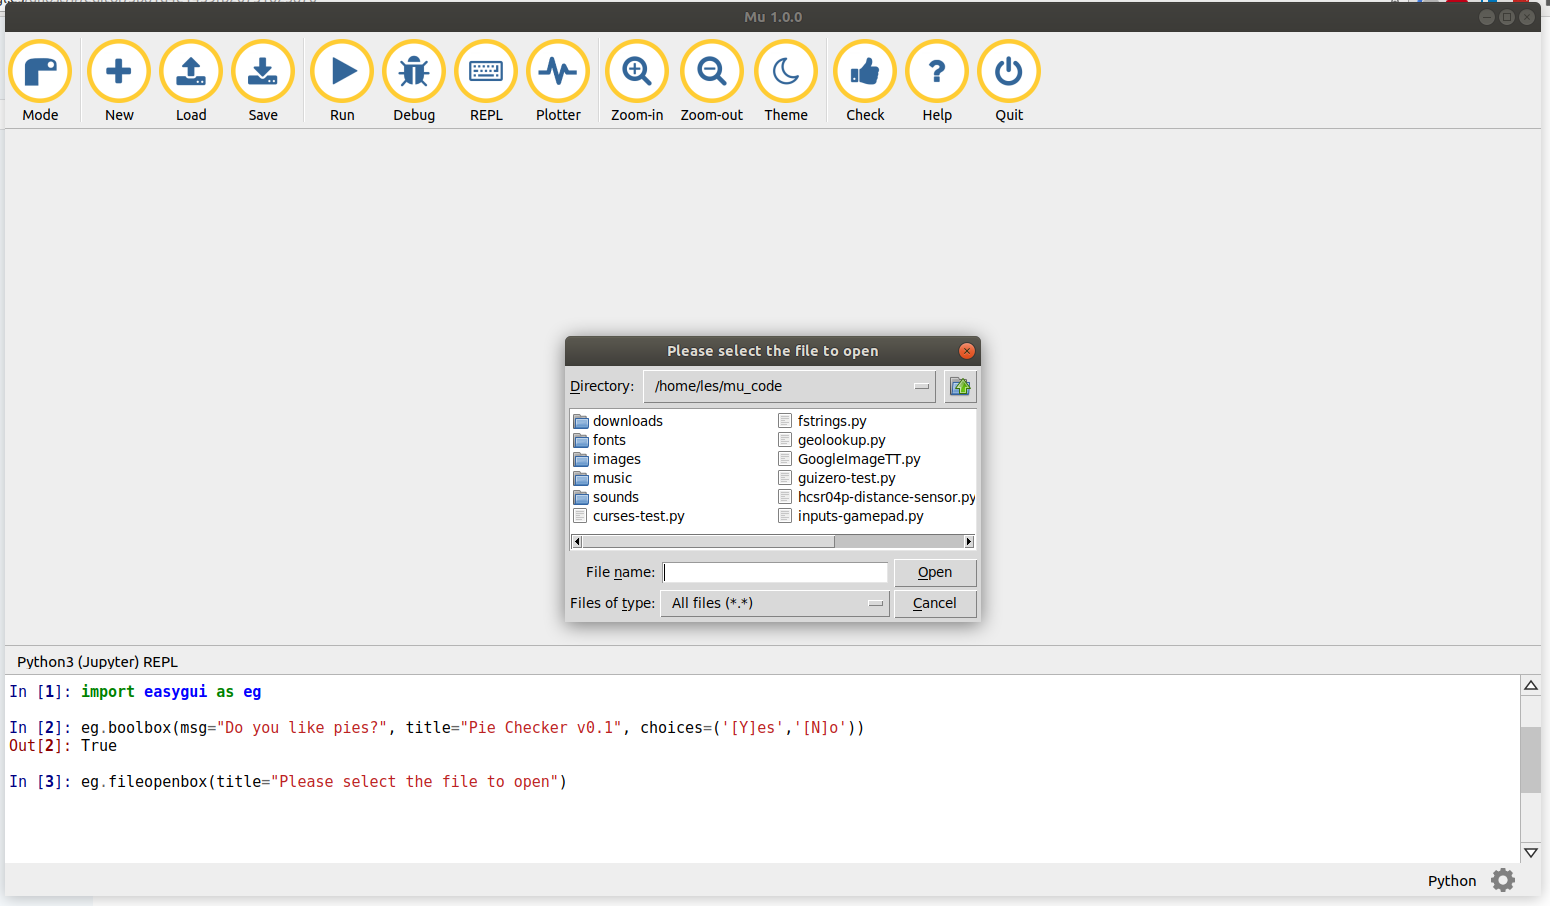
Perhaps you would like the user to specify the location of file that you would like to open? Then we can use a fileopenbox.

This is really cool as it will give us the full path to the file that we wish to open. Saving this to a variable means we can enable users to find/open/save files really simply via the GUI.
But what about GUI Zero?
First of all, GUI Zero is awesome and I have used it in quite a few projects. But if you just need a quick hit of GUI, then easygui is much simpler, but lacks the depth of features found in GUI Zero. So consider your use case to see which of the libraries meets your needs.
Hey did you know that Mu, the simple Python editor from Nicholas Tollervey, comes with GUI Zero pre-installed? You didn't? Well you should try it out!
Enjoy hacking with easygui!
