Tooling Tuesday - ngrok
It may sound like a swear word in Judge Dredd / Battlestar Galactica, but ngrok is rather handy for development.
So what is it?
"ngrok exposes local servers behind NATs and firewalls to the public internet over secure tunnels."
Pardon?
So I am running a really cool project with a web interface on my local network and I want to temporarily test it across the Internet. Using ngrok I can create a temporary URL to the dev machine and let people outside of my network access the machine for testing.
So where can I get it?
General OS Level
To download ngrok, head over to their website and download the version for your operating system. and then extract the contents of the archive.
Linux users can copy the
ngrokfile to/usr/bin/so that the command can be called from anywhere on the system.
Node-RED Package
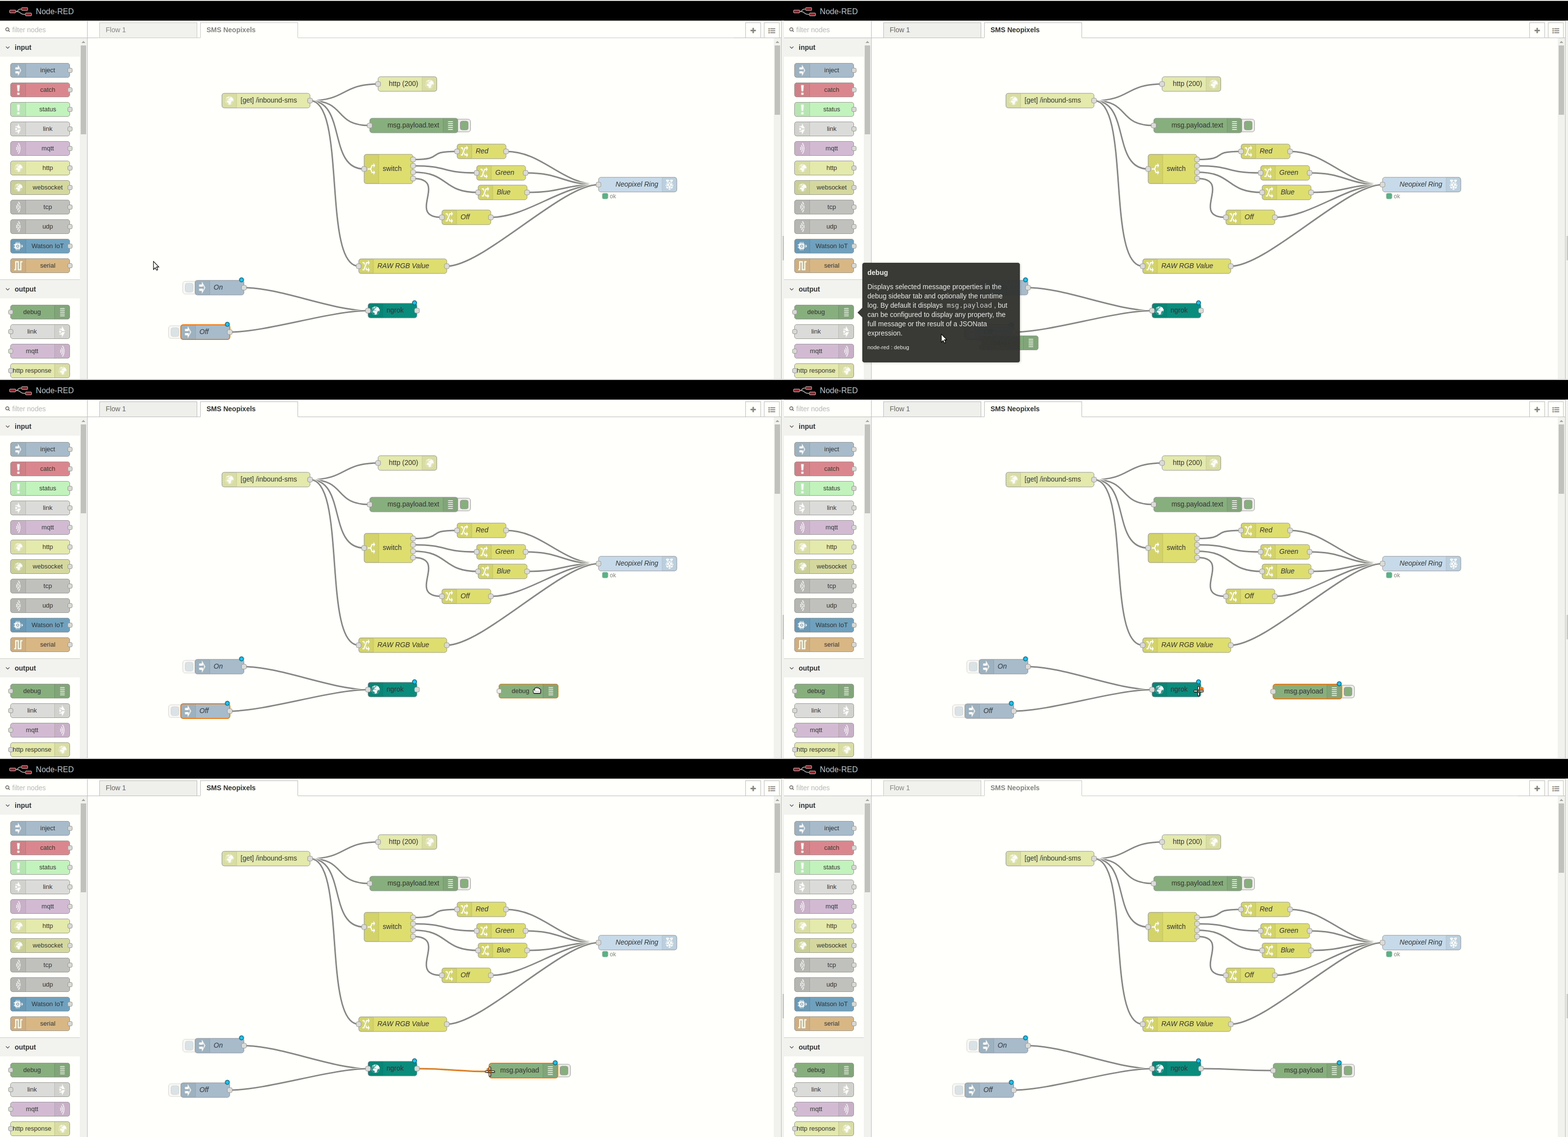
There is a great and really simple ngrok package for Node-RED. Created by Sam Machin, this package can create an ngrok tunnel without leaving Node-RED!
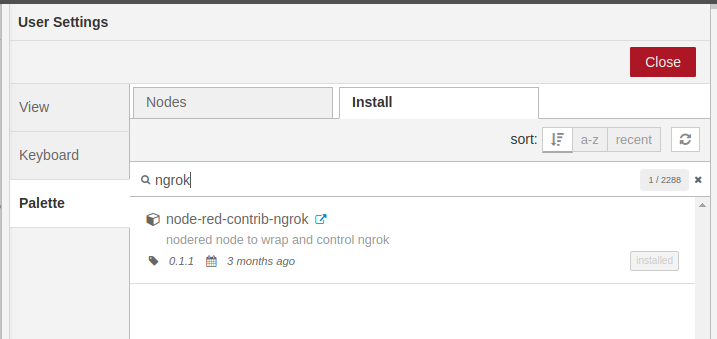
Installation is via the manage palette menu in Node-RED.
You will need to sign up for a free account on the ngrok site.
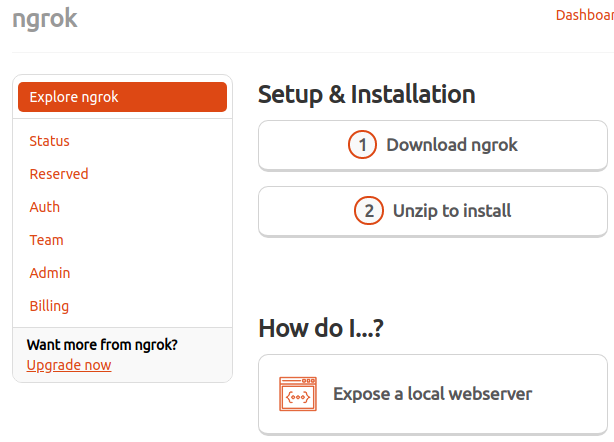
When you have an account, go to your dashboard and click on the Auth menu option.

Copy your Authtoken and go back to Node-RED.
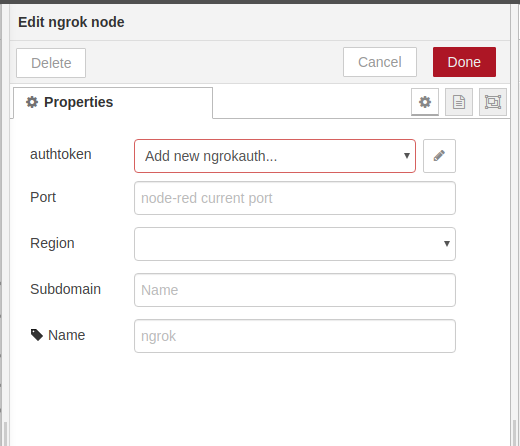
Drag the ngrok node into the flow and then double click to edit the properties and in the authtoken property select Add new ngrokauth then paste your authtoken into the next menu and click Add.
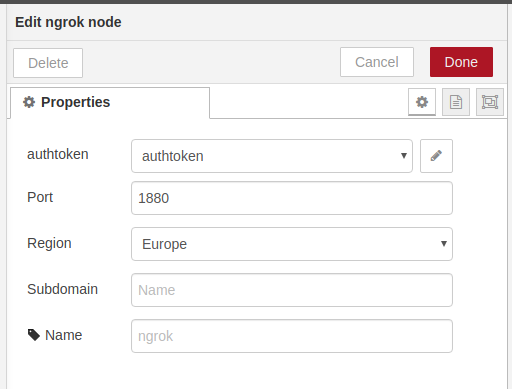
Then all you need to configure is the Port and Region.
To start and stop ngrok in Node-RED just use two inject nodes. One to inject on and the other off. Use a debug node to see the ngrok URL.
So the serious bit!

Do not use this in a corporate / business / work environment without first consulting with the IT team / network manager / line manager / sysadmin / $deity. If used incorrectly you could create a rather large hole in the firewall!
Big Les takes no responsibility for this! Use it for your home projects!
So now what?
Running ngrok is quite straight forward. Here is something that I used to create a public URL to access a Raspberry Pi Zero W running Node-RED. This also enabled the Pi to access an external API via the secure tunnel.
./ngrok http 1880
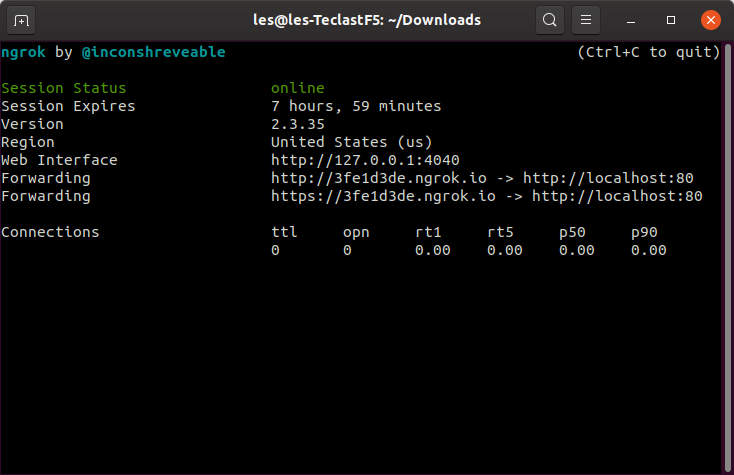
This will generate a unique URL which will last for eight hours.
If you would like a longer tunnel, as in time not length, then you can invoke the ngrok command and pass the auth token as a parameter.
./ngrok authtoken <YOUR_AUTH_TOKEN>
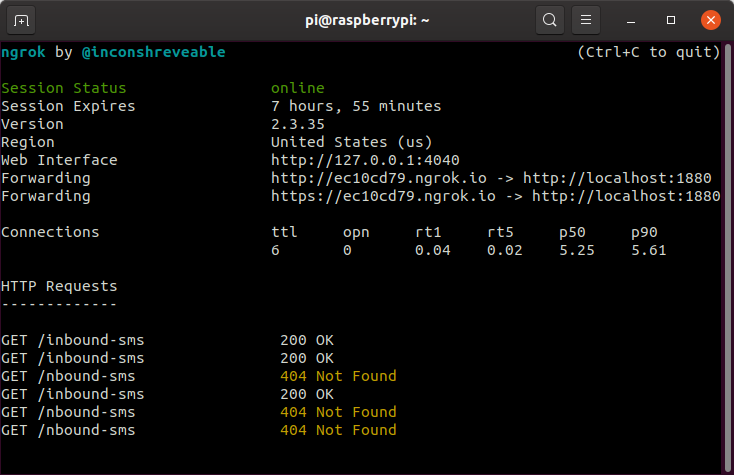
In the terminal I can see the HTTP codes (200 is successful, 404 not found...as I made a typo with the URL in Nexmo API)
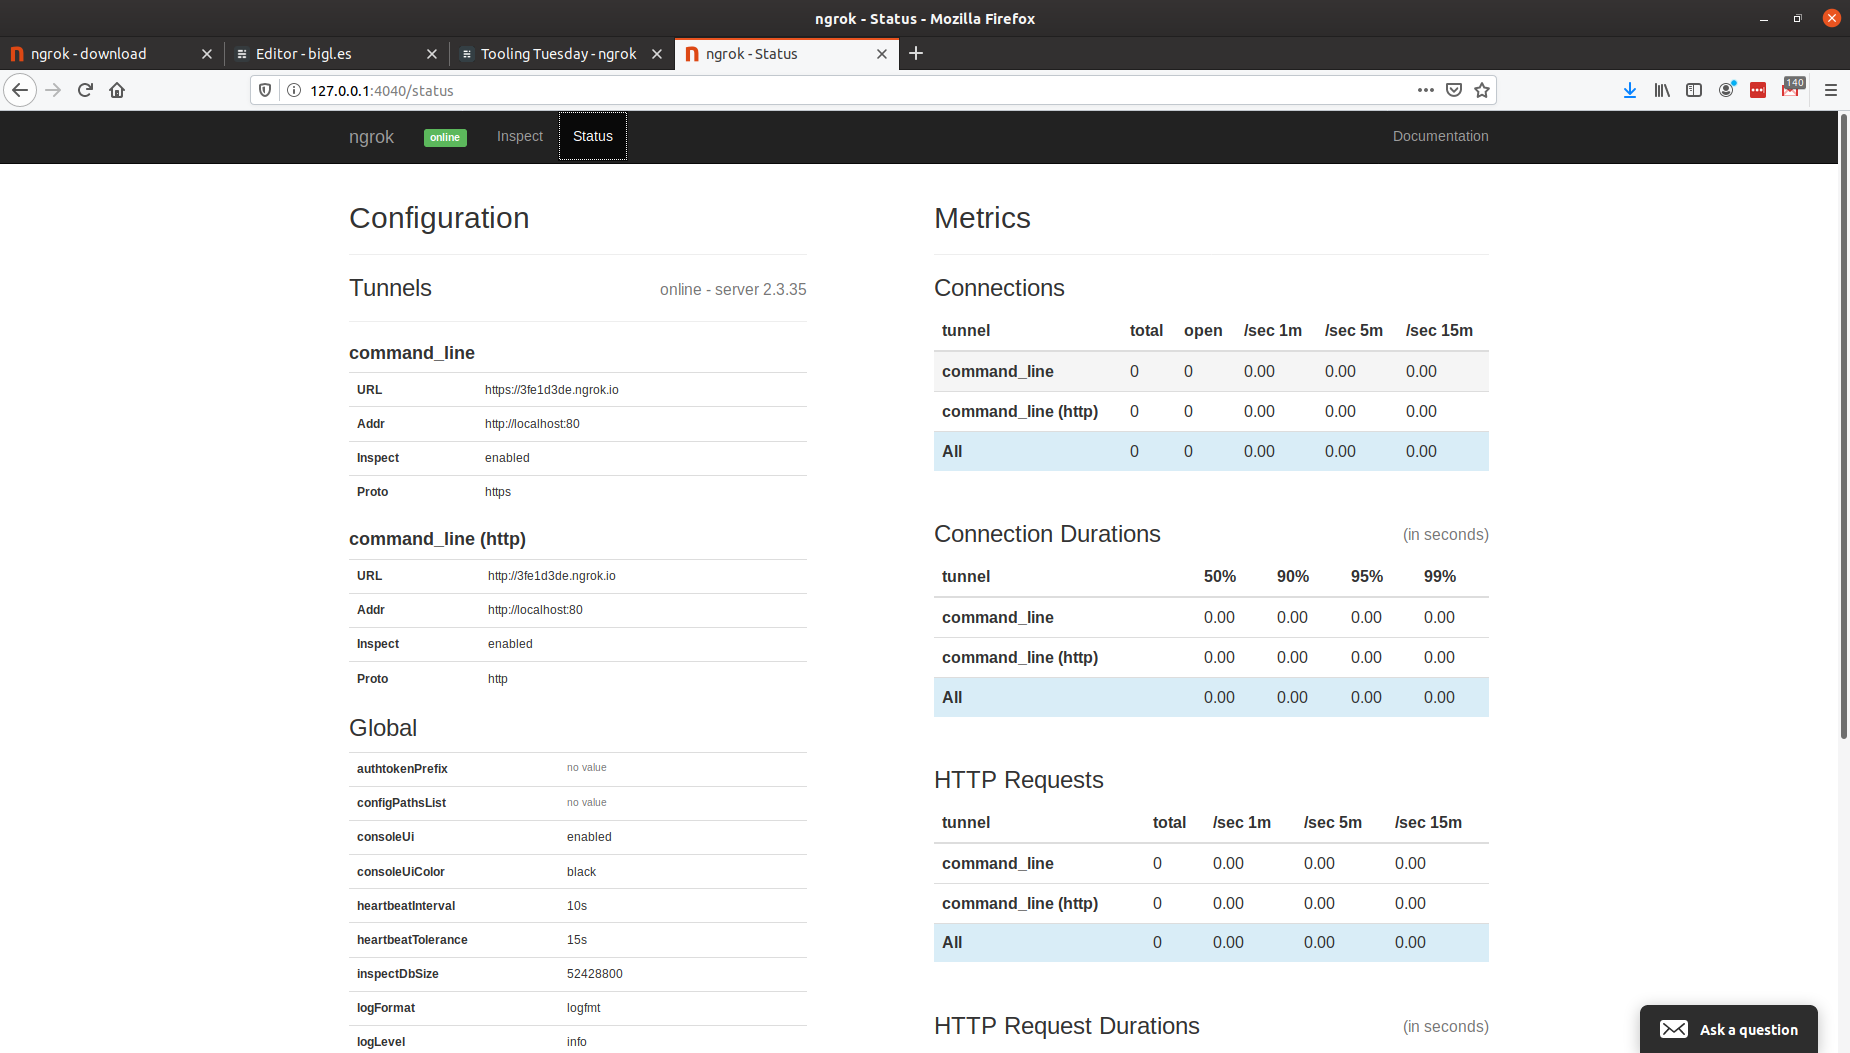
We can also visit the web interface and see who is connecting, and other status details.
So there we go!
This is a rather handy tool and I am sure that I will add this to my box of tricks.