Tuesday Tooling: PROGRAM-O-TRON
Send in the clones!
First things first!
Proto-Pic supplied this board for my review...back in May 2018. It fell behind my desk and a team of archaeologists found the board last weekend. As the board was provided free of charge I need to be clear, Proto-Pic did not ask to see or influence the review in any way. No money changed hands either. They just offered me the kit for review. Sorry its a bit late!
So what is it?
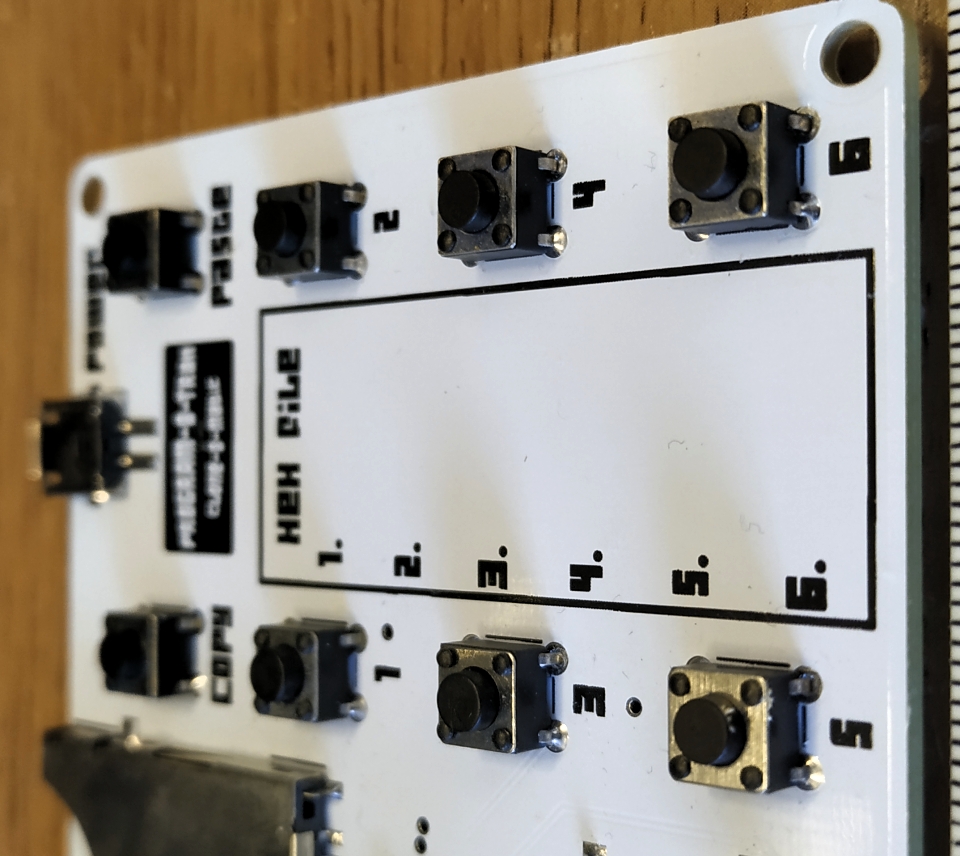
PROGRAM-O-TRON is a tool to program certain ATMega chips without the need for a computer.
Sorry what?
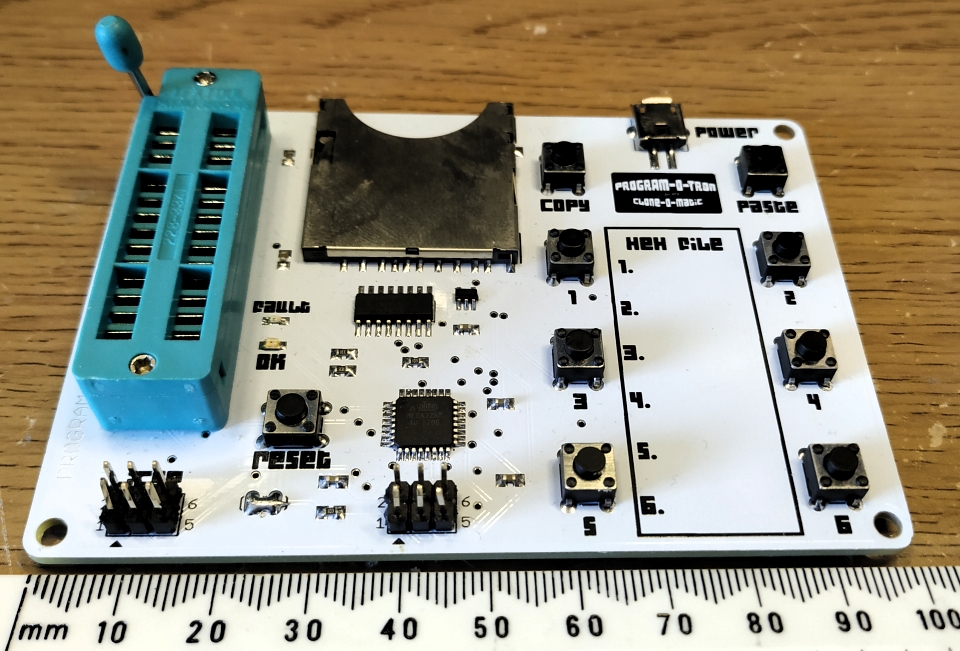
Ok the PROGRAM-O-TRON can...
- Copy a chip inserted into the holder, and then paste the contents to another compatible chip. Just by using the copy and paste buttons!
- Write a hex or Fuse file from SD card to the chip. You can have up to six files on a card, each file numbered to correspond to the button. For example button 1 has a file on the SD card of
1.hex, button 2 has a Fuse file2.fus. - Using the ICSP header we can program a chip already soldered into a project, just connect the ICSP pins of PROGRAM-O-TRON to the ICSP header of your board (Arduino have these)
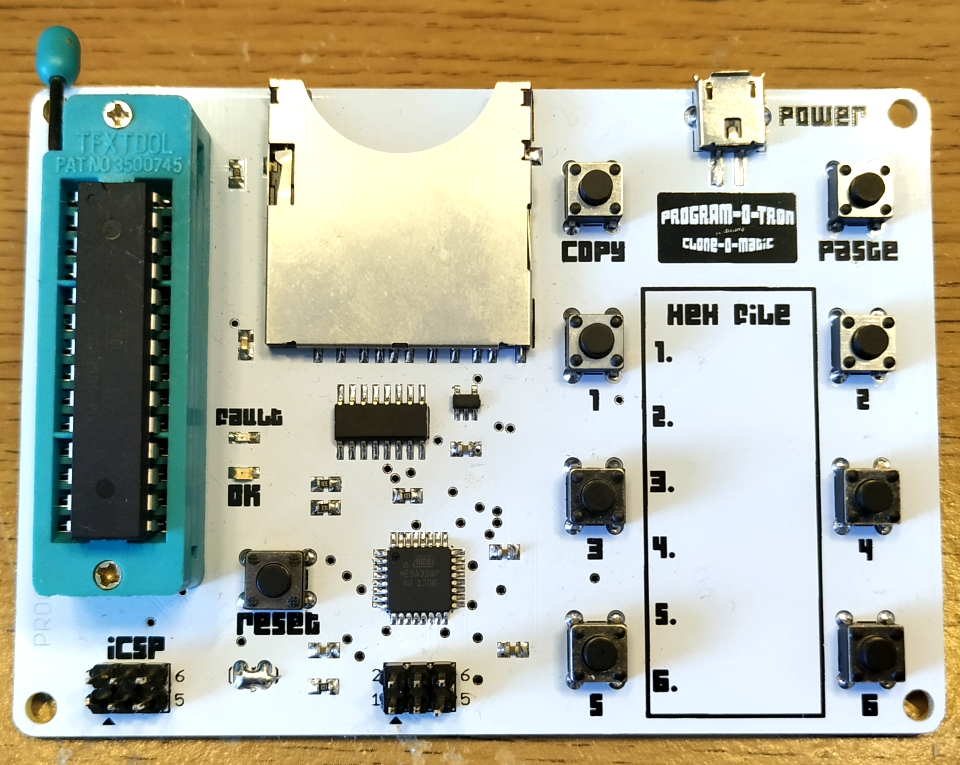
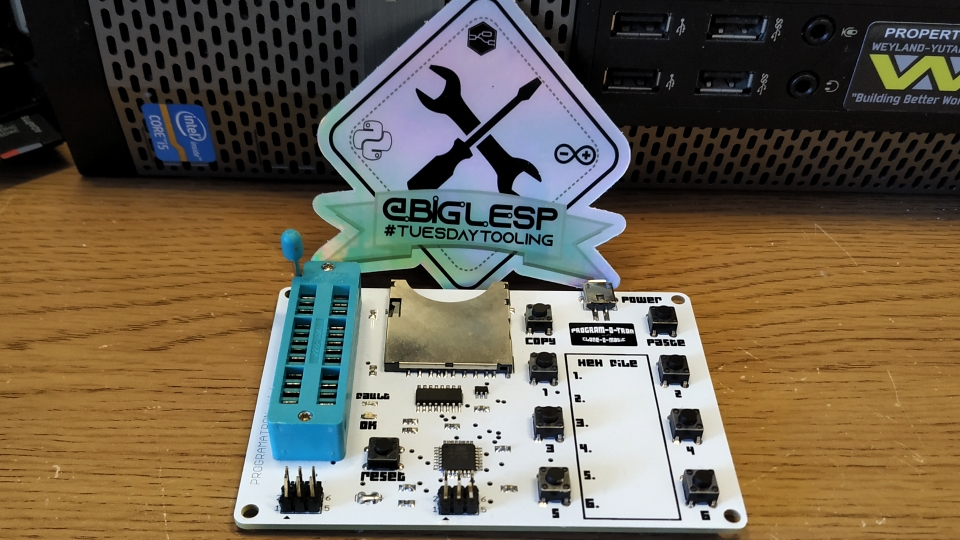
The PROGRAM-O-TRON has a really simple layout, which lends itself to the task at hand.
So what chips does it work with?
Via the ZIF socket
- ATtiny25
- ATtiny45
- ATtiny85
- ATtiny13A
- ATmega168PA
- ATmega168V
- ATmega328P
- ATmega328PB
- ATmega328
- ATmega48PA
- ATmega88PA
Via the ICSP connector
- ATtiny24
- ATtiny44
- ATtiny84
- ATtiny25
- ATtiny45
- ATtiny85
- ATmega48PA
- ATmega168PA
- ATmega168V
- ATmega328P
- ATmega328PB
- ATmega328
- ATmega164P
- ATmega324P
- ATmega644P
- ATmega640
- ATmega1280
- ATmega1281
- ATmega2560
- ATmega2561
- At90USB82
- At90USB162
- ATmega8U2
- ATmega16U2
- ATmega32U2
- ATmega16U4
- ATmega32U4
- ATmega1284P
- ATmega1284
- ATtiny2313A
- ATtiny4313
- ATtiny13A
- ATmega8A
- ATmega64rfr2
- ATmega128rfr2
- ATmega256rfr2

Hi reader!
So how do I use PROGRAM-O-TRON?
Example 1: Copying an ATMEGA328PU chip
- Insert the ATMEGA328PU into the socket with pin 1 at the top left, nearest the lever.
- Close the lever.
- Power up the PROGRAM-O-TRON and wait until the LEDs settle.
- Press COPY to dump the contents to the PROGRAM-O-TRON.
- When done, remove the ATMEGA328PU, and place the ATMEGA328PU which you wish to flash to!
- Close the lever.
- Press Paste
- Wait for the LEDs to settle.
- Remove the freshly flashed ATMEGA328PU and put it into your project!
Example 2: Flashing a hex file.
- Create an Intel hex file (don't worry I'll be doing this later!) and rename the file to
1.hex. - Save
1.hexto an SD card formatted as FAT32 (standard Windows format) - Insert the SD card into PROGRAM-O-TRON.
- Insert the target chip, for example an ATMEGA328PU.
- Power up PROGRAM-O-TRON.
- Press button 1 to flash
1.hexto the ATMEGA328PU. - Wait for the LEDs to settle.
- Remove the ATMEGA328PU and insert into your project.
How can I flash an Arduino sketch to many ATMEGA328PU?
Here is a use case.
I have written a cool Arduino sketch that I want to copy to lots of ATMEGA328PU chips which will be in a breadboard. I could plug in each ATMEGA328PU into an Arduino Uno and flash each one. Or I could compile the sketch in the Arduino IDE. Copy the hex file to the SD card and use PROGRAM-O-TRON to mass flash the chips.
So how can I do that?
First we need to find out where the Arduino IDE saves a hex file to when compiling a sketch.
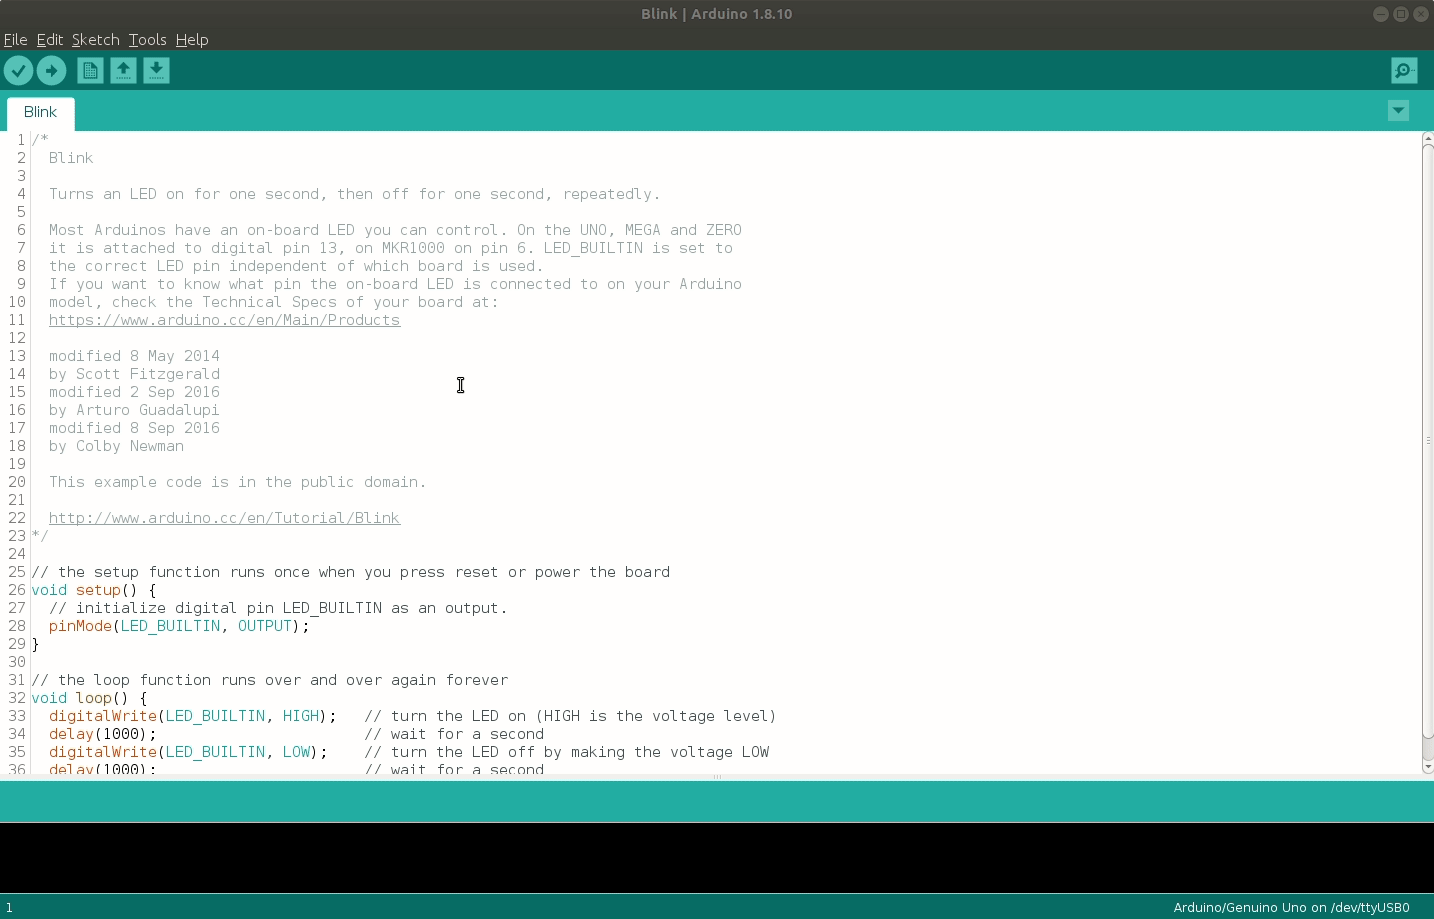
Open the Arduino IDE, and click on File >> Preferences.
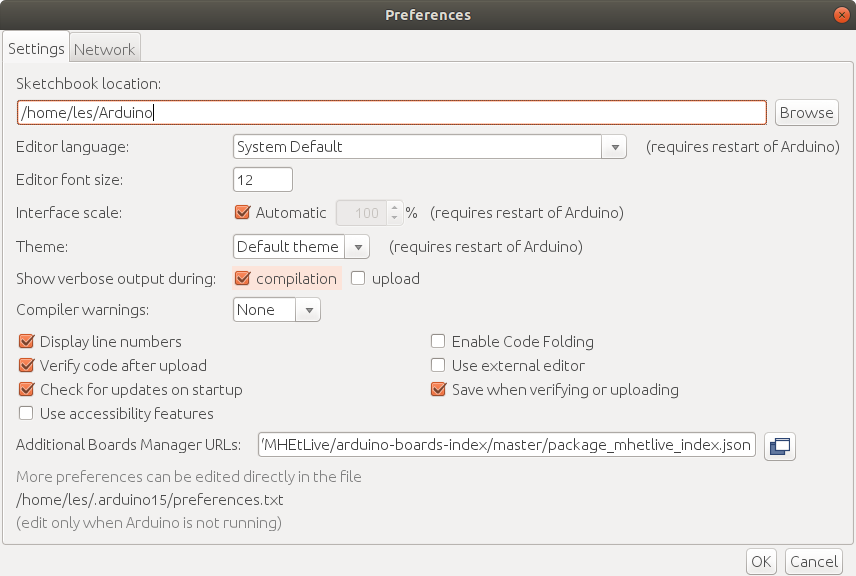
In the new window look for Show verbose output during

and click on compilation.
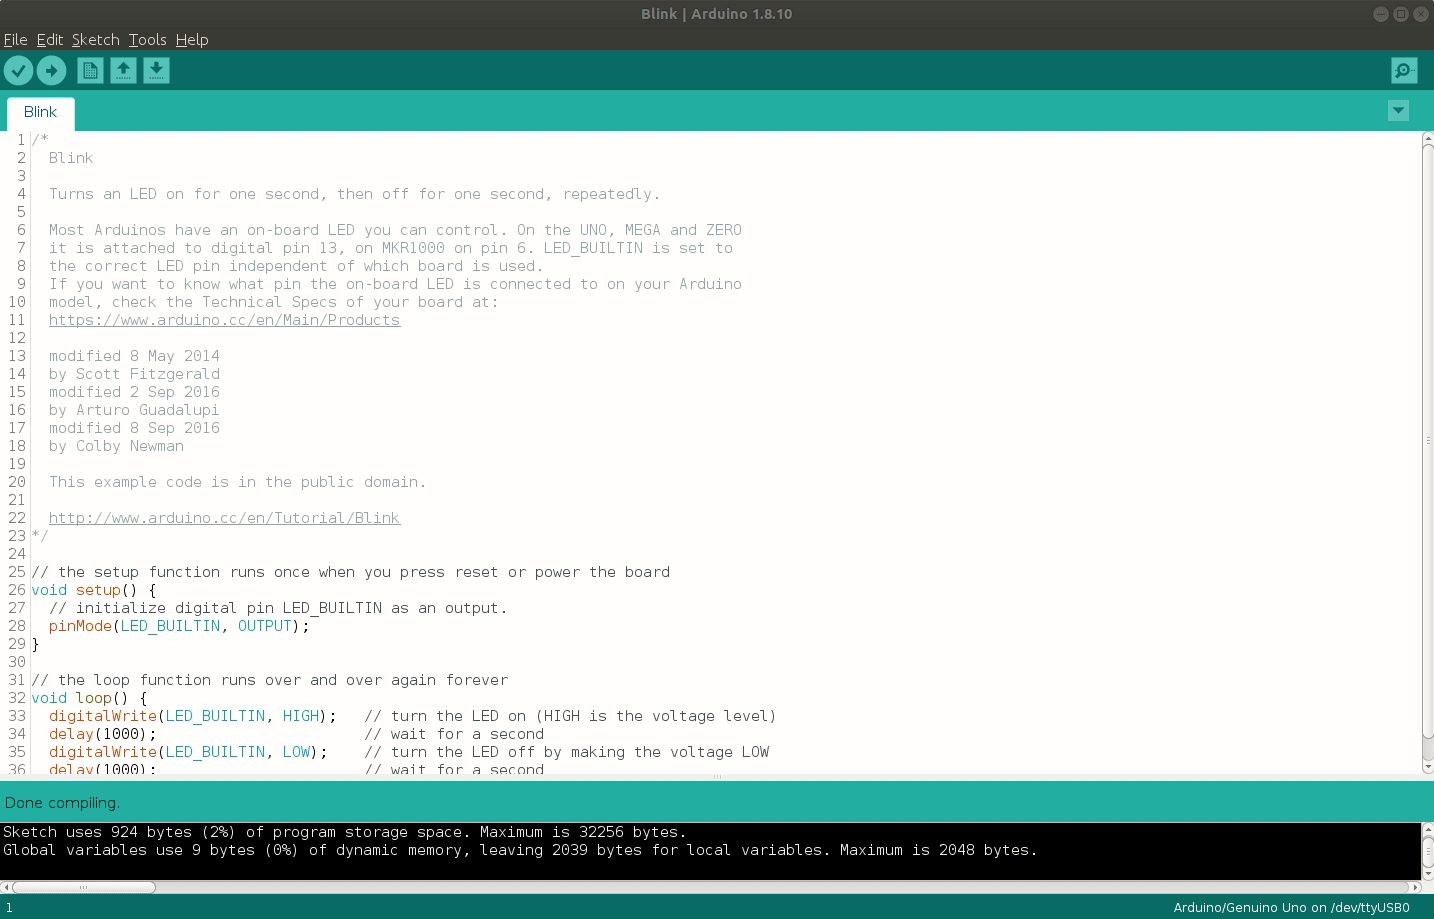
Now open the Blink example sketch. Then go to Tools >> Board and ensure that Genuino / Arduino Uno is selected.
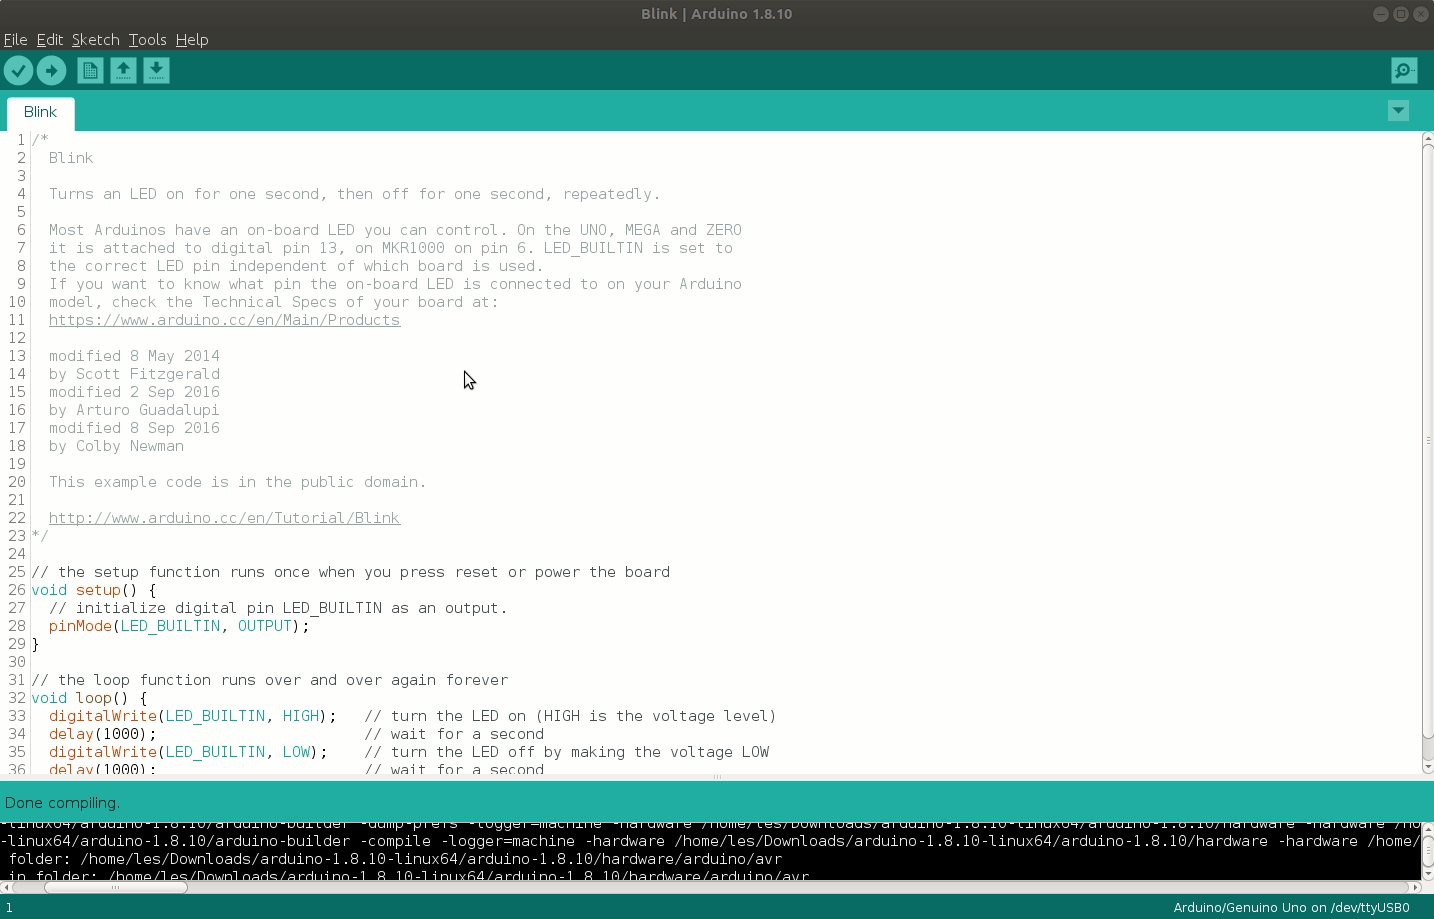
Click on the Verify icon to compile and check the code. After a few seconds the console output at the bottom of the Arduino IDE will show a lot of text. We can poke around in here and learn where the hex file is. In my case it is saved in /tmp/arduino_build_271256/ as a temporary file.
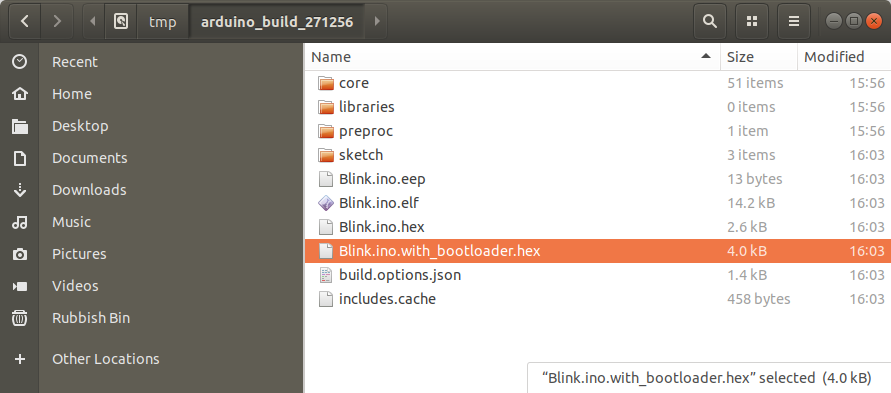
Sure enough inside that directory are a number of hex files.
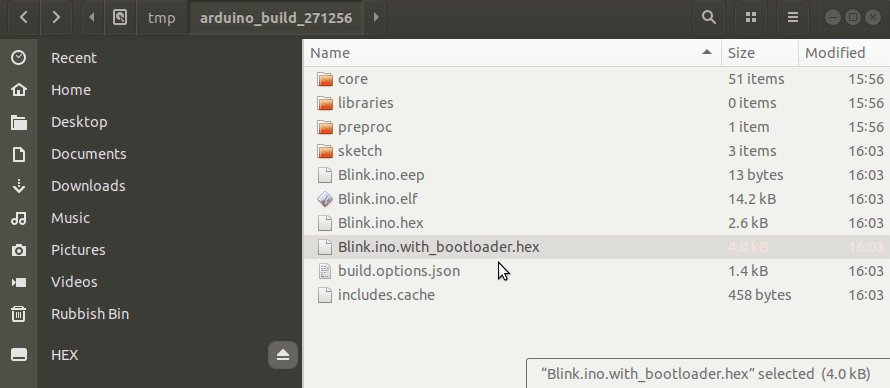
In particular I want the file Blink.ino.with_bootloader.hex which I copy to my SD card and rename to 1.hex.
I then put the SD card into PROGRAM-O-TRON, and insert the ATMEGA328PU. I power up the PROGRAM-O-TRON and press Button 1 to flash the hex file to the chip.
I then pop the chip into my Arduino to test, and after a few moments I see a blinking LED.
So who is this aimed at?
PROGRAM-O-TRON is aimed squarely at people who need to bulk flash chips. So the makers who are selling kits online.
So where can I get one, and how much.
PROGRAM-O-TRON is available from Proto-Pic and it retails for £53.00 inc VAT. Yes this is a big price for such a board, but if you are bulk flashing boards then this piece of kit will save you a lot of time.