Friday Fun: Envirophat Colour Detector
I'm back at Picademy...yay!!!
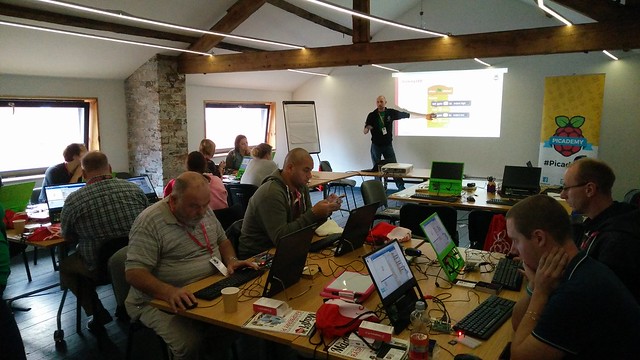
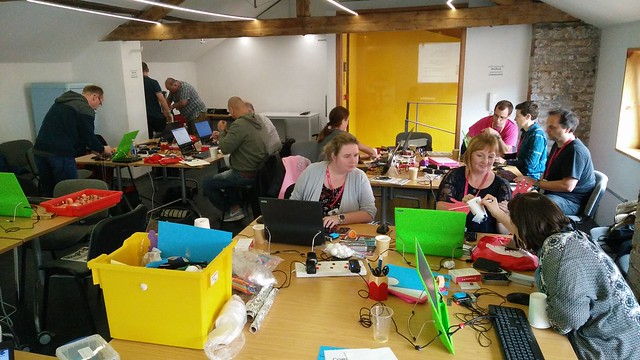
You may have seen that this week I was back at Picademy! Yay! Two days of learning, sharing and making.
One of the projects caught my eye, and it was a project that used the Pi Camera to detect a colour. But why would this be useful? Well dear reader, the project was created as a possible solution to a unique problem. Izzy, who created the project, works at Leeds Museum and there they have lots of fragile fabrics, wallpapers etc in their archives. But the museum would like for the public to see and interact with them.
So how can we make this simpler and cheaper?
The problem: Leeds Museum has fragile fabrics, wallpapers etc that they would like the public to interact with.
Project goal: To create a device that can detect the colour of an item / article of clothing and then suggest and show an item from the museum archives.
Solution: Use a Raspberry Pi and a Pimoroni Envirophat with a little Python code to detect the colour and display it on the screen, along with the R,G,B colour values.
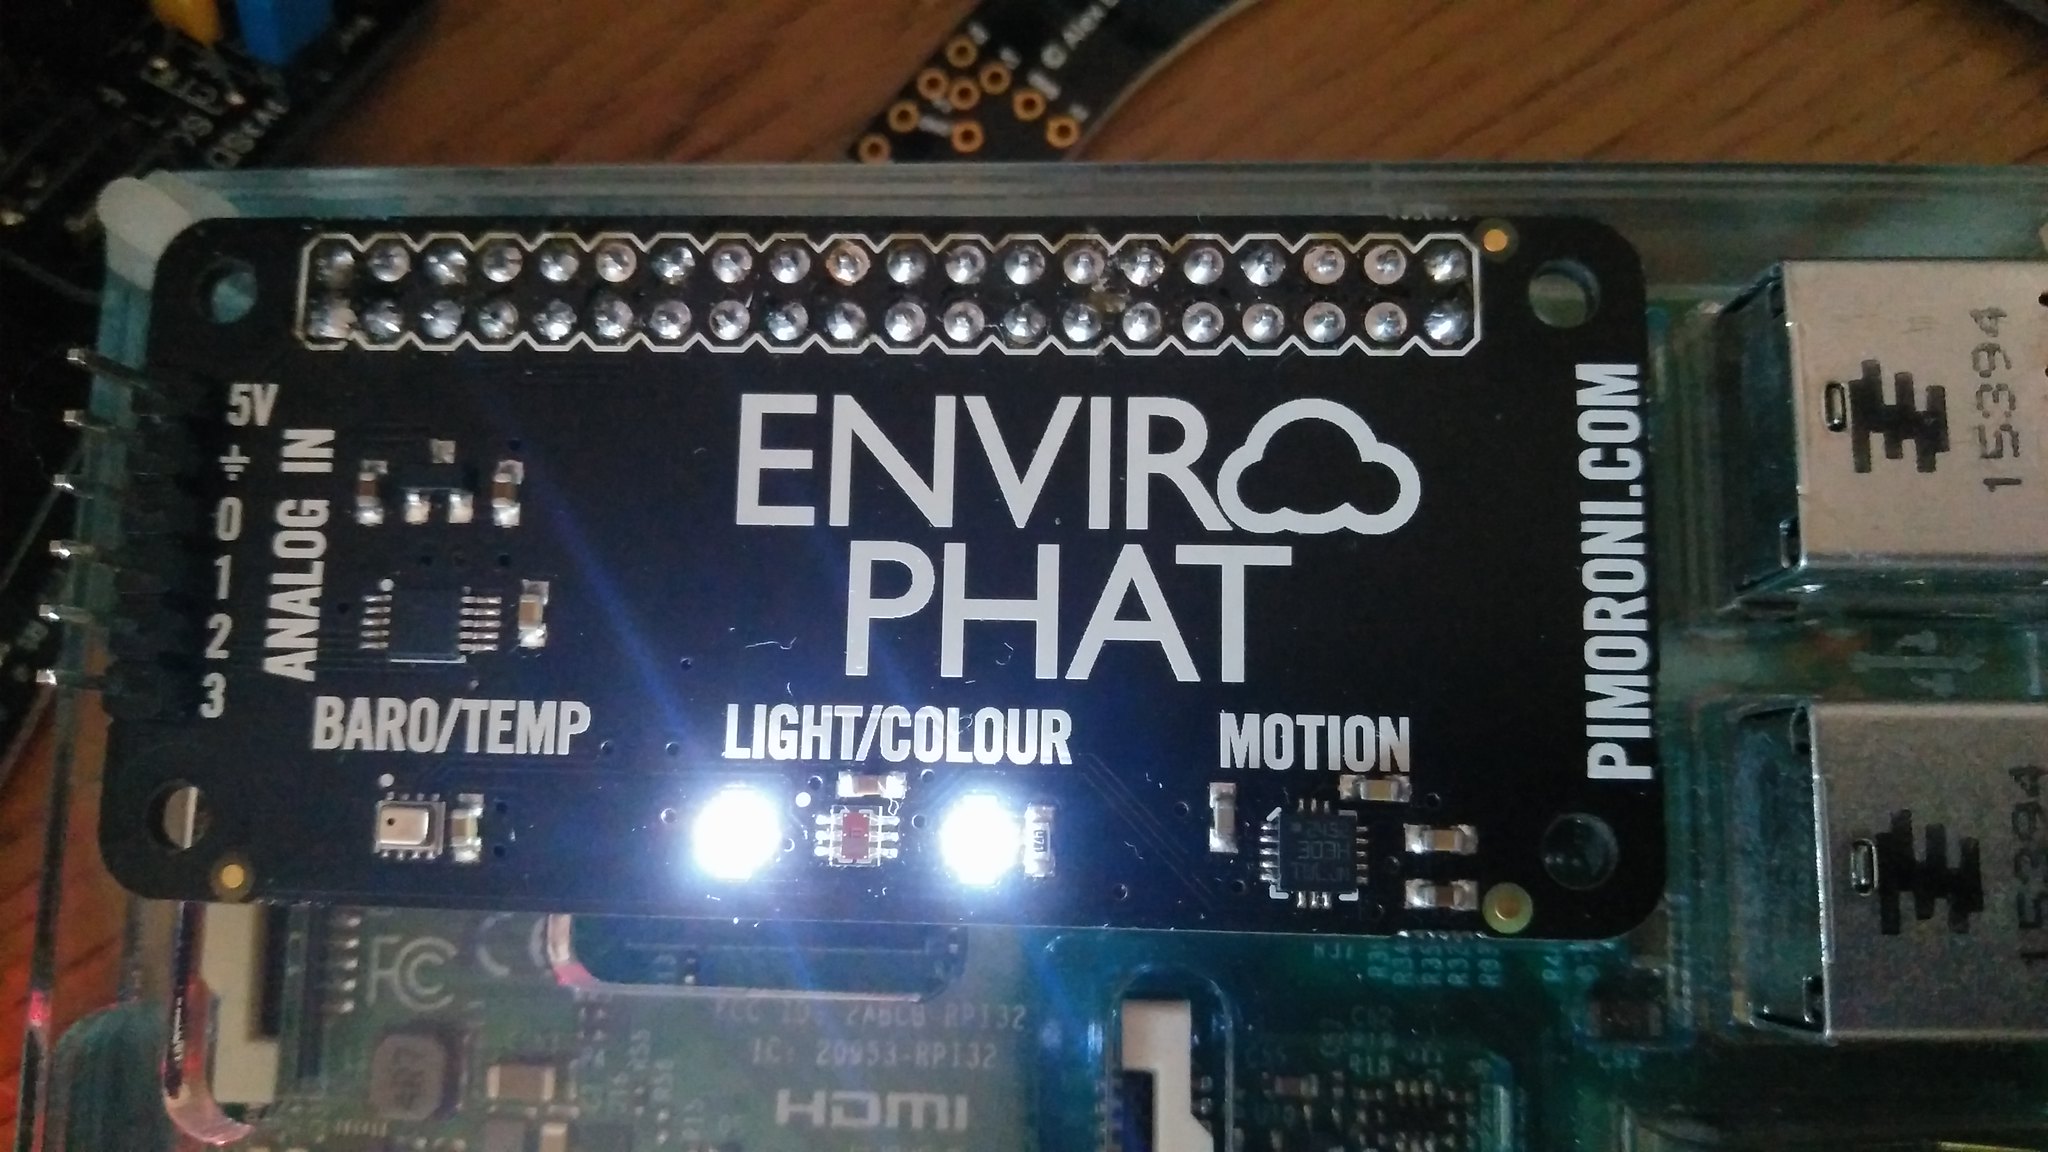
Envirophat?
I recently bought a few Envirophats (£16 from Pimoroni) for a week long Code Camp in Manchester. They did a brilliant job, but why? Well they are easy to use, thanks to a very simple Python library, and the Envirophat comes with plenty of sensors.
- BMP280 temperature/pressure sensor
- TCS3472 light and RGB colour sensor <-- We use this :D
- Two LEDs for illumination <-- And this!
- LSM303D accelerometer/magnetometer sensor
- ADS1015 4-channel 3.3v, analog to digital sensor (ADC)
Installing the software for Envirophat is a simple one line install script, run from the Terminal.
So in our project we will use the Envirophat along with a Raspberry Pi 3, but a Pi Zero W could be used instead.
Bill of Materials
- A Raspberry Pi 3 / Zero W
- Envirophat
All of the code for this project can be downloaded from my Github page.
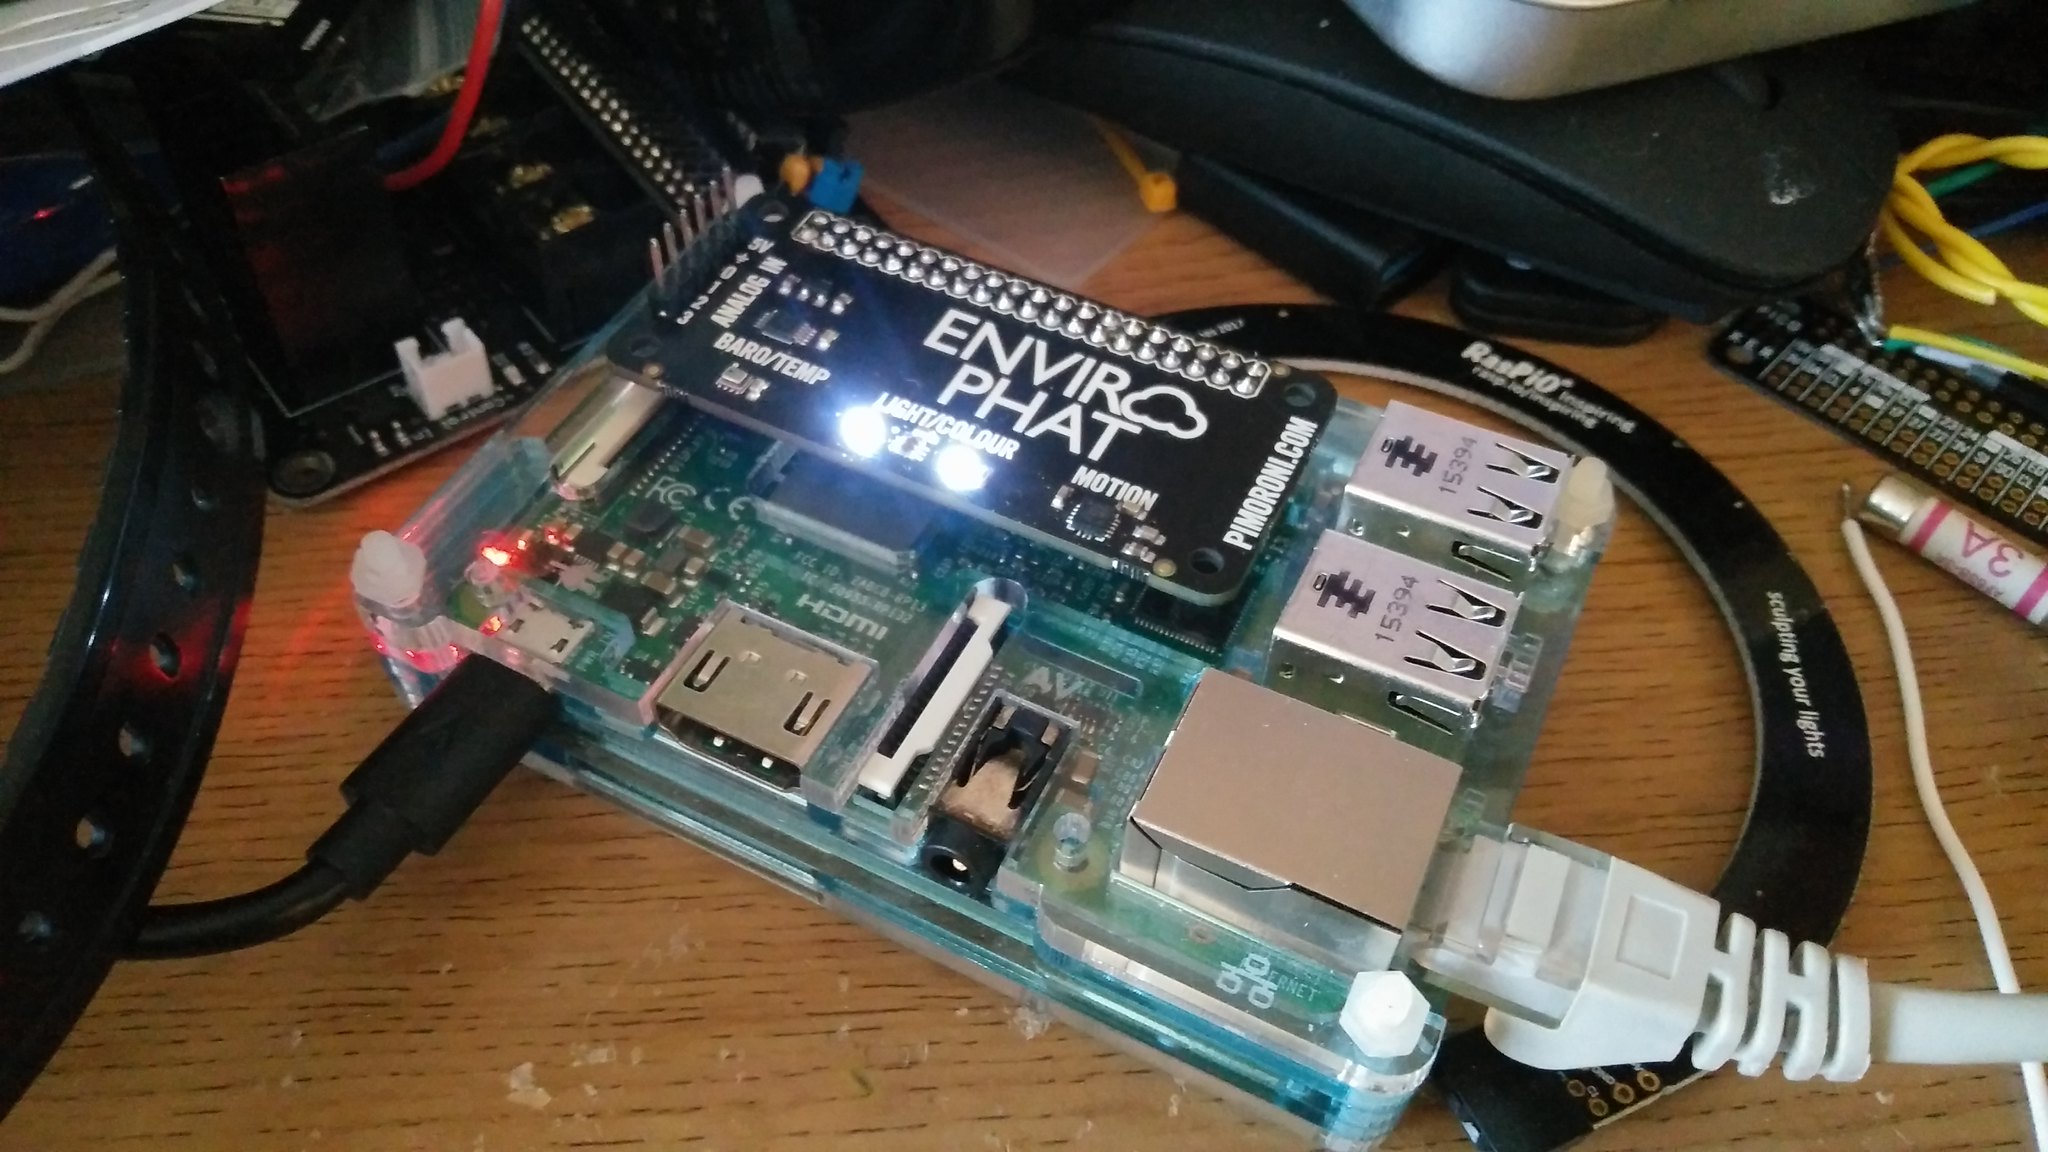
Building the hardware
The hardest part of this project is to solder the GPIO header on to the Envirophat board. Then just put on top of the Raspberry Pi insert your accessories and power up.
Lets start coding
I used a standard Raspbian Stretch installation, and coded the project in IDLE3, but this can also be written in Thonny. You will need to create a new blank file called envirophat-colour-checker.py
As always in Python, I start by importing the libraries of code that will be used in our project. First I import the pygame library, used to create a simple GUI window showing the colour of the item. The second library is for the envirophat. Lastly I imported two libraries in one line, the time library to control the update rate of the GUI, and the sys library used to exit the application. The code looks like this.
import pygame
import envirophat
import time, sys
Next up lets turn on the LEDs that are either side of the Envirophat's TCS3472 light and RGB colour sensor. Why? Well it will provide us with a better result when trying to detect the colour of the item. Then I need to initiate Pygame, in other words turn it on ready for use. I also started the Pygame Font method, as I would like to use text in the GUI.
Add this to the code :)
envirophat.leds.on()
pygame.init()
pygame.font.init()
Moving on and the standard Pygame GUI window has a boring name, so lets change that name and tell the user what the application is about. To do this add this code.
pygame.display.set_caption('Envirophat Colour Sensor Output')
Okay so now we get to the main body of the code! Using a while True loop to constantly run the code contained within, the first step is to create a variable, background which is used to store the sensor data gathered from the Envirophat's colour sensor. The sensor data is saved as individual RED, GREEN and BLUE values in an object called a tuple Add this to the code.
while True:
    background = envirophat.light.rgb()
So what's a tuple?
A tuple is a sequence of data that is stored in a list like format. Tuples can be created and destroyed, but cannot be updated as they are immutable.
So now that we have the sensor data, our goal now is to display it, and to do that the Pygame library is used. Creating an object screen which us used to store the width and height of the window. Then the screen object is called with the fill function and to that I passed the background variable which contains the sensor data. Add this to the code.
    screen = pygame.display.set_mode((400,400))
    screen.fill((background))
Moving on and now I want to add text to the GUI, this text is rendered using the Pygame Font method. In this case I used the default font and set it to 45pt. Now to show the sensor data in the application I created a new object called colour and this contained the sensor data, converted from a tuple to a string using str(background). Also the text colour is set to (0,0,0) the RGB value for black. Add this to the code.
    myfont = pygame.font.Font(None, 45)
    colour = myfont.render(str(background),1,(0,0,0))
In order to see the changes to the GUI background colour and see the RGB values update, the screen object needs to be updated, this is called blitting and it means that the screen data is loaded into memory. Once that is complete the screen is then updated, before the code waits for 0.1 seconds before repeating the entire loop. Add this to the code.
    screen.blit(colour, (0,0))
    pygame.display.update()
    time.sleep(0.1)
Exiting the application
The final four lines of code are a way to exit the application using the X. For this I once again use Pygame but this time I focus on it's event handling framework. In order to detect an event I use a for loop. This will look for any event such as exiting the app, moving the mouse, clicking buttons, pressing keys etc. This event is then stored in a variable called event and then using a nested if test I check to see if the event.type is pygame.QUIT if that is correct then I close the Pygame window and then exit the application. Add this to the code.
    for event in pygame.event.get():
        if event.type == pygame.QUIT:
            pygame.quit()
            sys.exit()
Complete Code Listing
Here is all the code for this project.
import pygame
import envirophat
import time, sys

envirophat.leds.on()
pygame.init()
pygame.font.init()
pygame.display.set_caption('Envirophat Colour Sensor Output')
while True:
    background = envirophat.light.rgb()
    screen = pygame.display.set_mode((400,400))
    screen.fill((background))
    myfont = pygame.font.Font(None, 45)
    colour = myfont.render(str(background),1,(0,0,0))
    screen.blit(colour, (0,0))
    pygame.display.update()
    time.sleep(0.1)
    for event in pygame.event.get():
        if event.type == pygame.QUIT:
            pygame.quit()
            sys.exit()
Give it a test!
Run your code
In Thonny click on the play button
In IDLE click on Run >> Run Module or Press F5
You will see a window pop up, this is a live preview of the colour that the Envirophat colour sensor can see.
Now just show the items to the sensor, between the two LEDs. You may need to work out the best angle to reproduce the colour correctly.