O' SMD O' Christmas Tree
SMD soldering, you know the really fiddly soldering with components on strips of tape, the same components that ping around your desk? Well today I soldered some SMD components.
SMD? Isn't that a band?
No! That's OMD. Anyway back to the point of this post. SMD is Surface Mount Device and it uses components that are solder atop the circuit board, this is different to Through Hole components, like those used in breadboards, which are inserted through holes in the circuit board. I have always used through hole components, and never soldered any SMD projects, so when Andrew Gale contacted me and sent over a sample I just knew that this would be the ideal time to learn SMD soldering.
So what is it?
An SMD soldered GPIO Xmas Tree from Pocketmoneytronics
Preparing to solder
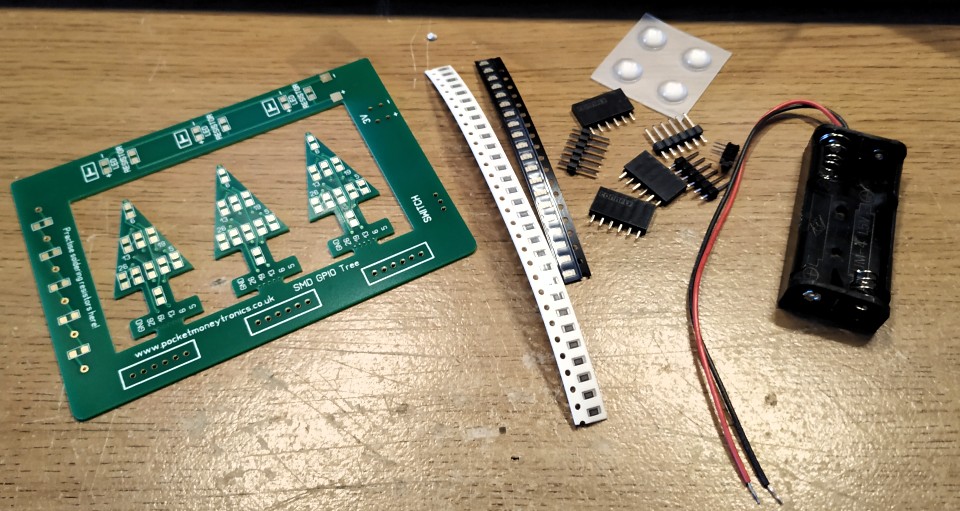
I received this kit which is £9 on etsy.
The first thing I learnt about SMD soldering is that preparation is key! The components are tiny, and have very little weight / mass. One sneeze, cough, deep breath and you will lose the component. So get your work area sorted. Get the soldering iron ready for your ideal temperature and lets do this!
Soldering the kit

The first few components which I soldered, were not to the trees, rather a test section which Andrew has kindly built into the frame.
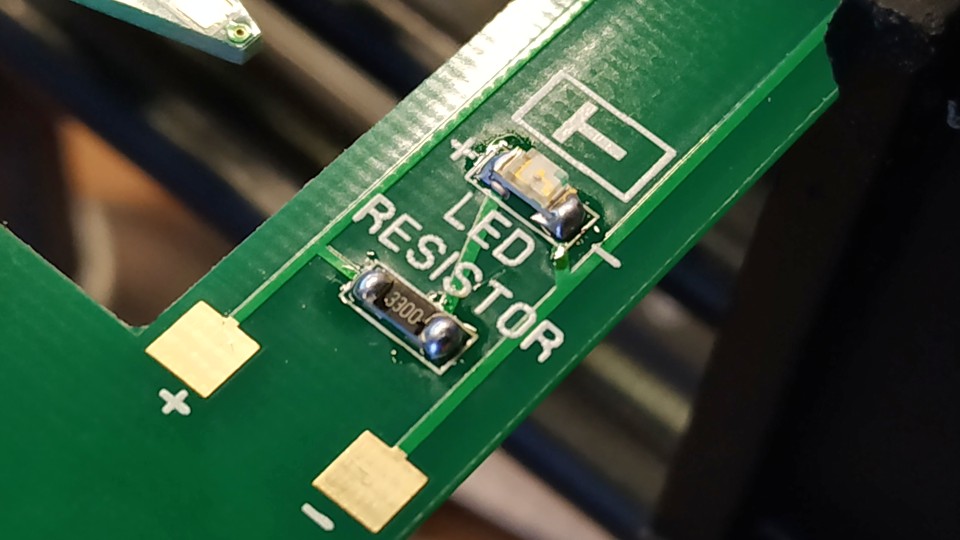
Here I could test my SMD skills without destroying the trees and I did a reasonable job, but I quickly learnt that my soldering iron tip was too fine and not getting enough heat to the components. So I swapped to a slightly less slender tip, one that would provide enough heat transfer and enable me to still have some precision.
The manner in which I soldered the components was to
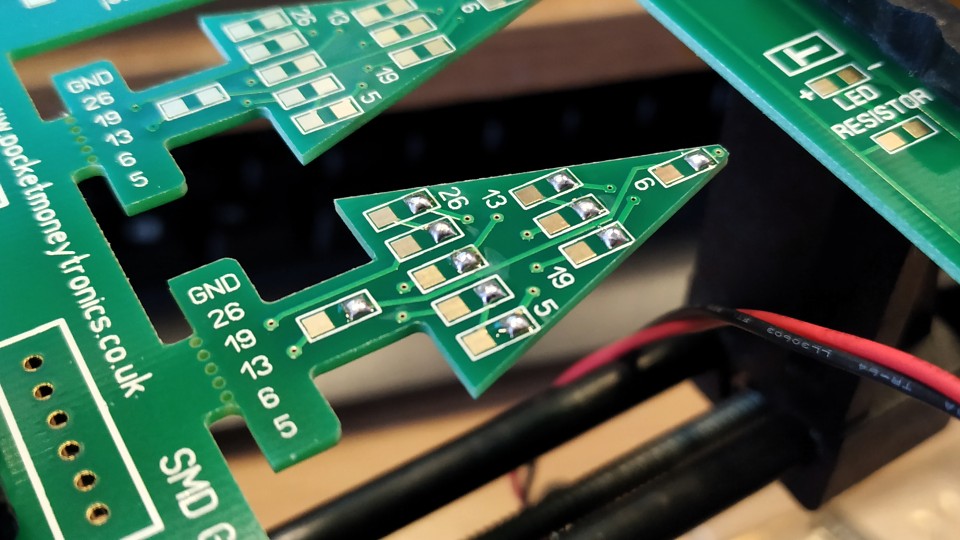
First apply some solder (tin) the pads on the right side, as I am right handed. Then I slid the components into the solder as I applied heat. This held one side of the component in place. I repeated this for all the components and then soldered the remaining pads.
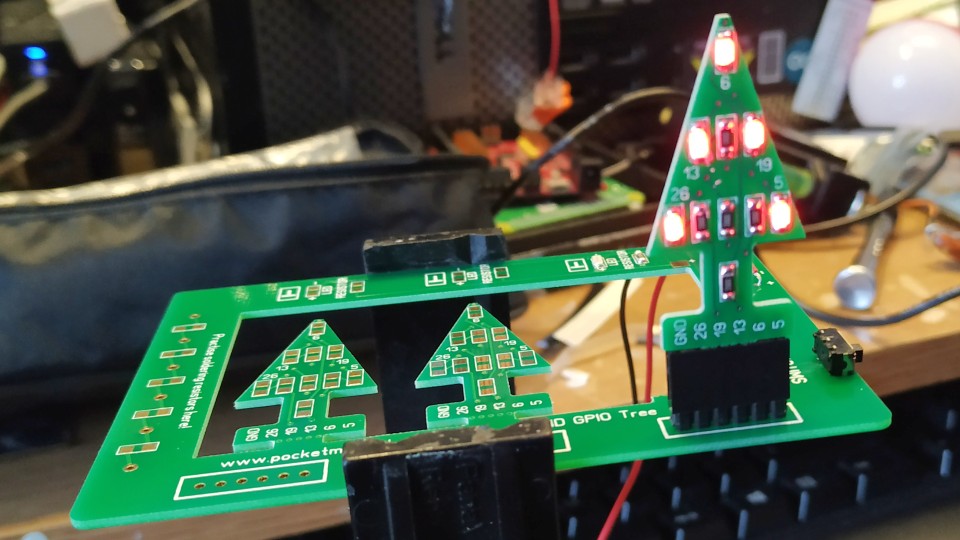
With the first tree soldered, I tested it using the test connections on the frame. And all was good!
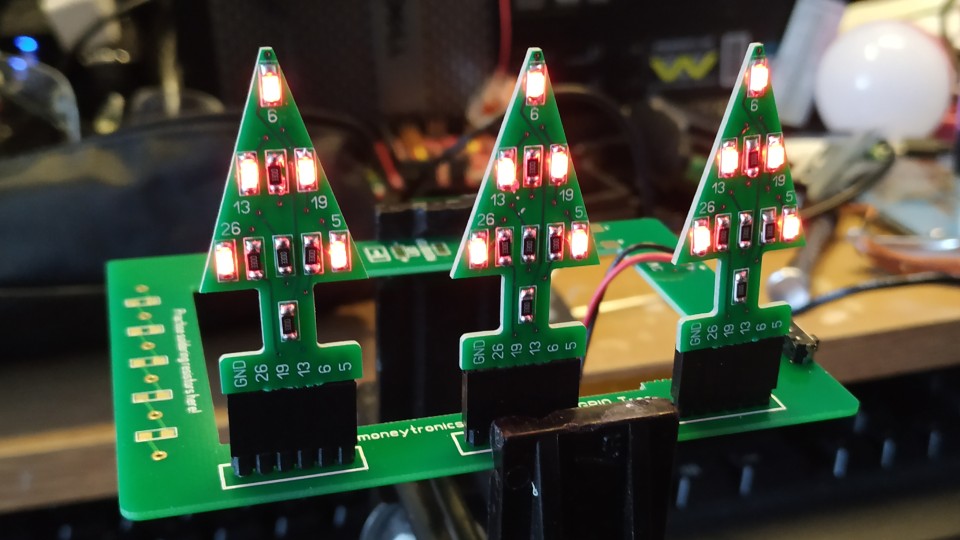
So I made the remaining two trees and tested them also.
So this works with Raspberry Pi?
The tree is designed to work directly with the Raspberry Pi GPIO, and the female header fits atop the GND, 26, 19, 13, 6, 5 pins. To test my tree I wrote a little script to create an animation. I used GPIO Zero and Python to test. Here is my code.
from gpiozero import LED
from time import sleep
LED1 = LED(26)
LED2 = LED(5)
LED3 = LED(13)
LED4 = LED(19)
LED5 = LED(6)

while True:
    LED1.on()
    LED2.on()
    sleep(0.5)
    LED1.off()
    LED2.off()
    LED3.on()
    LED4.on()
    sleep(0.5)
    LED3.off()
    LED4.off()
    LED5.on()
    sleep(0.5)
    LED5.off()
Just the Raspberry Pi?
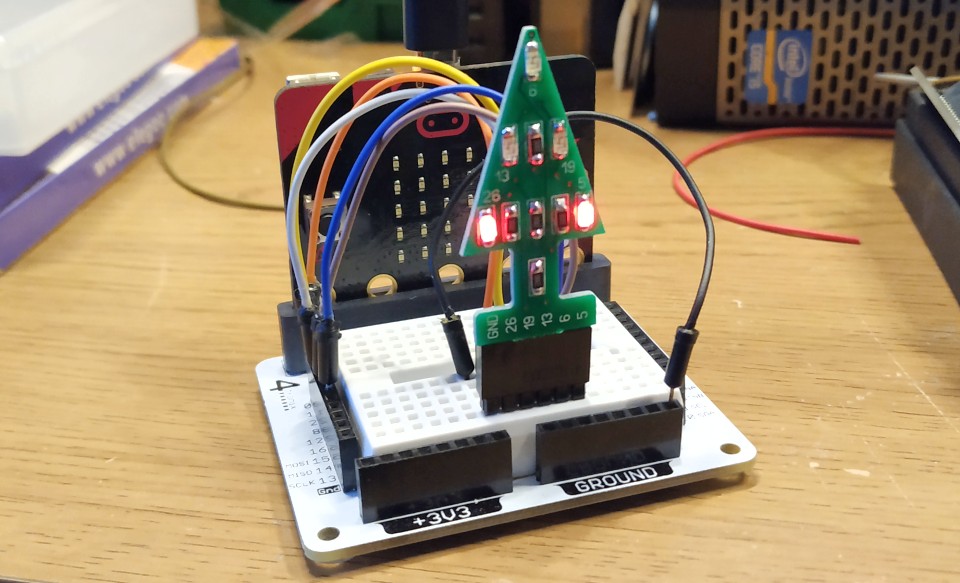
Well no, if you have a breakout board for the micro:bit then you can easily use that to make your tree light up. So I did! Here is my code.

It will work with Arduino, ATtiny85, Codebug, Crumble...the list goes on!
So is it worth it?
Ok I am a bit late with this post, life has been a little chaotic for the past month. Really this should be made in early December in time for Christmas.
But for £9 you should buy this regardless of the time. It is an ideal intro to SMD soldering. Why?
- It is cheap
- It has clear instructions
- You have extra components and a place to test your skills
- It works with Pi and other boards
So get one now!