Tooling Tuesday - Wemos D1 Mini & MicroPython
The other day while searching in my boxes of components, I came across something that I picked up from Abx Labs at Liverpool Makefest earlier this year. And this started a chain of events, which led to this blog post.
So what is it?
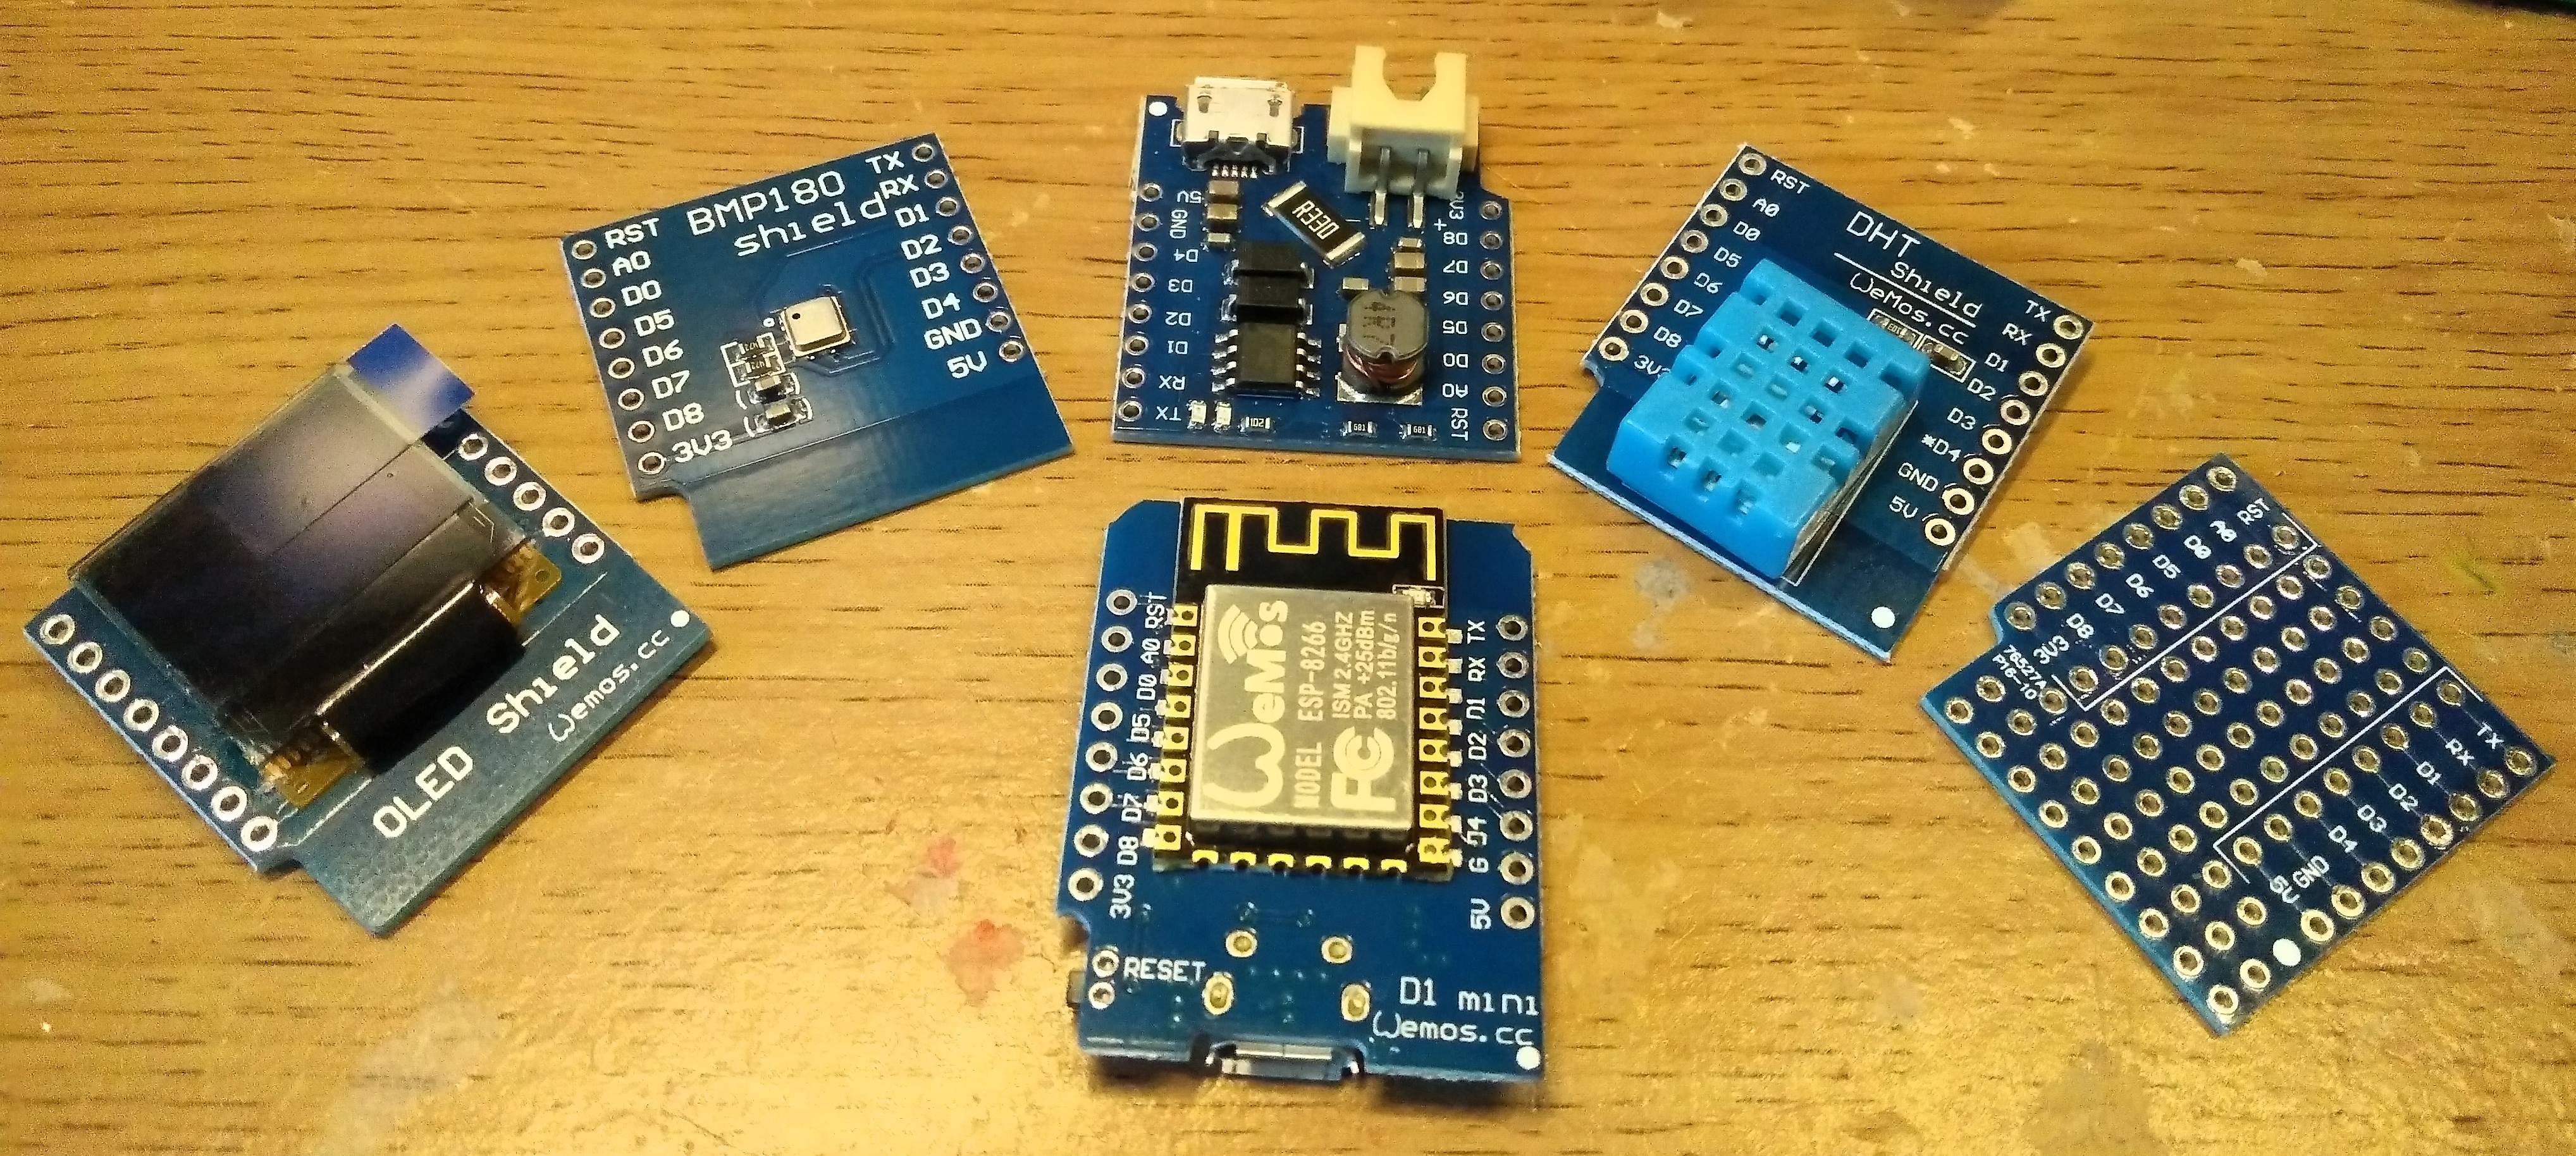
A Wemos D1 Mini which is an ESP8266 microcontroller with WiFi built in. Think of it as a small Arduino with WiFi. It can be purchased as a single board, or as part of an IoT weather station kit.
So why should I be interested?
Well for me, it is because I can "flash" MicroPython on to the board, making it much easier for me to work with.
Did he say "flash"?
Yup, flashing means to write a file on to the storage of the Wemos D1 Mini.
With MicroPython on the Wemos D1 Mini, I am able to write Python for the microcontroller, and create projects that connect to the web and retrieve weather data, control Neopixels, or just make lights blink!
So how can I...
Get firmware to flash?
Head over to the official MicroPython site and download the latest firmware for the esp8266.
Use a graphical tool to work with the Wemos D1 Mini?
I found a tutorial on Random Nerd Tutorials, that explained the full process.
The blog posts go through how to install a GUI application, flash the image to the ESP8266 (and the ESP32!) and then write code for the board.
Install uPyCraft
Flash MicroPython to the ESP8266
Getting started with MicroPython
If you choose to use uPyCraft, then you can skip this next bit and move on to Wemos D1 Mini MicroPython GPIO Reference
Download a tool to flash the firmware via the terminal?
In a terminal type
sudo pip3 install esptool
Find your Wemos D1 Mini
Connect your device to a USB port, then run this command in the terminal.
dmesg
You will see a lot of text wizz by, but look for something similar to this.

Notice the last line? It mentions [ 4869.706963] usb 1-2: ch341-uart converter now attached to ttyUSB0 well that is our Wemos D1 Mini. The full path to our device is /dev/ttyUSB0
Windows users, you will need to check the Device Manager to see which COM port is in use.
Wipe the flash
In a terminal type
esptool.py --port /dev/ttyUSB0 erase_flash
Flash the firmware
This command will flash the firmware that we downloaded from the MicroPython website. The last part FIRMWARE.bin is where you need to type the name of the downloaded firmware. Also provide the full path to the file if it is in another directory.
esptool.py --port /dev/ttyUSB0 --baud 460800 write_flash -fm dio --flash_size=detect 0 FIRMWARE.bin
The
-fm diopart of the command is essential for the Wemos D1 Mini. Without it the firmare will flash, but it will not work.
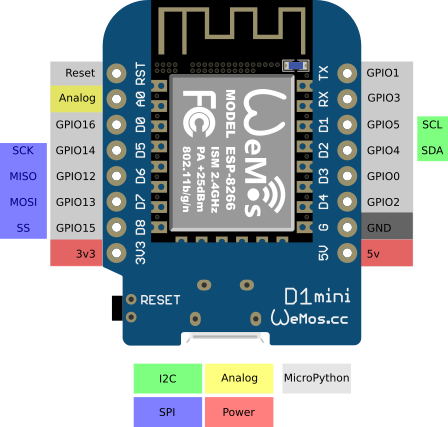
Wemos D1 Mini MicroPython GPIO Reference
Looking at the GPIO pins of the Wemos D1 Mini, we can see pin references...but these do not match what MicroPython uses, as it is designed for a multitude of boards, and not specific to the Wemos. So with this in mind, I knocked up a quick reference using the Fritzing part as a reference.
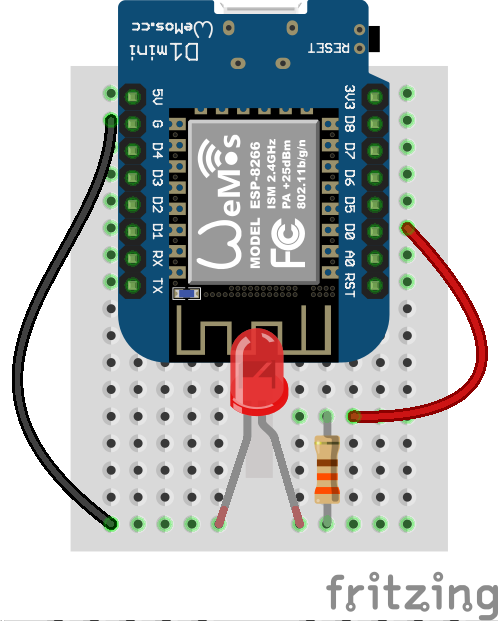
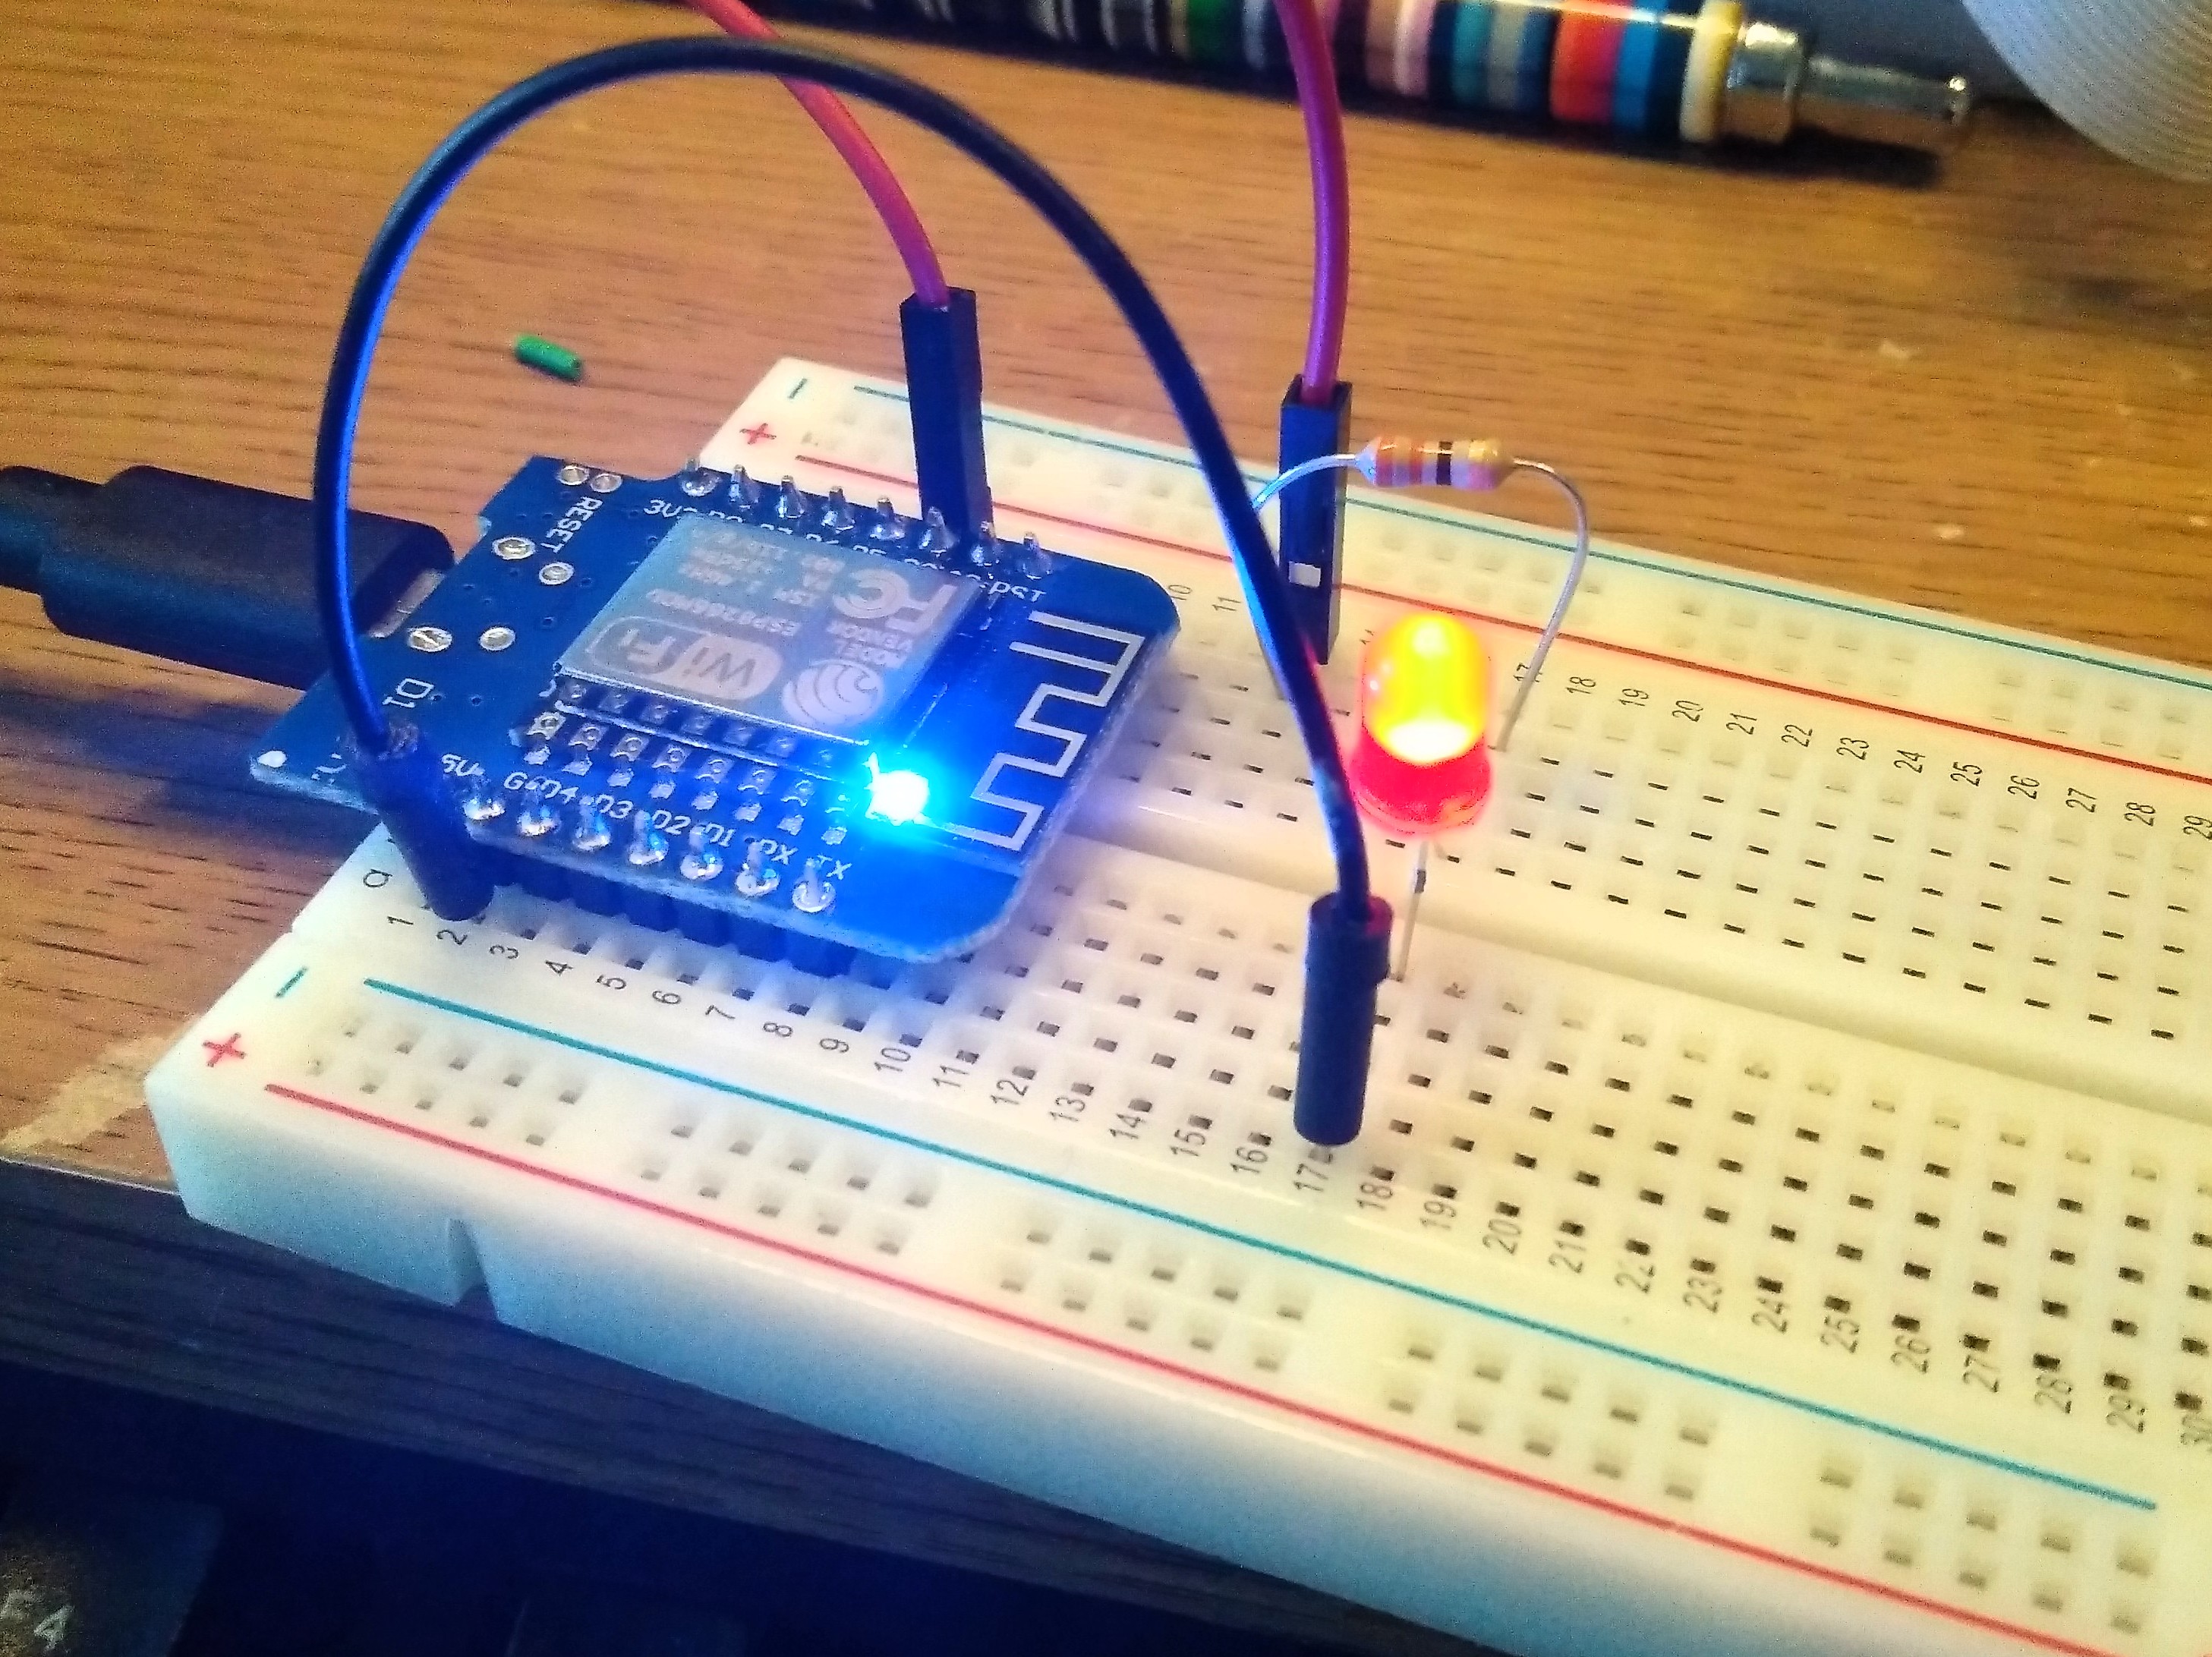
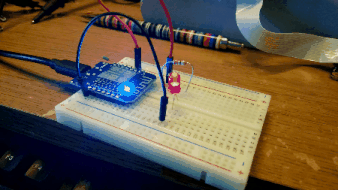
I want to make it blink!
Ok for this we need a few components.
- An LED
- A 330 Ohm resistor (ORANGE-ORANGE-BROWN-GOLD)
- Breadboard
- Male to male jumper wires
Wire up the project as so.
So how do we code this project? Well if you are using the uPyCraft GUI application then click on the Connect icon to create a serial connection. For those of us on the terminal we shall use screen to connect. (Remember to use the port that our Wemos D1 Mini is connected to, in my case /dev/ttyUSB0
screen /dev/ttyUSB0 115200
Serial connections are direct connections to a device. They require us to know which port to connect to, and at what speed. In the case of the Wemos D1 Mini the speed (baud rate) is 115200.
When the serial connection is complete, you may not see anything. Press Enter to activate the terminal. If that doesn't help then press CTRL + C a few times to stop any running programs.
You should now see something like this
MicroPython v1.9.4-8-ga9a3caad0 on 2018-05-11; ESP module with ESP8266
Type "help()" for more information.
>>>
This is the Python shell, sometimes known as a REPL.
REPL?
Read the input of the user
Evaluate the input
Print the answer to the input
Loop and await the user's input again
Each line of code that we type is followed by pressing the Enter key.
We start by importing the Pin class from the machine library, as this will enable us to use the GPIO pins.
from machine import Pin
Next we create an object called led which will store the GPIO pin that we wish to use, and whether it is an input or an output. In this case it is an output as we wish to light up the LED.
led = Pin(16, Pin.OUT)
So now we need to turn on the LED, and it is as easy as this!
led.on()
And to turn off
led.off()
We can also use
led(1)to turn on the LED andled(0)to turn it off.
But this is not blinking!!
Nope! For that we need to use a loop and import the sleep function from the time library. Type each line of this code, and press Enter at the end of each line.
from machine import Pin
from time import sleep
led = Pin(16, Pin.OUT)
while True:
    led.on()
    sleep(0.1)
    led.off()
    sleep(0.1)
Once the code is entered, press Enter a few times to start the code! Now you have a blinky LED!
Can I do more?
Oh yes!!! Lots more!
As I mentioned at the start, I messed around quite a lot with the uPyCraft IDE and made my own Neopixel super bright blinky!
And here is the code to make those neopixels work.https://t.co/nALgOXAqqV pic.twitter.com/RlCFjAWfcX
— biglesp (@biglesp) October 27, 2018
I also used this example to get weather data from Open Weather Map. Change the "XXX" to your API key.
import json
import urequests
r = urequests.get("http://api.openweathermap.org/data/2.5/weather?q=Zurich&appid=XXX").json()
print(r["weather"][0]["description"])
print(r["main"]["temp"] - 273.15)
If you need more information
I found this great resource that has become invaluable for my hacks! It has all of the code and references to really make the most of this cheap board!
Bonus Content!!
David Roberts wrote in to ask...
Thanks for the write-up. Being an esp8266 newbie I bought 2 wemos D1 R2 arduino-like boards from @abxlabs instead.
— David Roberts (@RobertsDavidJ) October 30, 2018
Haven't tried to get started yet.
Is most of what you wrote likely to be transferrable to this board?
Hoping to deploy as mqtt-pub nodes logging ds18b20 temps.
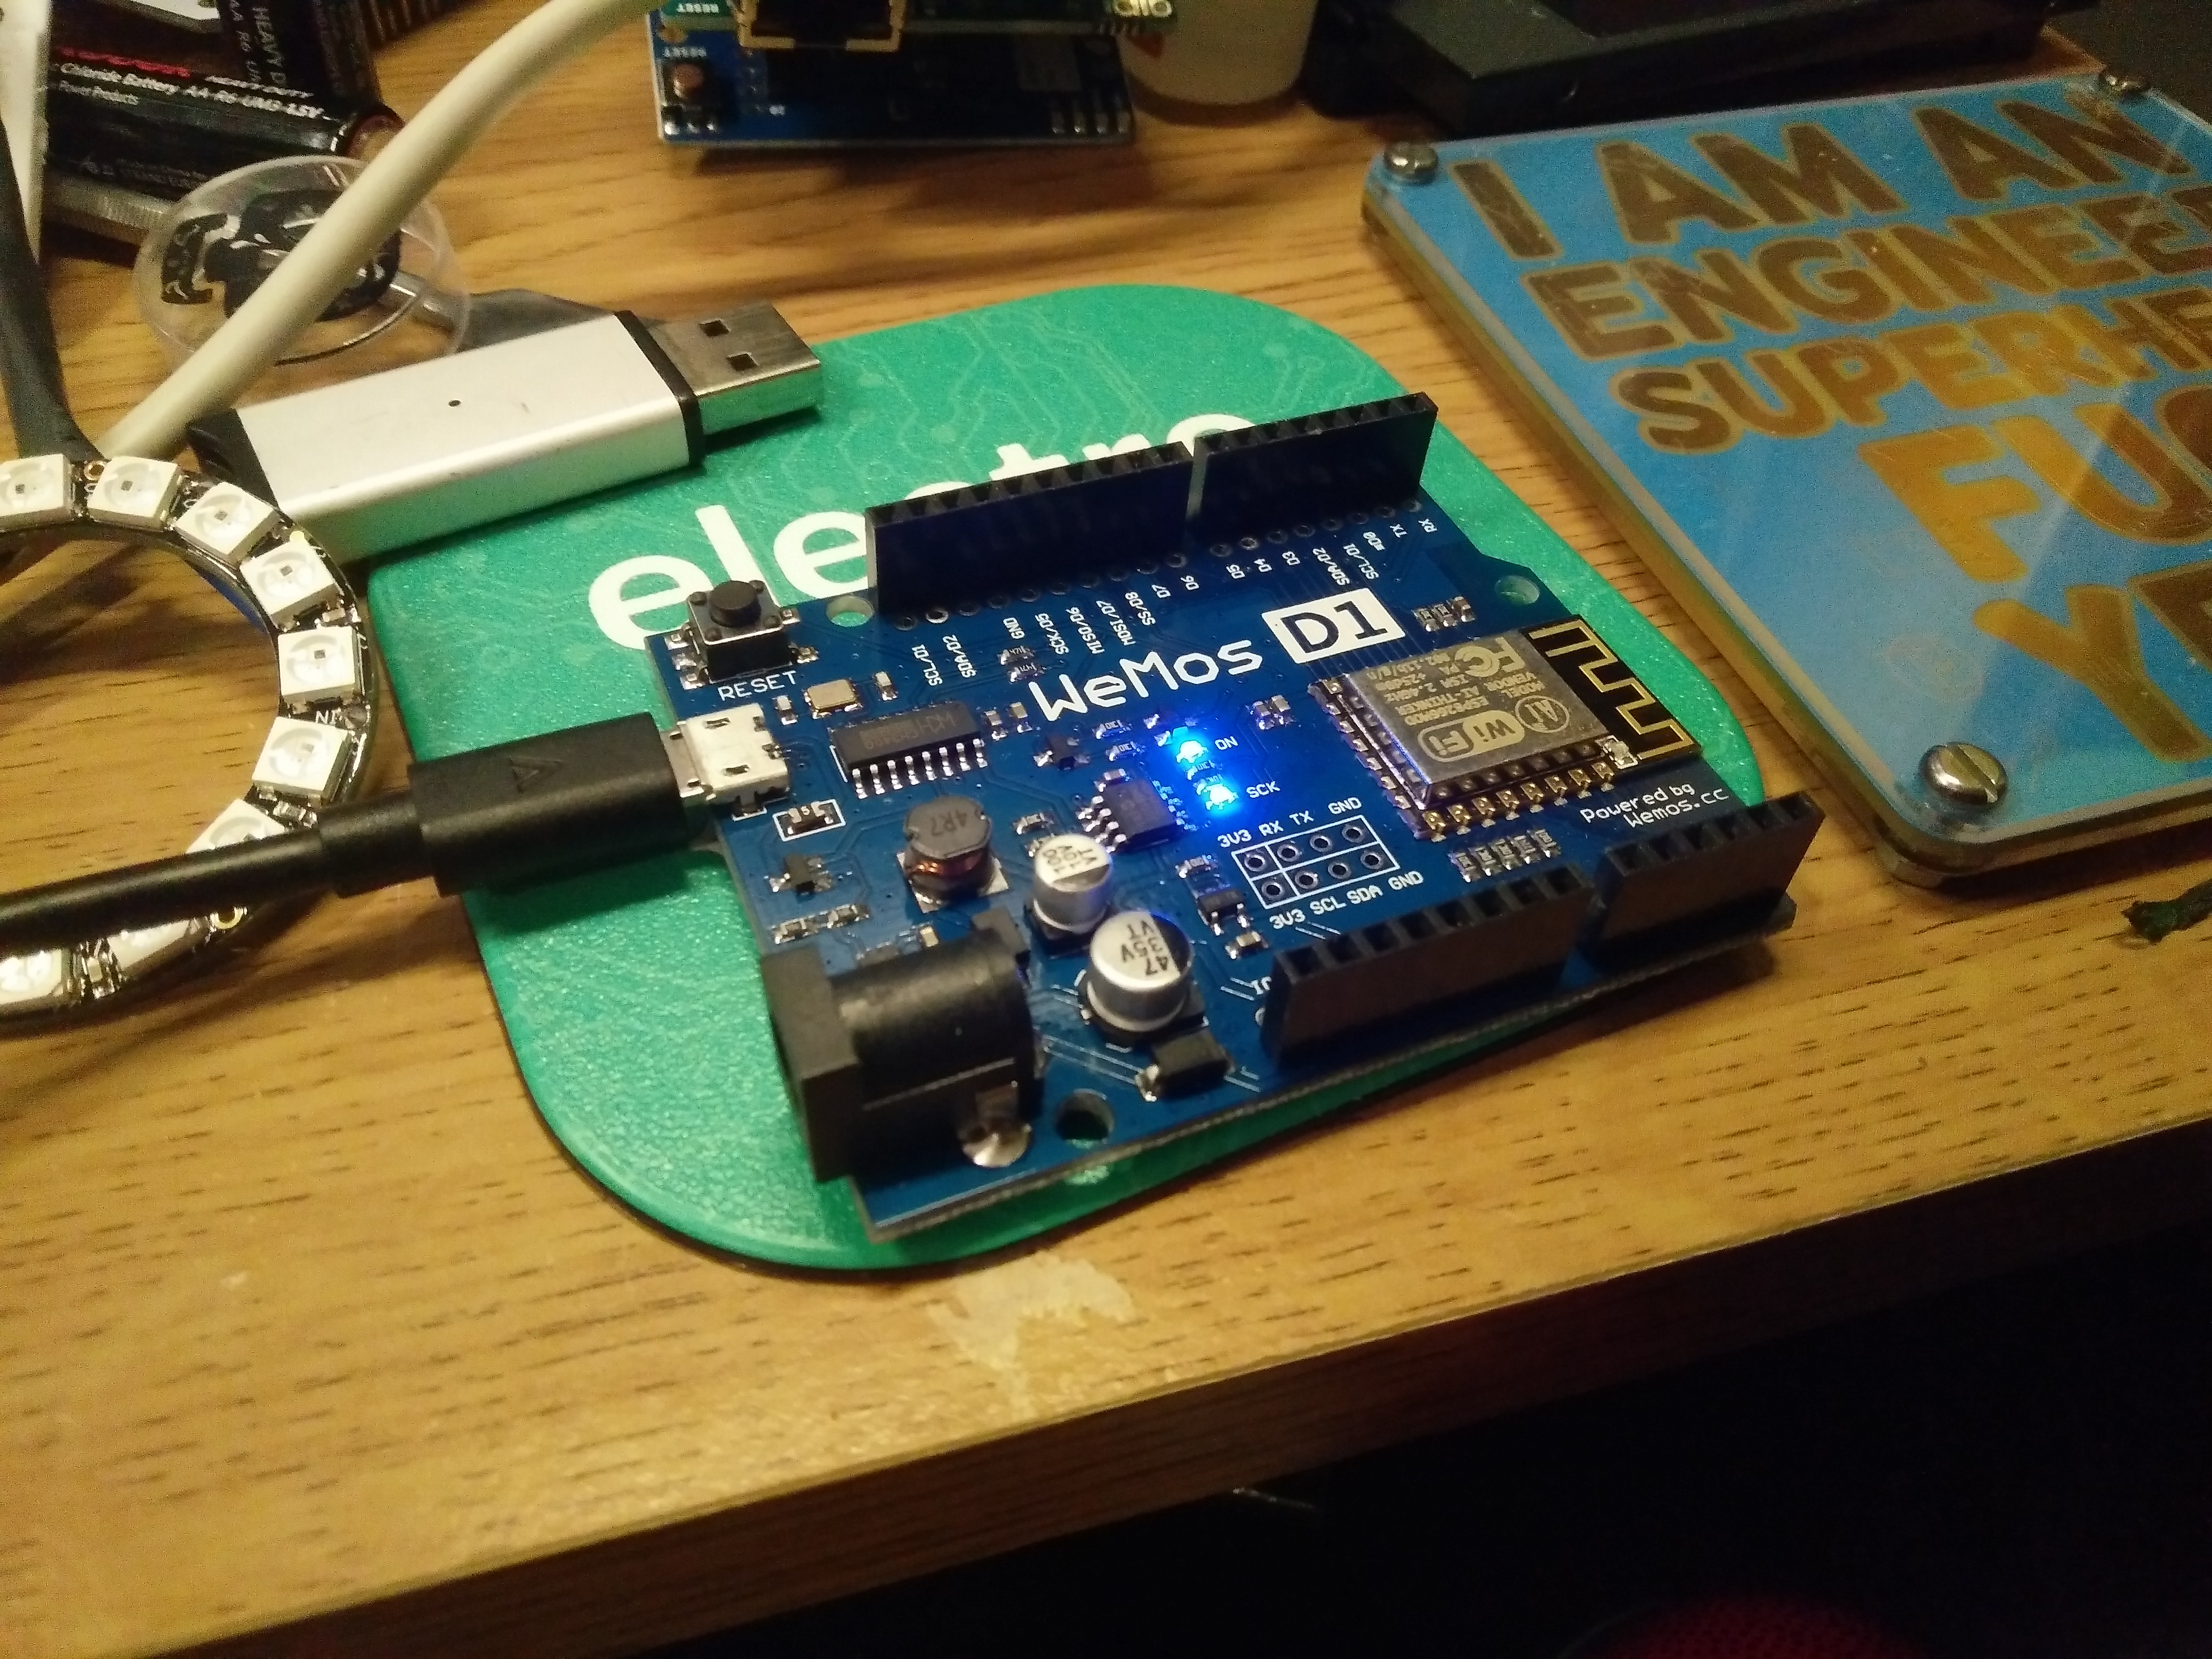
So I dipped in to my bits box, found a Wemos D1 Arduino Uno clone, also from Abx Labs and tried it out!
Hi David, here is the answer :) pic.twitter.com/8KzvyDh6Ti
— biglesp (@biglesp) October 30, 2018
BINGO!
As for the pin mapping, it is identical to the Wemos D1 Mini (with a few duplicates), just broken out into the Arduino Uno layout!