Tuesday Tooling: Get The Message
Learn more about what goes on behind the scenes of your Linux machine.
There are times where we need to delve into the system and see what's going on. For example, when we plug in a USB device or when there is an error. I was using dmesg the other day to check a fault on a Raspberry Pi Pico board which How can we quickly and easily get the information that we need? For that we can use dmesg and this week we learn more about it.
So What is dmesg?
dmesg (diagnostic message[1]) is a command on most Unix-like operating systems that prints the message buffer of the kernel.[2] The output includes messages produced by the device drivers.
From the dmesg Wikipedia page
The dmesg command shows kernel messages, from the boot process to the current time. It shows us everything that is happening as it happened, including when we connect USB devices.

Hi reader!
So How Do I Use It?

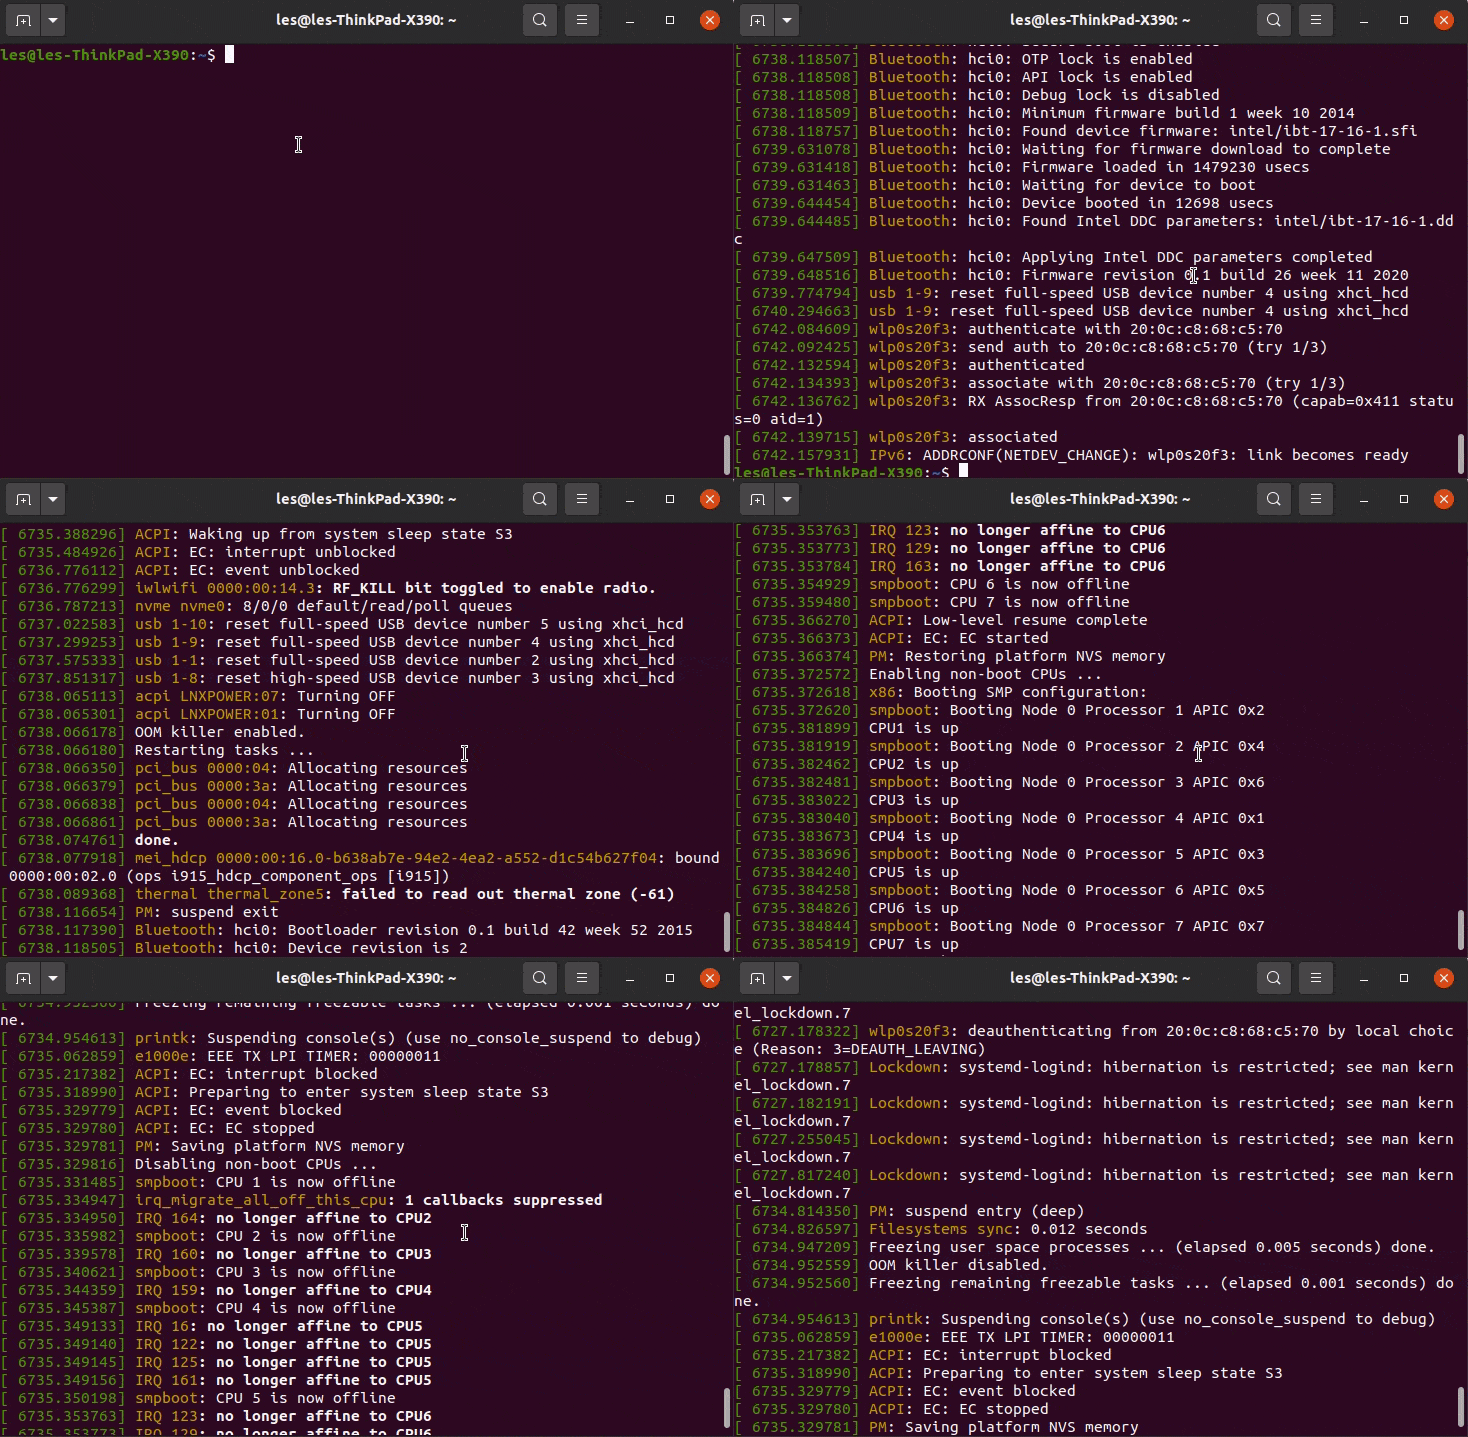
At the most basic level, we can use dmesg as a single command. This will dump the contents of the message buffer to the terminal, we can scroll through it all and see entries for ACPI power management, Bluetooth, WiFi etc.
dmesg
So How Can You Use It?

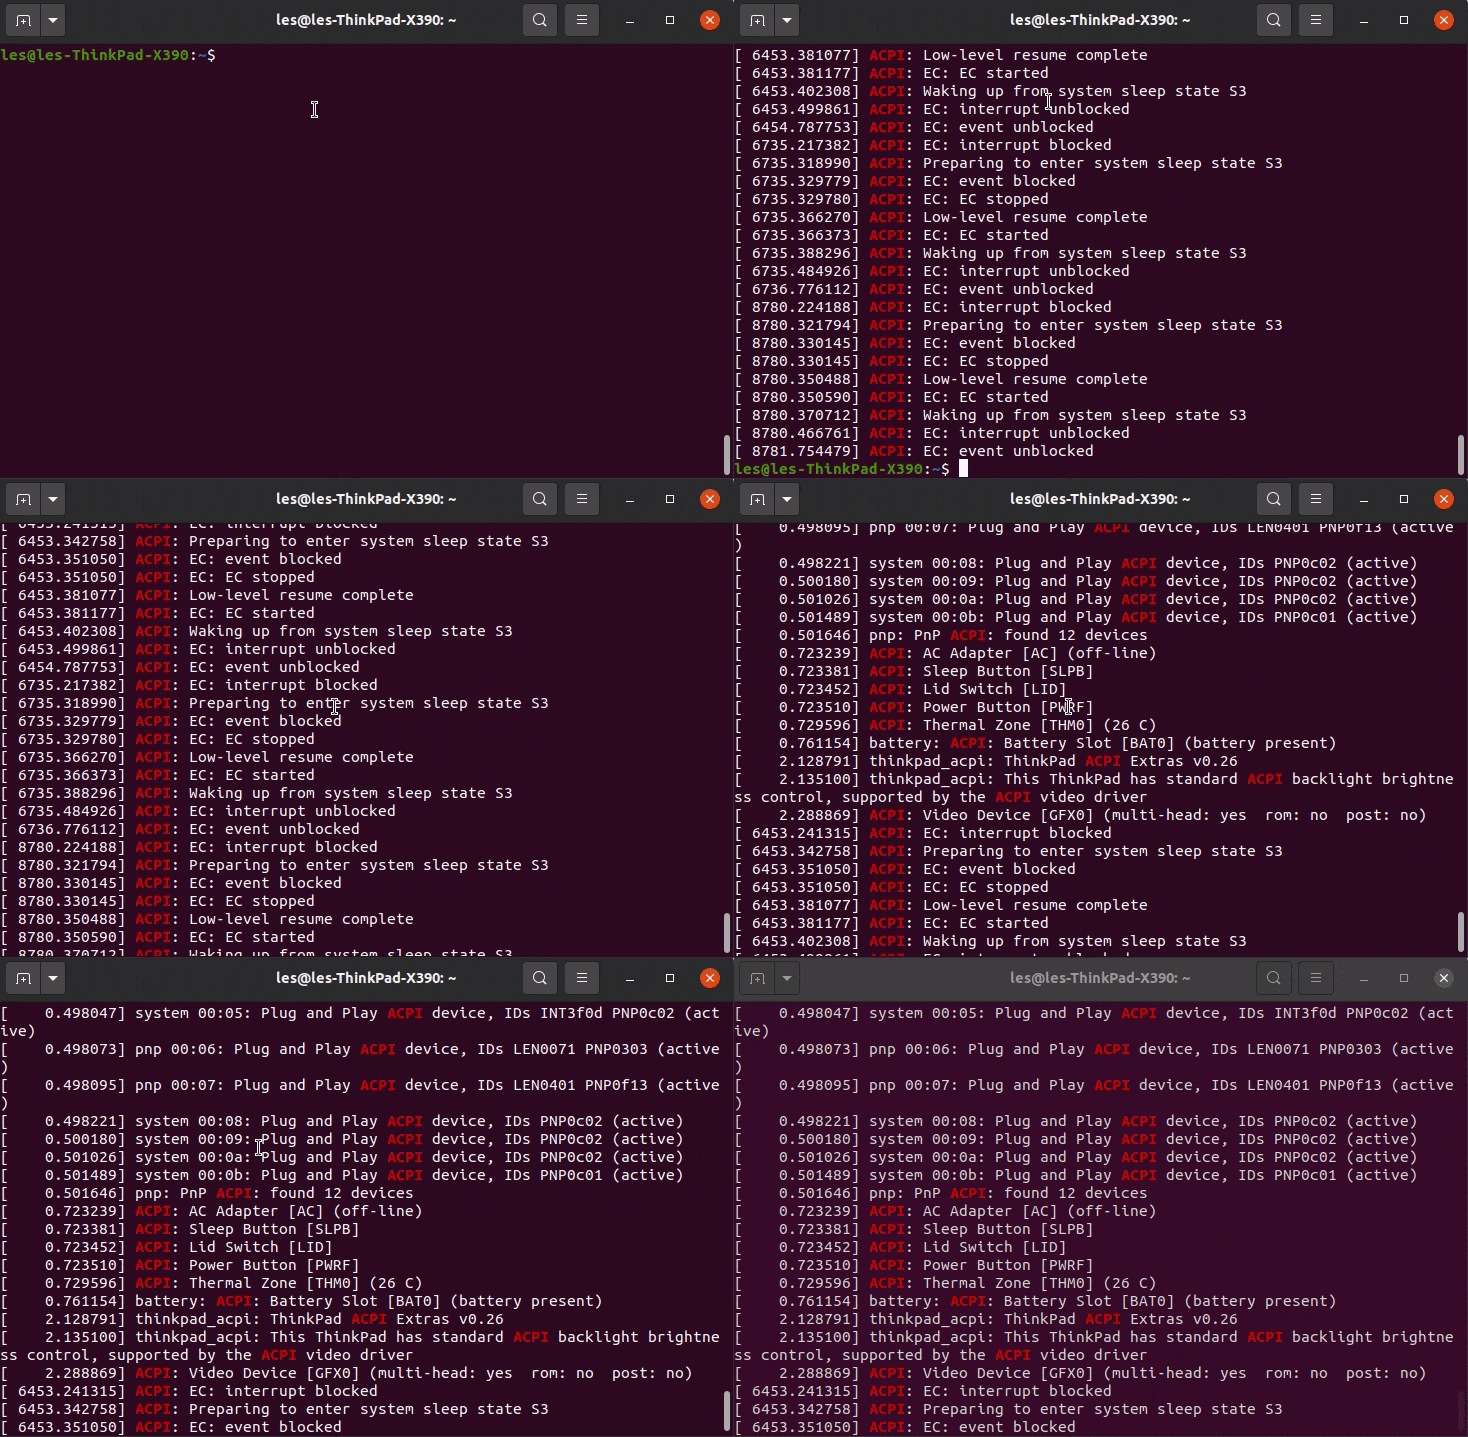
Typically I am quite selective and use grep to search for the data in the dmesg buffer.
dmesg | grep ACPI

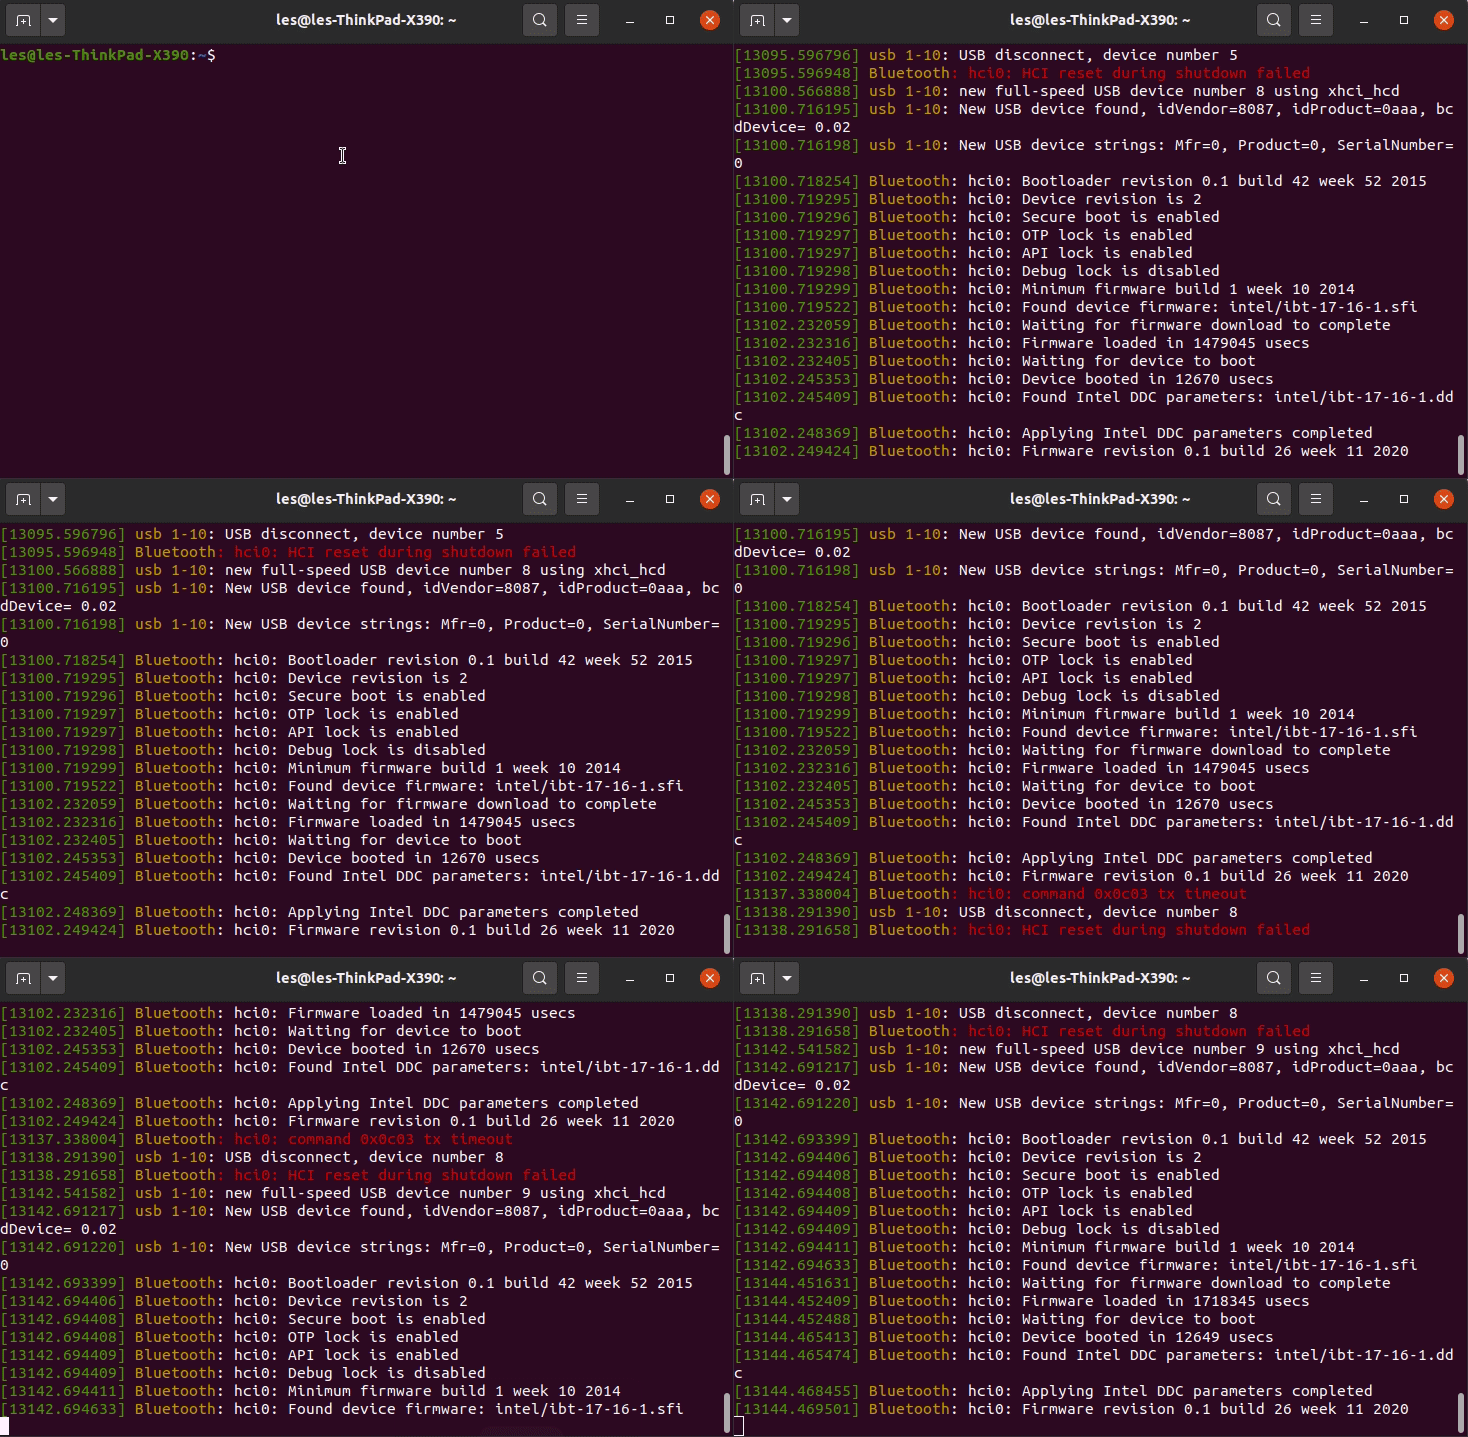
Recently I learnt that dmesg can be left open, and that we can see live output as it happens. To do this use the -w switch. In the GIF above I turn off and then on my Bluetooth adaptor. The most useful thing about this command is that I can plug in USB devices and see where they are connected. For example a Raspberry Pi Pico would appear as device /dev/ttyACM0, or a mounted USB drive would show drive indentifier sda for example. Very handy
dmesg -w

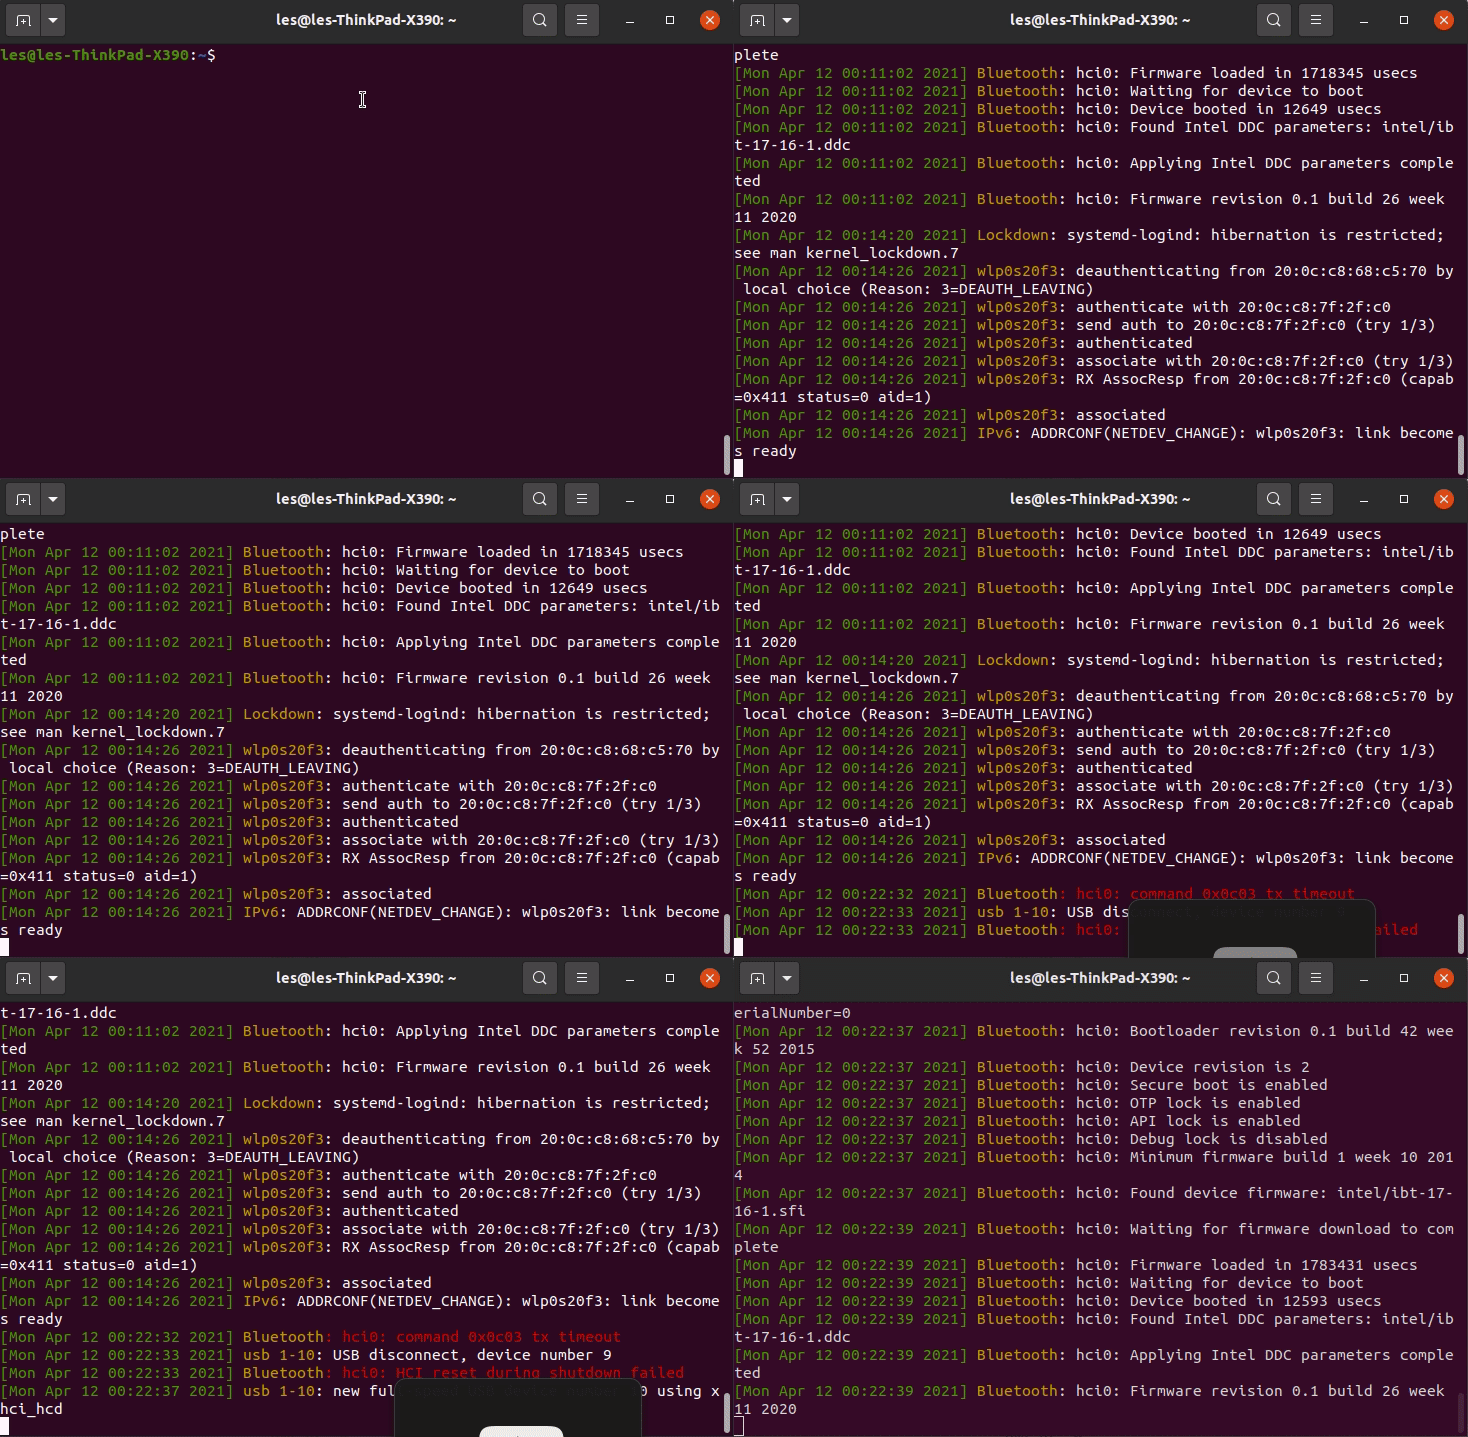
Something else that I learnt, thanks to @NoSheds is that the -T switch will change the timestamp, usually in epoch time, to human readable times and dates!
dmesg -w -T