Friday Fun: DIY MP3 Player
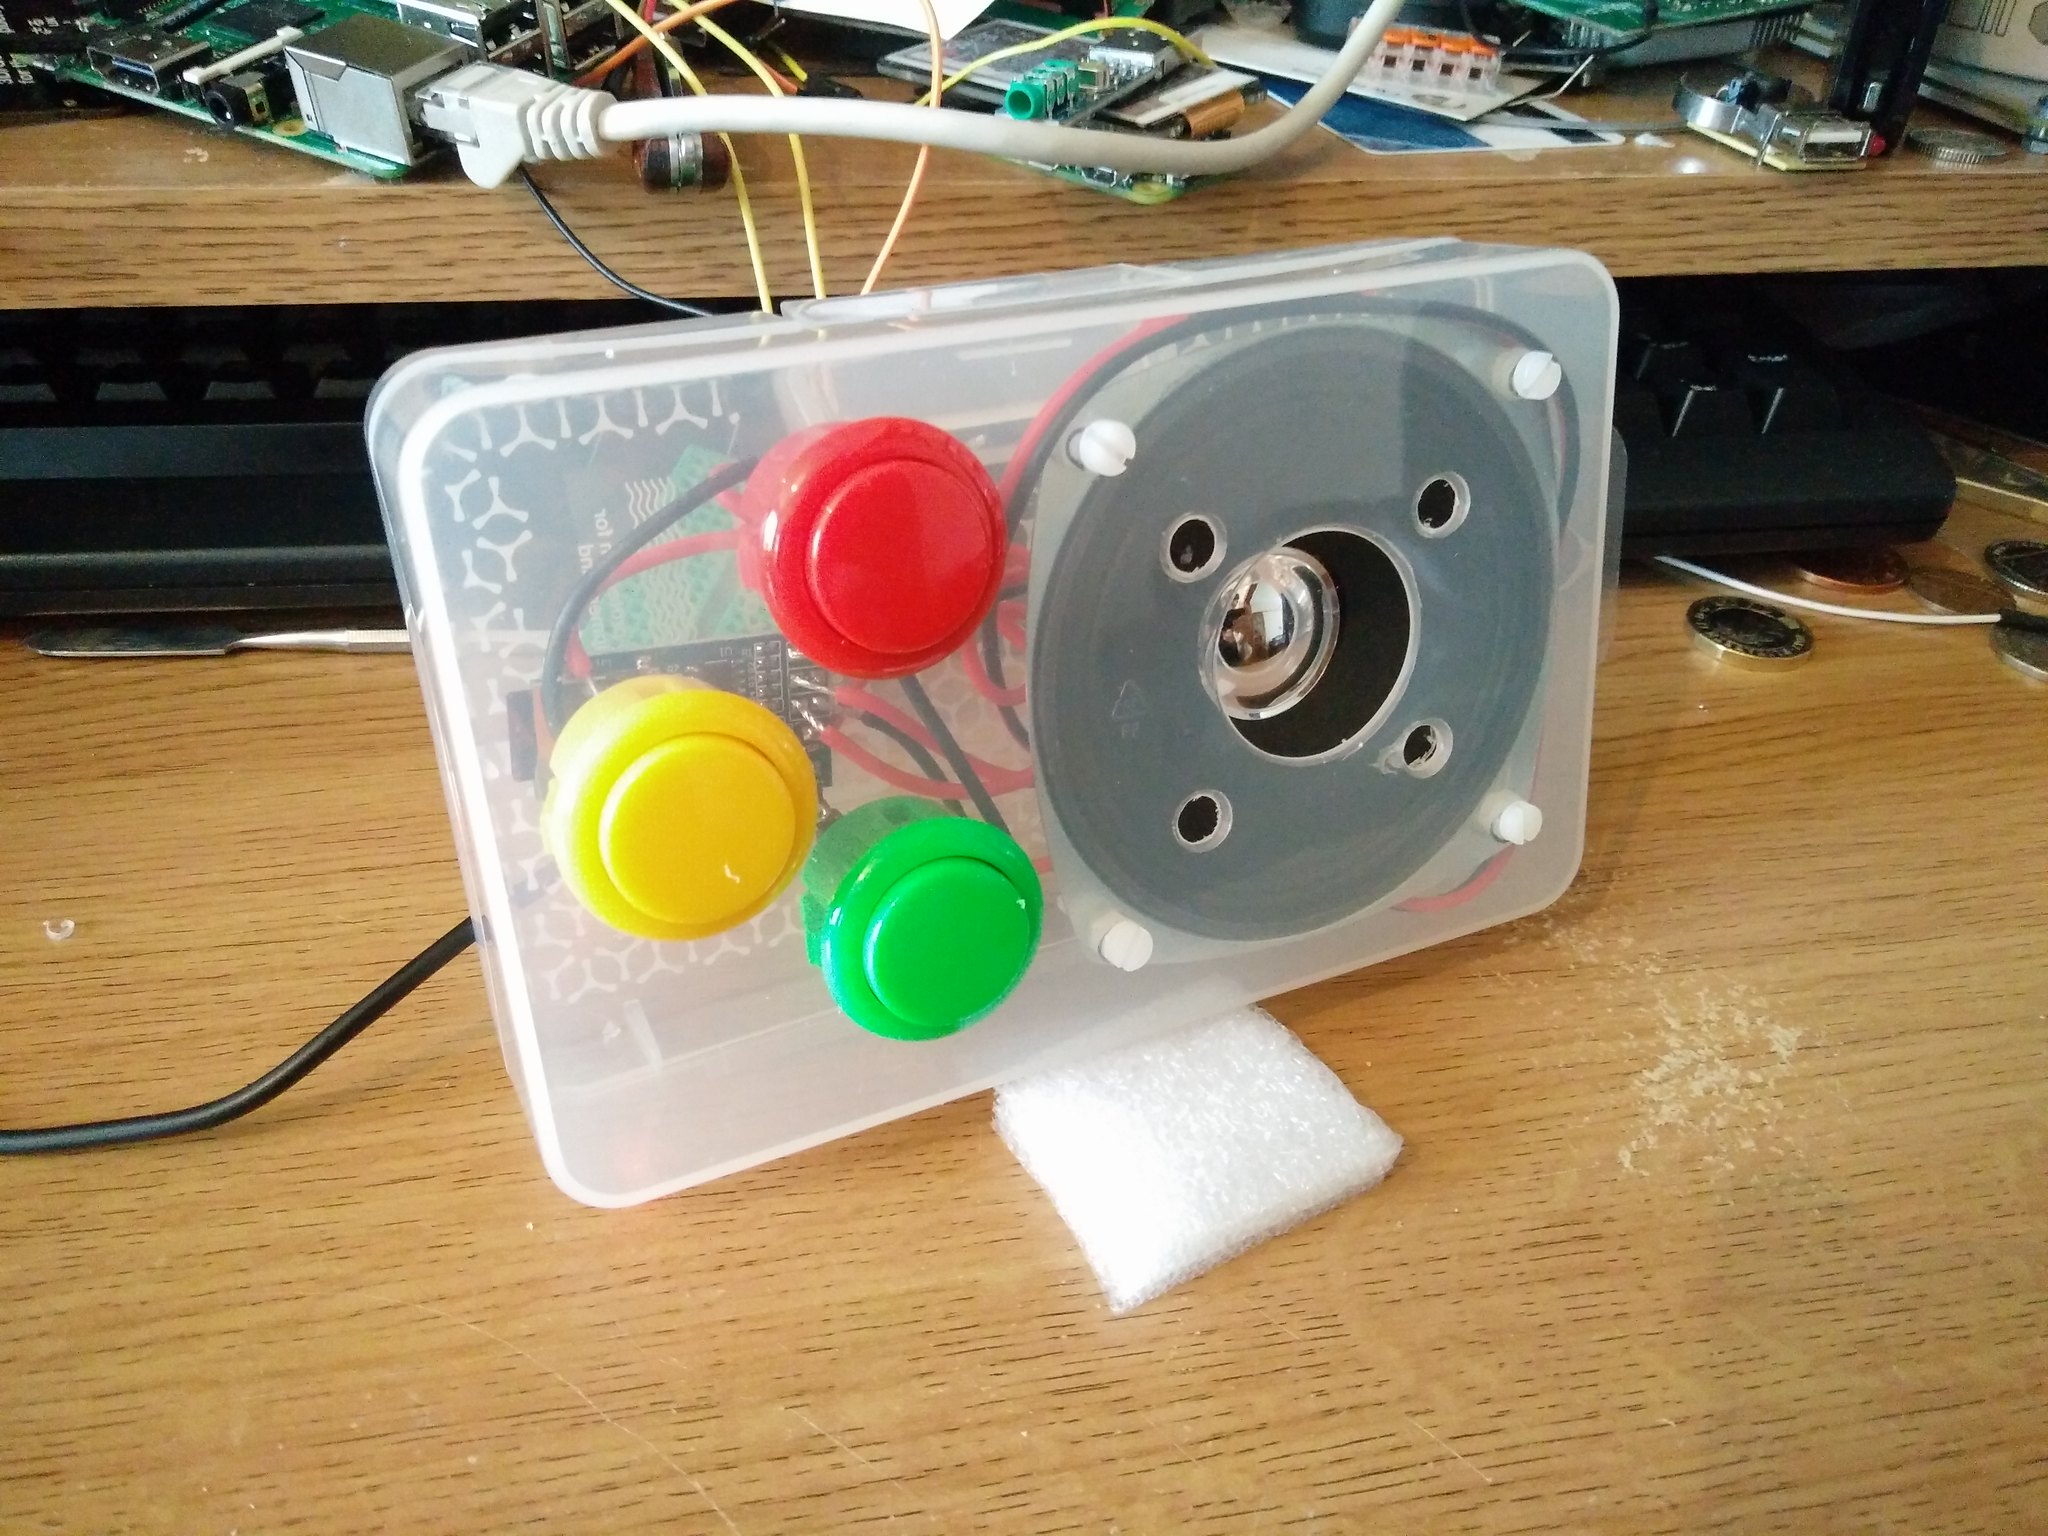
The finished project, ok there are still a few things to do, but it is ready for its debut
How cheap can an MP3 player be?
What if I said £1-2...would you believe me?
Well it is true, thanks to the GPD2846A a simple circuit board which I purchased from ABXLabs at Liverpool Makefest the other day.
FYI: ABXLabs assure me that they have a new web store opening soon so keep an eye out
GPD2846A - Info
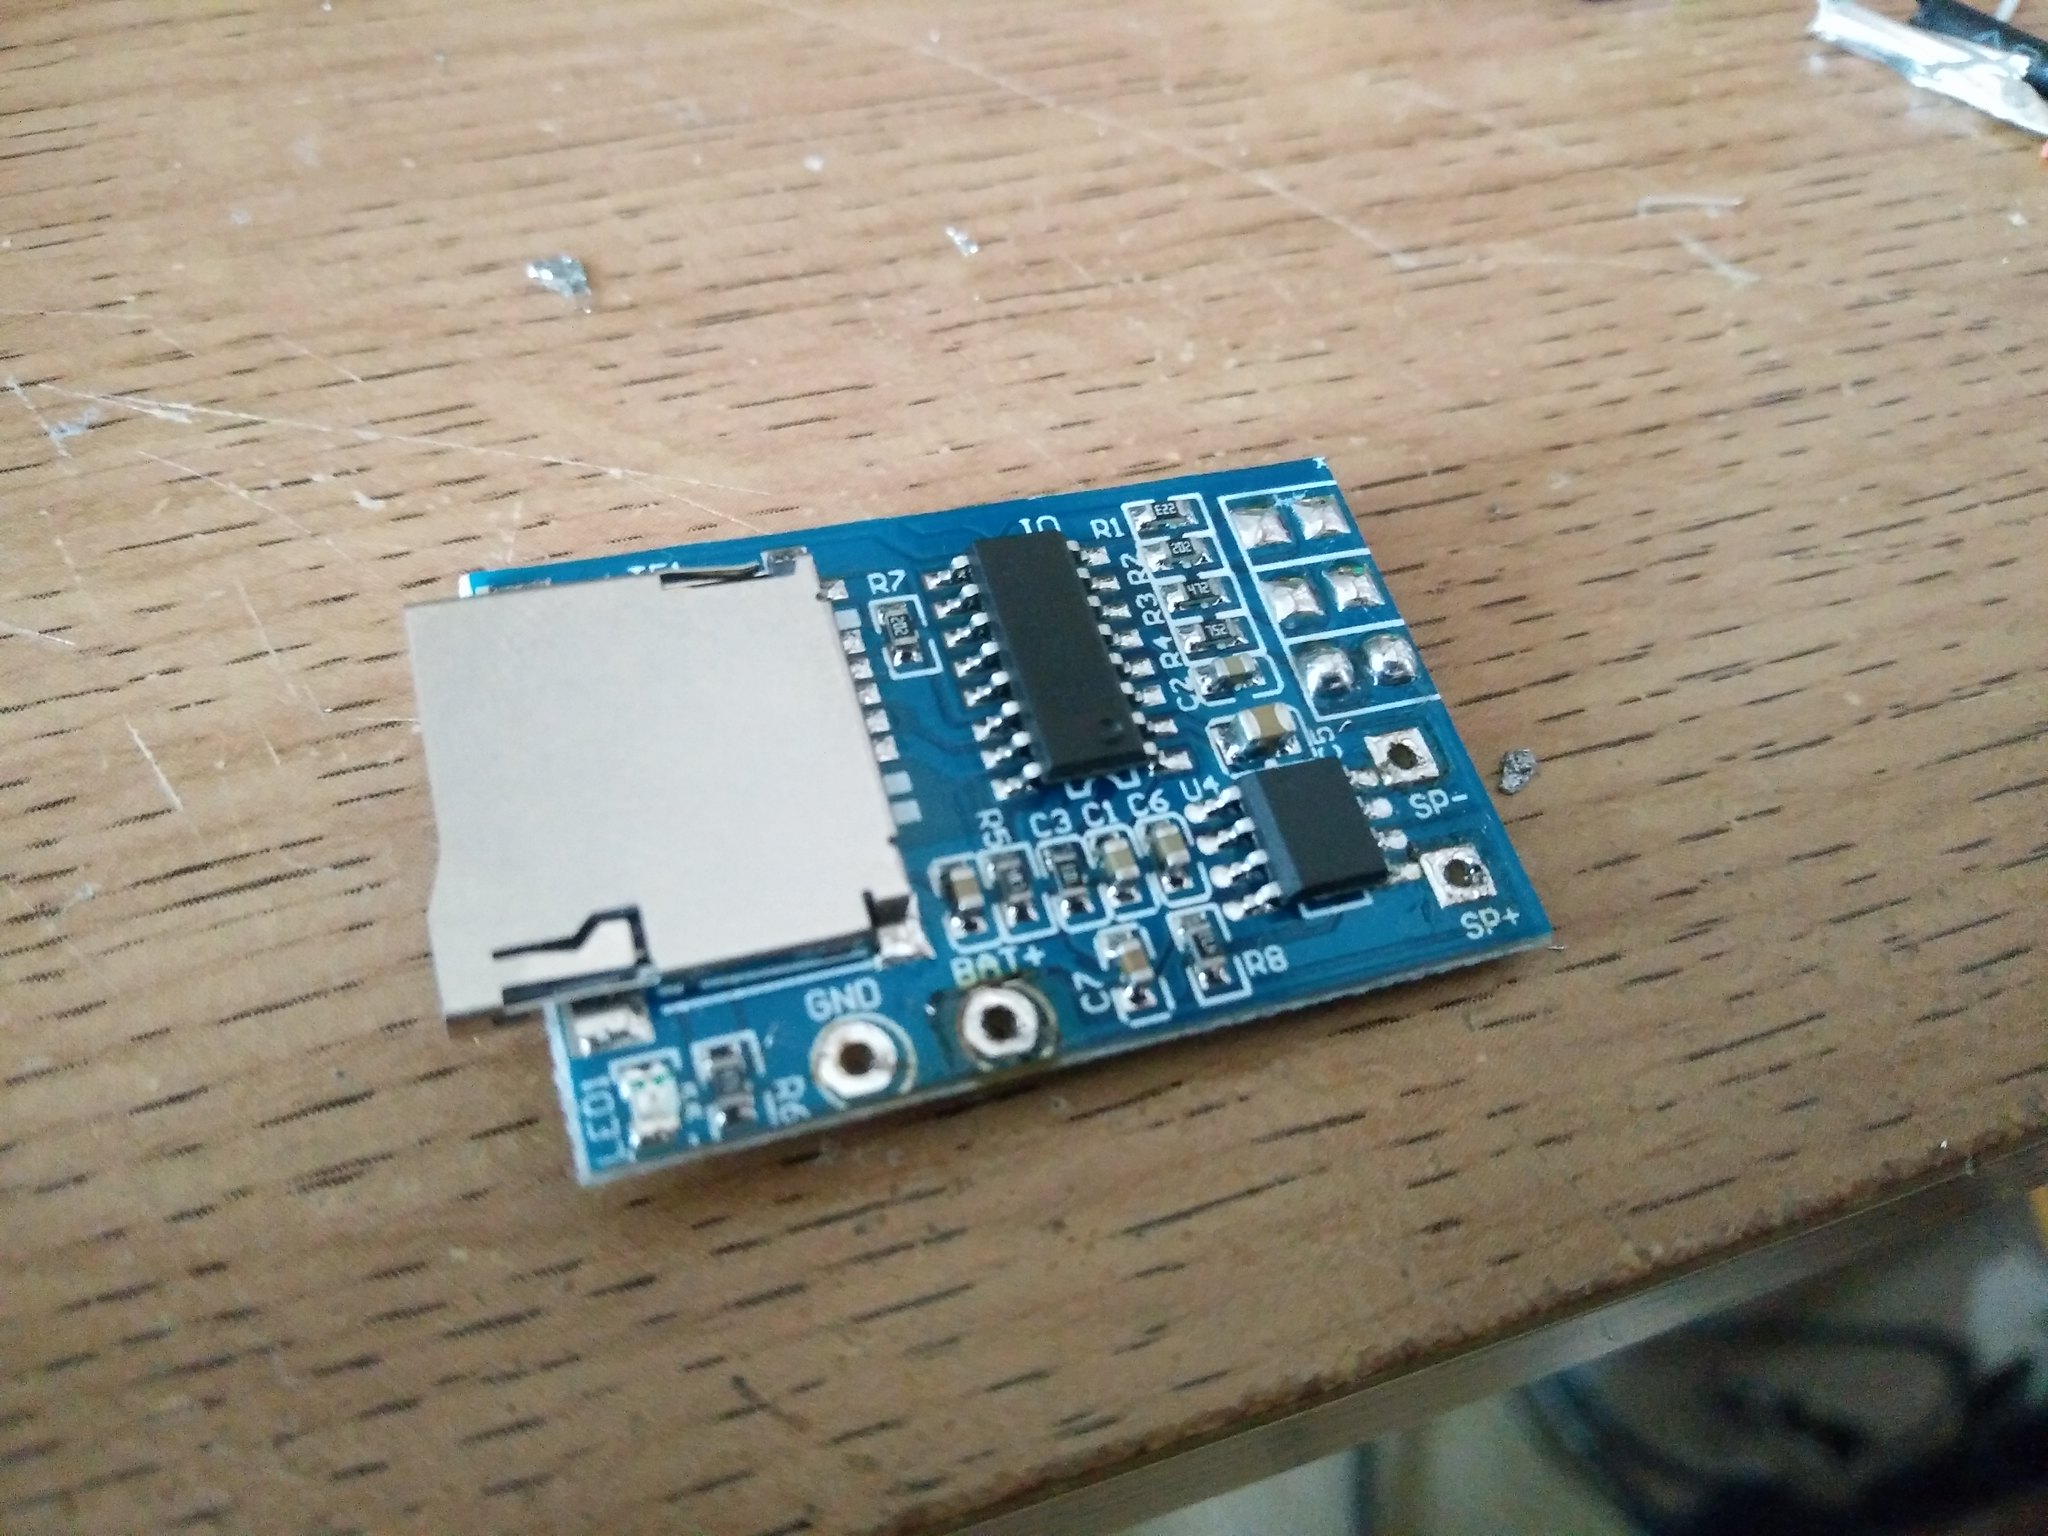
- PCB Size:34.23MM22.33MM1MM
- MP3 (no other formats supported) file format player via micro SD card slot
- 2W Amplifier
- Mono Speaker Output
- 3V and 5V tolerant
- 3 Switch Contacts (Skip Forward, Volume Up)(Play, Pause)(Skip Backward, Volume Down)
So what can we do with it?
Well I had a lot of bits and pieces on my desk, so I thought about building my own MP3 player!
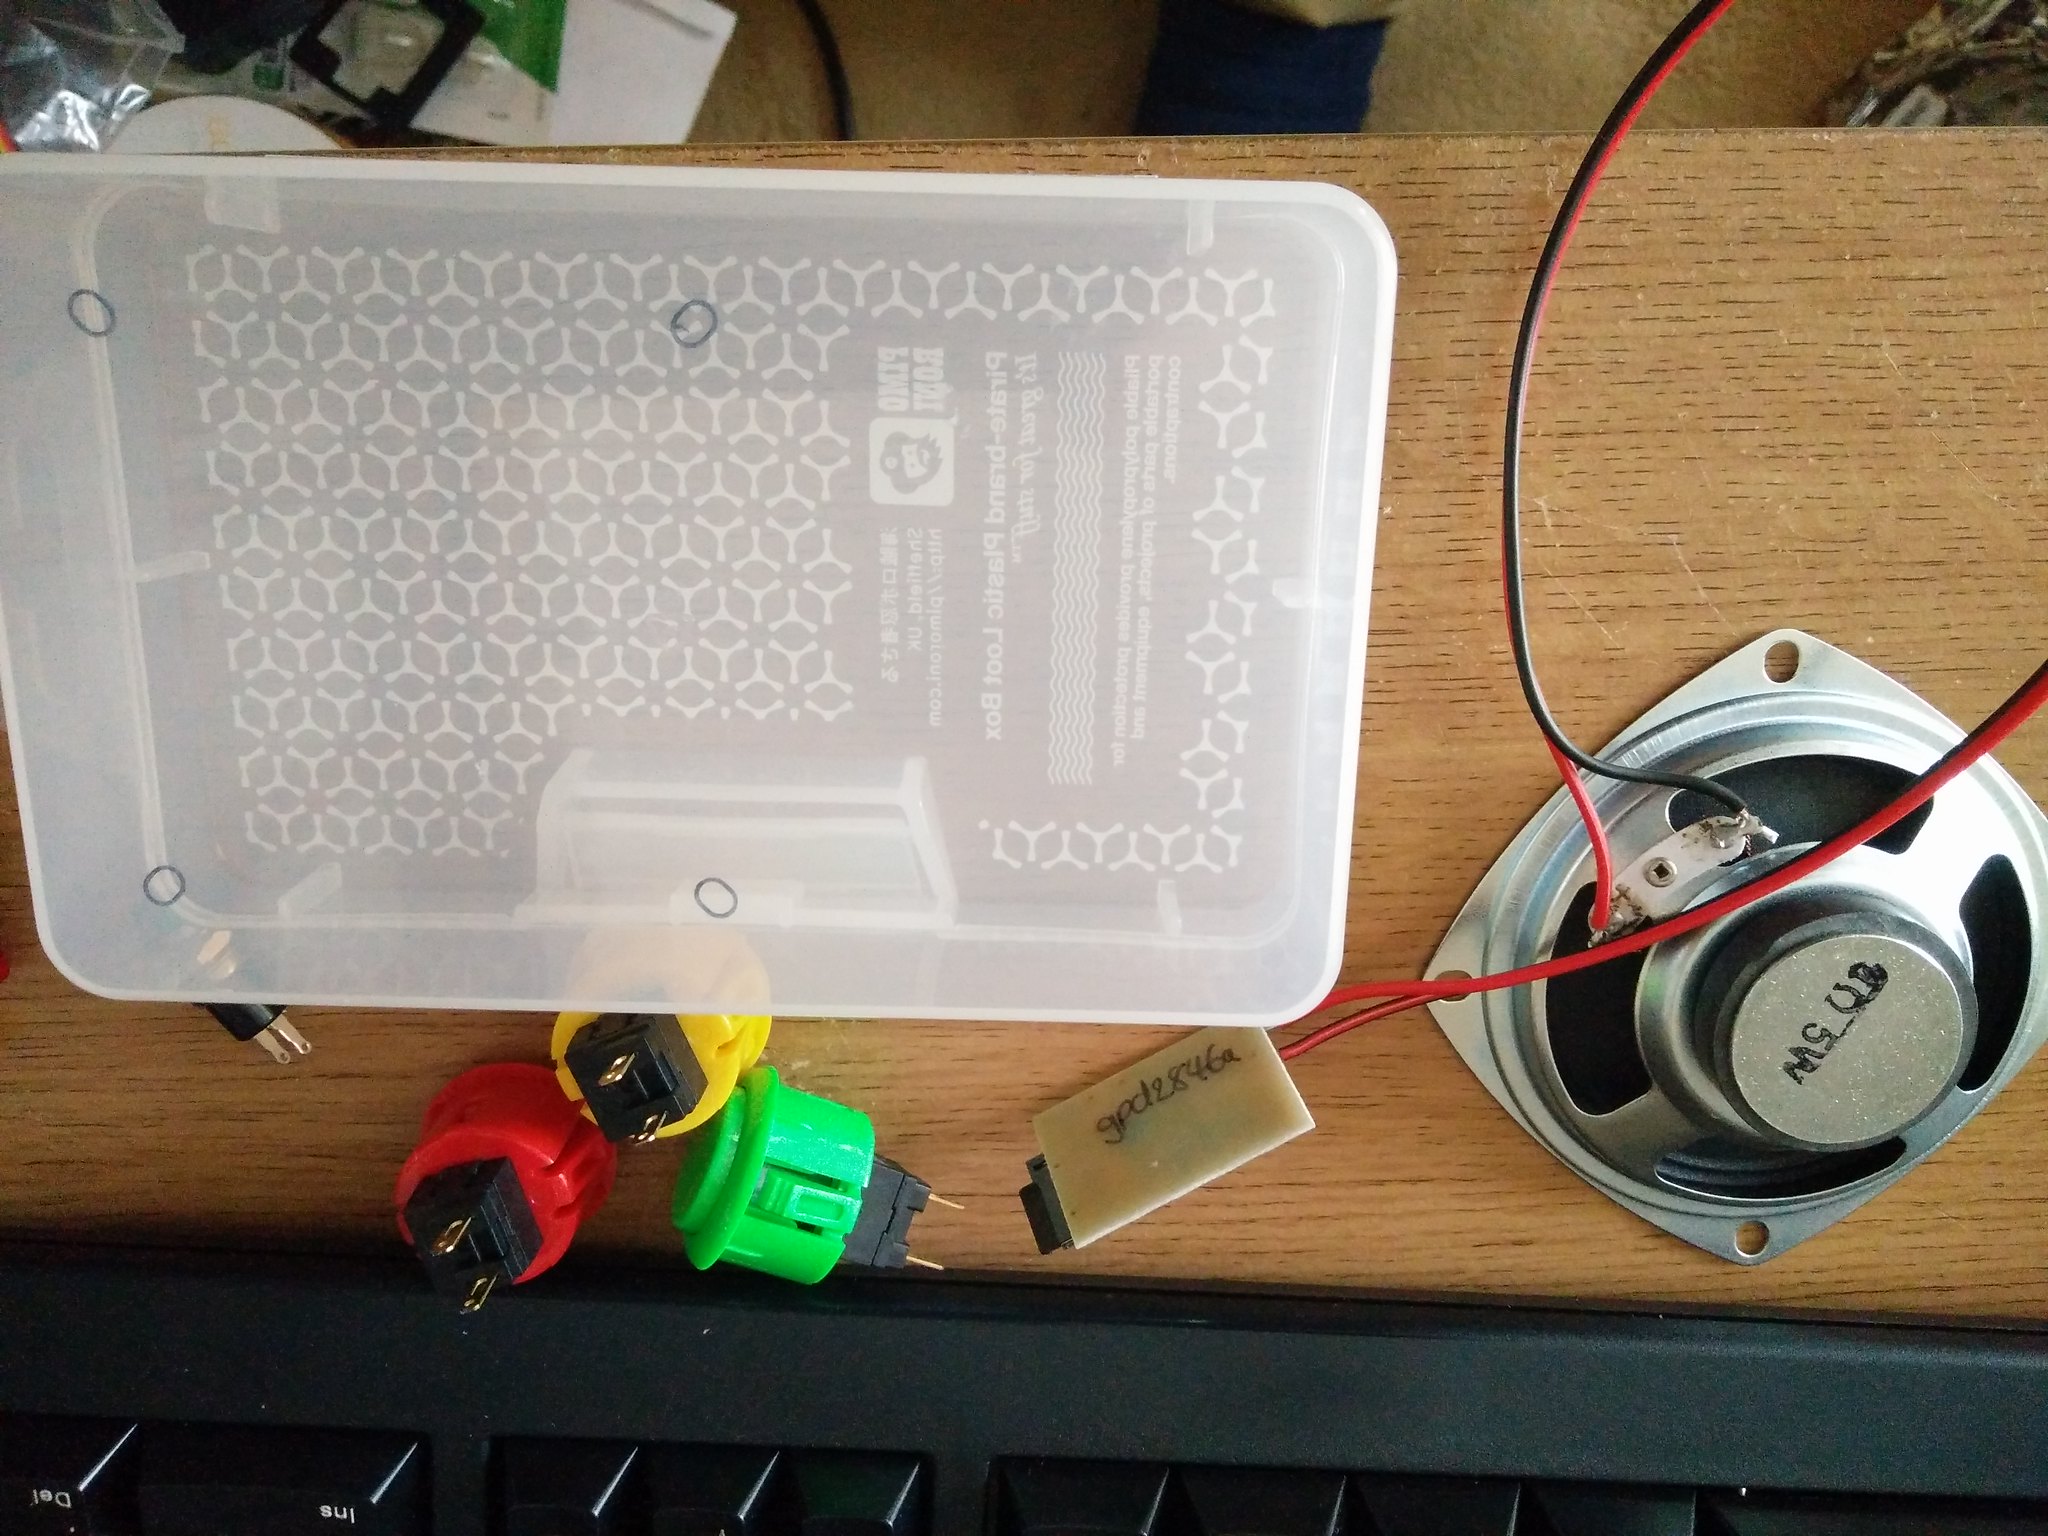
Bill of materials
-
GPD2846A 68 US cents
-
3 x Mini Arcade Buttons£1.25 each
-
3" Speaker 4Ω (5W) £2.50
-
USB lead £1 #pounderland
-
Some wire from the bits box
-
Spare M3 nuts and bolts from the bits box
Lets get building!
So I started out by marking the drill holes for the speaker using a sharpie to mark the plastic. Then using my drill...well I drilled the holes, starting small and working my way to the correct size. I also added some holes in front of the speaker to let the sound out, please do this when the speaker is not installed or you might drill the speaker. I inserted the bolts so that the head (the bit with the flat screwdriver slot) was facing outwards. The bolt shaft went into the case and was secured using the nuts. This gave a tight fit to the case, and act as spacers so the speaker is not directly touching the case. The I slid the speaker down the bolts and secured with the remaining nuts.
I then drilled holes for the buttons, they are roughly 28mm wide and they have a retaining clip so that when pushed into the plastic, they grip on. Of course you can remove them by pushing the clips inwards (carefully).

I next soldered the speaker, observing the polarity (+ and -) of the speaker and the GPD2846A
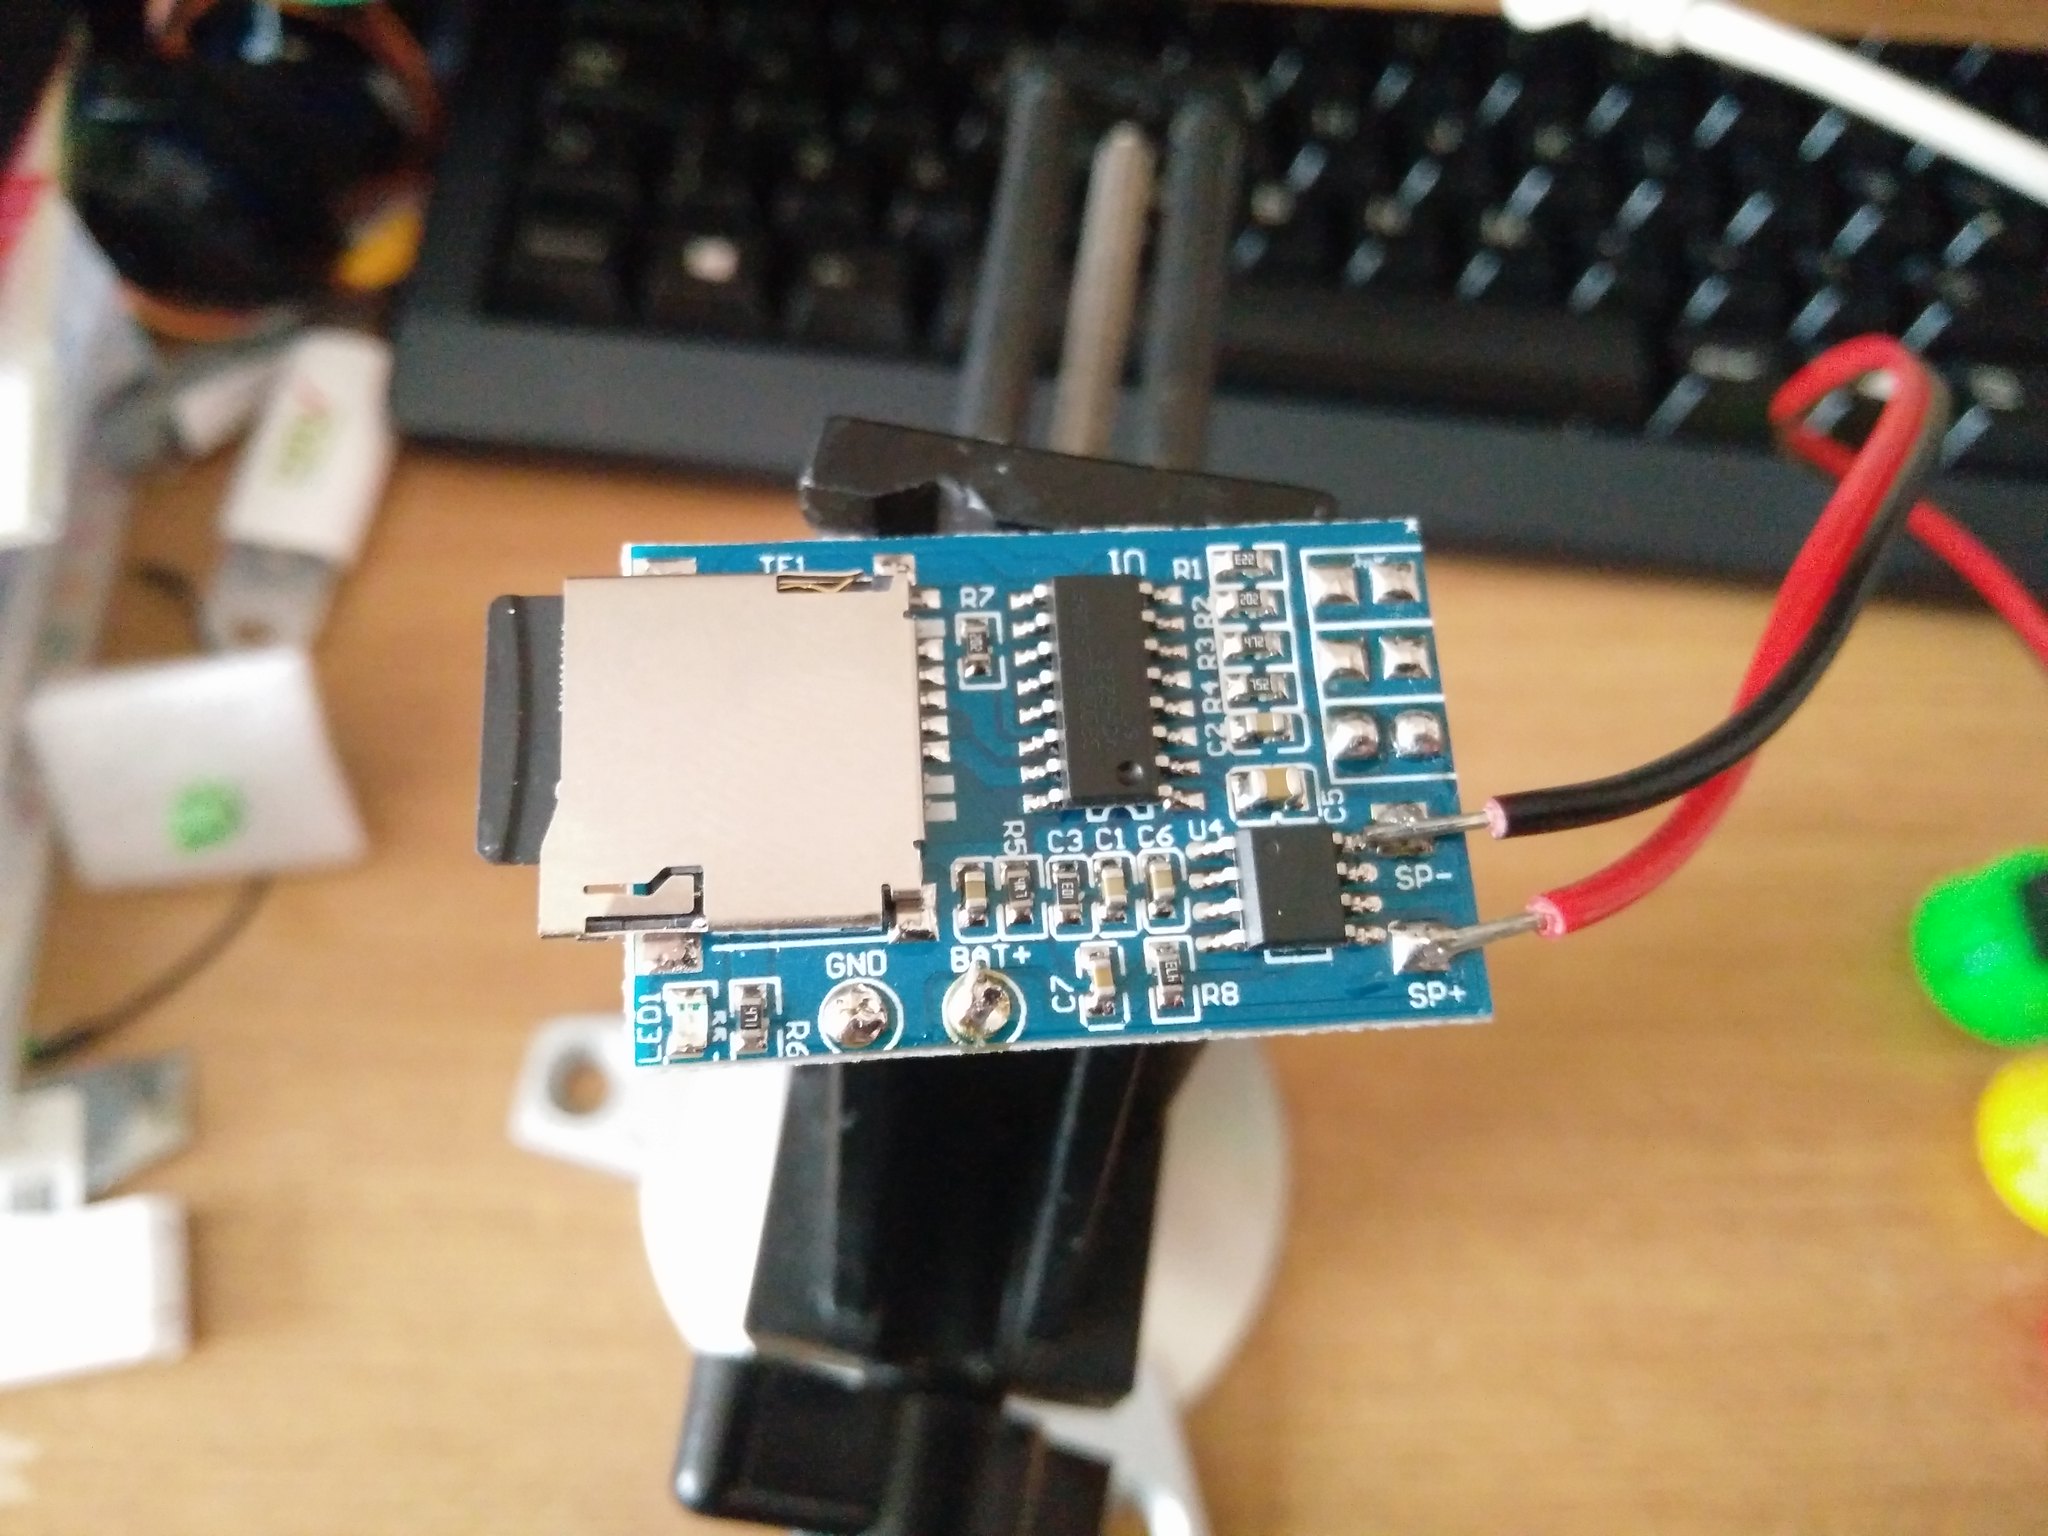
With the speaker wired up, and the buttons installed I then soldered the wires for the buttons. With 3 red wires, one for each button, and 1 long black wire for a common ground connection. The GPD2846A only need one Ground connection to the GPD2846A saving us a lot of wires!
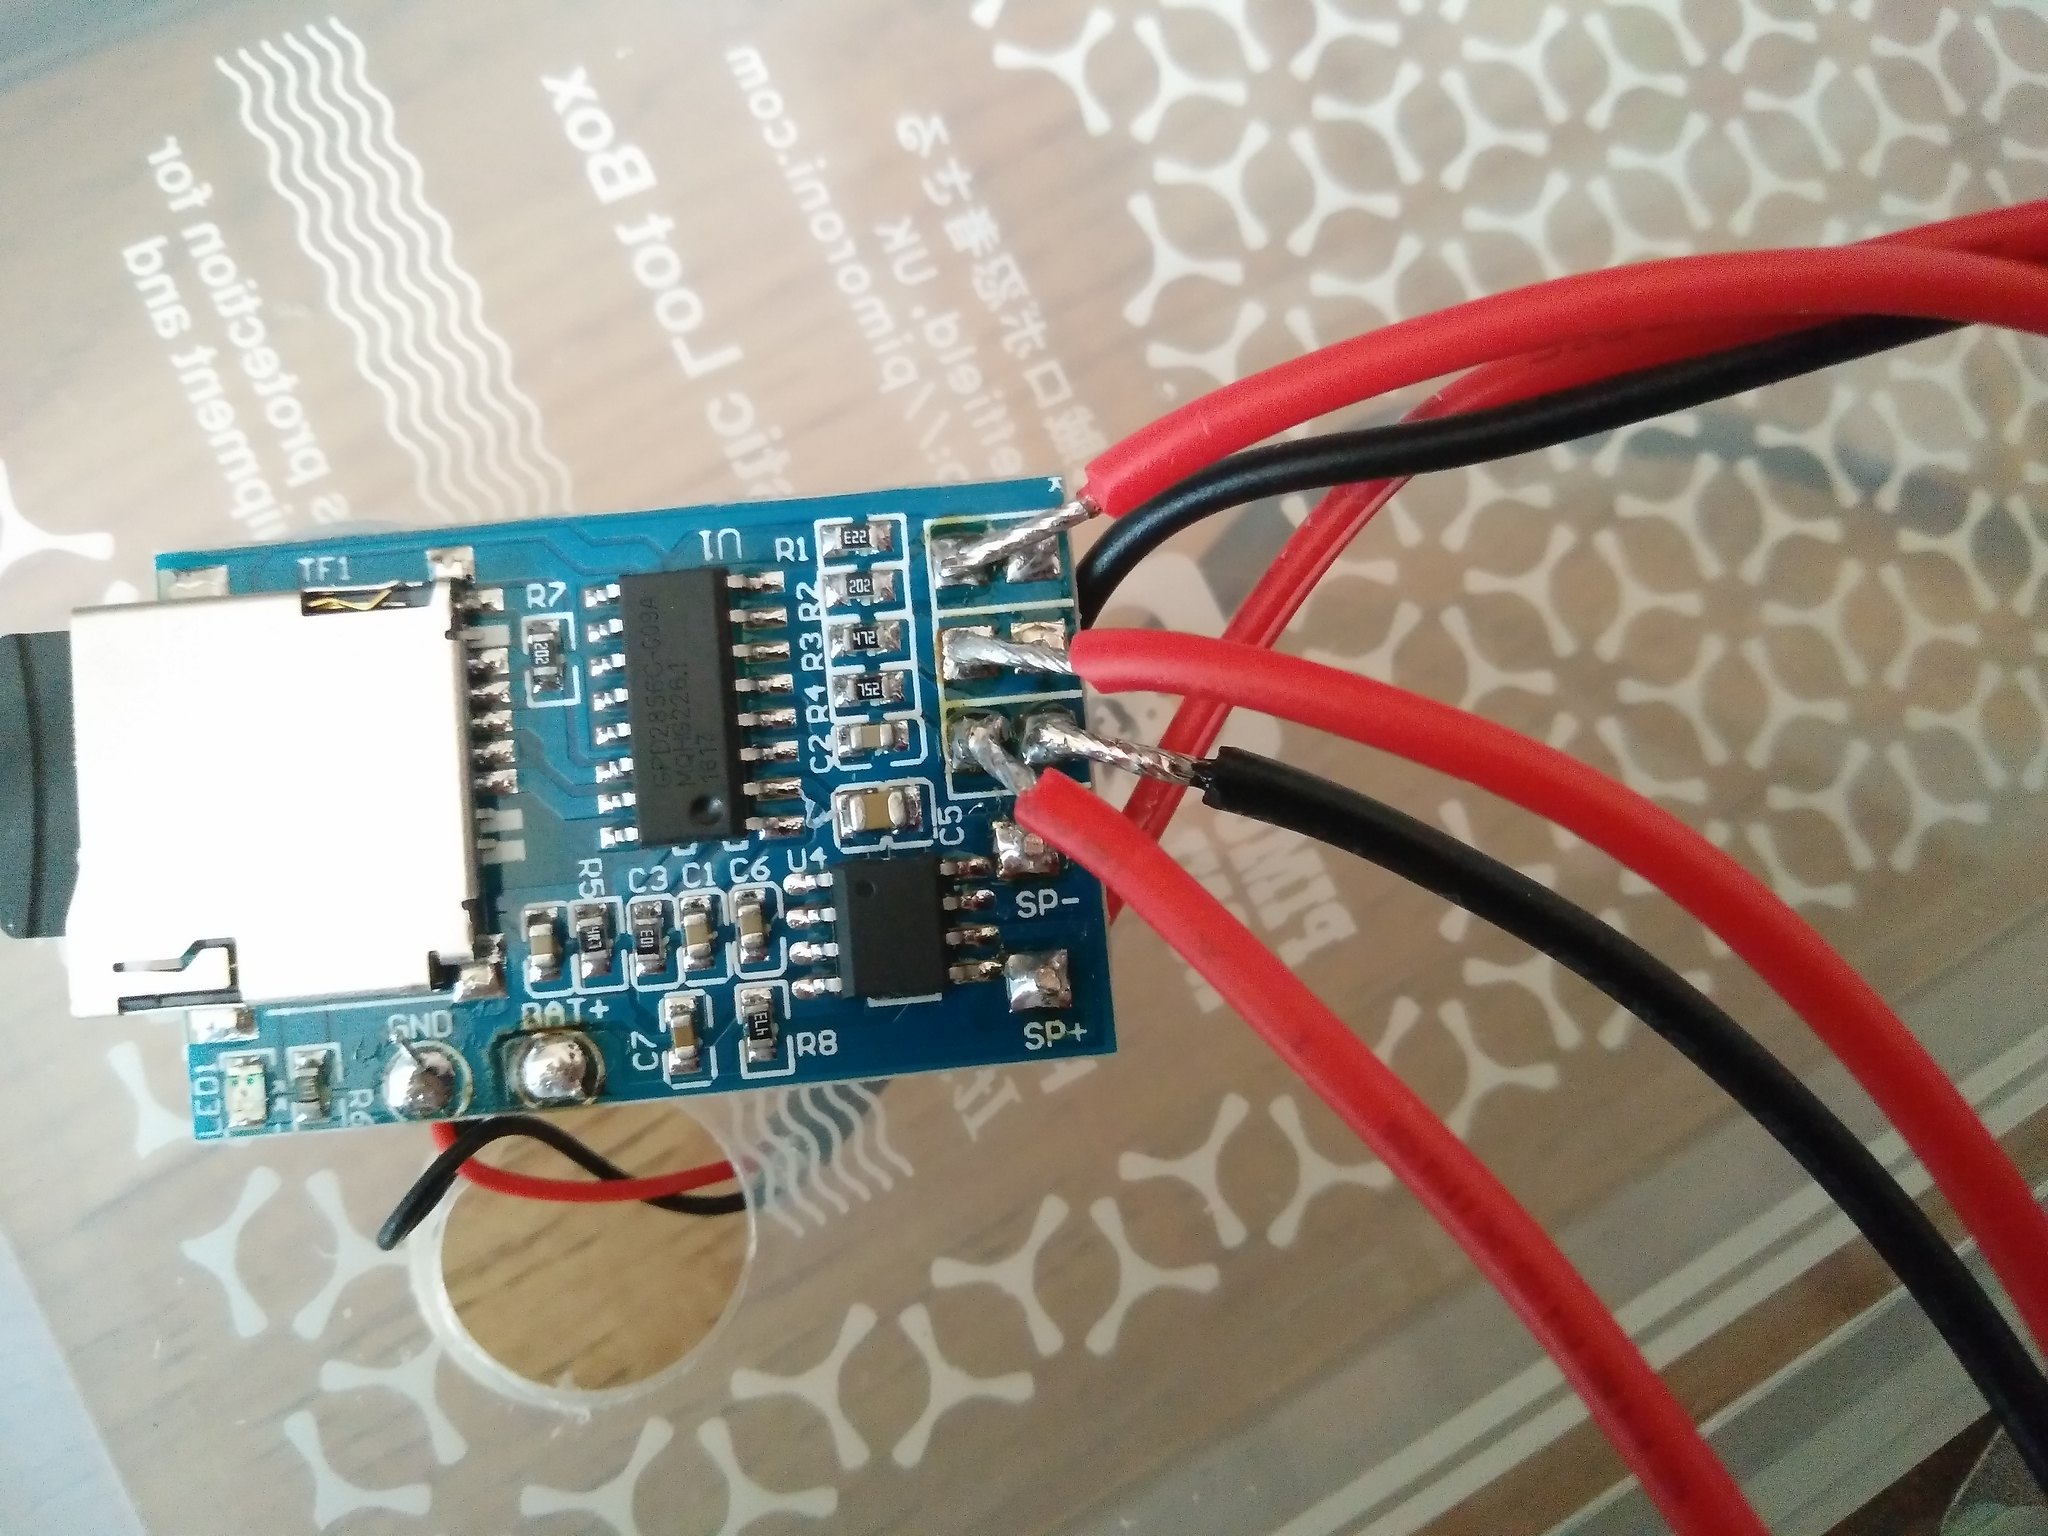
Yes those wires are tacked on and wouldn't survive repeated use, or attack by a Jack Russell Terrier, but this is a test unit. I've got more GPF2846A coming from China :)
Lastly I stripped a #Pounderland USB cable and using a multimeter I worked out which wire was 5V and which was GND by plugging in the USB lead to a spare USB battery. Luckily in this case it was RED = 5V and BLACK = GND but you should never assume :)
I grabbed a spare microSD card and loaded some music onto it, in this case the music from Dues Ex Machina Human Evolution video game. Great for listening while working.
It's alive!
After a few hours, involving drilling, measuring and tinkering...oh and burning my fingers on the soldering iron when it slid out of my hand...through my fingers somehow...the DIY MP3 player is alive.
But Why?
Building projects like this don't fulfil a need, it doesn't produce a product or project that I can use. But what it gives me is practice and research. Practice is something that we all need to ensure that we keep our skills sharp. Research is needed to investigate and experiment with new things. Now I understand how to use the GPD2846A MP3 board, I feel confident to use it in a future project...perhaps even something to scare people at Halloween, I know that is ages away, but we do have to plan these things properly :D