Monday Microcontroller: QT Py
The last time you heard "Cutie Pie" you were dressed as a shepherd in the school play, and your mum shouted it from across the room. cringe
So What is QTPy?
QT Py Is a tiny $6 microcontroller from Adafruit,that you should buy because it is cheap and fun! It isn't the fastest, most powerful or have the largest selection of GPIO pins. But what it does have, it uses wisely thanks to carefully selected GPIO pins and some fun extra features not commonly found on a $6 board.
US readers can buy from Adafruit directly, UK readers can go to Pimoroni and get one for £6.60.
Got Any Details?
- ATSAMD21E18 32-bit Cortex M0+ - 48 MHz 32 bit processor with 256KB Flash and 32 KB RAM
- Native USB supported by every OS - can be used in Arduino or CircuitPython as USB serial console, MIDI, Keyboard/Mouse HID, even a little disk drive for storing Python scripts.
- Can be used with Arduino IDE or CircuitPython
- Built in RGB NeoPixel LED
- 11 GPIO pins:
- True analog output on one I/O pin - can be used to play 10-bit quality audio clips in Arduino (CircuitPython does not have storage for audio clips)
- 9 x 12-bit analog inputs (SDA/SCL do not have analog inputs)
- 1 x Optional AREF on A1
- 9 x PWM outputs (A0 is analog out, A1 is not PWM capable)
- Hardware I2C port with STEMMA QT plug-n-play connector
- Hardware UART
- Hardware SPI
- Hardware I2S
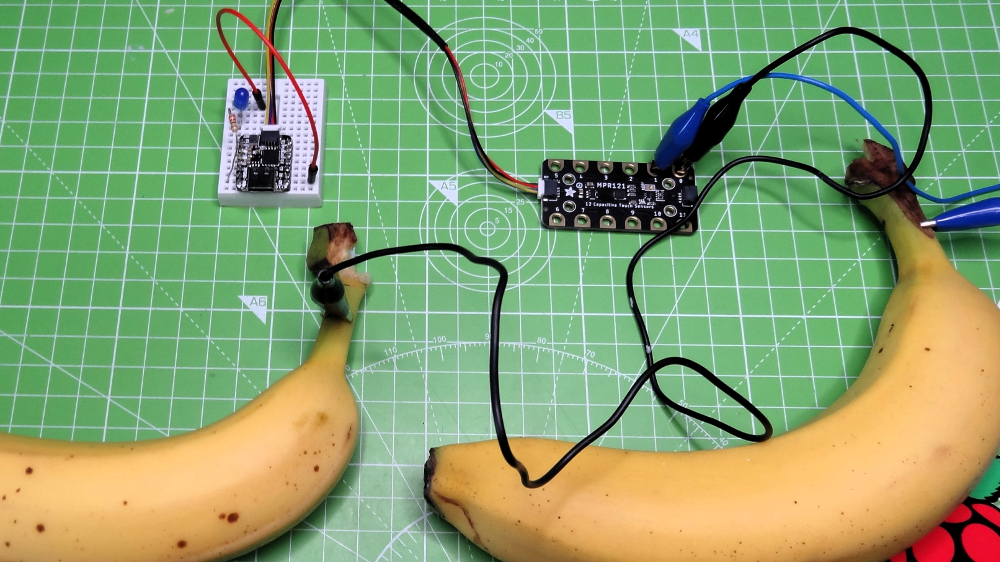
- 6 x Capacitive Touch with no additional components required
- 3.3V regulator with 600mA peak output
- Optional SOIC-8 SPI Flash chip on bottom
- Reset switch for starting your project code over or entering bootloader mode
- USB Type C connector
The highlighted sections above are what I consider the "interesting" features of the board.
With QT Py we can create USB HID devices such as keyboards and mice. So if we want to automate a certain sequence of keypresses or map a joystick to a mouse, well we can and it is cheap!
Making a MIDI instrument is totally possible. So if you want to make your own EDM pad, then QT Py might be a nice way to start.
The STEMMA QT port is of particular interest. This keyed port enables the use of compatible add on boards, available from Adafruit and Pimoroni, which just connect up and work thanks to Adafruit's work to write good drivers for their boards.
Sounds Great, But What Can I Do With It?
CircuitPython is a great language that enables us to build projects quickly and easily. Using CircuitPython with QT Py is extremely simple. We flash the software on to the QT Py and then it appears as a USB flash drive on our computer. On the drive is a file code.py which we edit using Mu or Visual Studio Code.

Hi reader!
Give Me An Example?

This example is based upon Adafruit's Basic Input / Output example which I have simplified. An LED, connected to A0 (which is also D0) is connected to GND via a 330 Ohm resistor.
Just like "normal" Python we first import a series of libraries. The first is time which is used to control the pace of our project. The board library enables our code to use the GPIO of the QT Py. The final library digitalio has two classes that we are interested in. DigitalInOut is used to control the setup and state of the GPIO pins, Direction sets a GPIO pin as an INPUT or OUTPUT.
import time
import board
from digitalio import DigitalInOut, Direction
We then create an object led that enables our code to talk to the GPIO connected to our LED, in this case A0 which is also a digital pin refered to as D0. As we want current to flow from pin D0 we need to tell the code that D0 is an output.
led = DigitalInOut(board.D0)
led.direction = Direction.OUTPUT
Finally we create a while True / forever loop that sets the state of the LED as off / False, waits for 0.1 seconds then sets the values to on / True before waiting another 0.1 seconds, effectively flashing the LED.
while True:
    led.value = False
    time.sleep(0.1)
    led.value = True
    time.sleep(0.1)
Save the code as code.py and the board resets and we see a blinking LED.
But I Can Buy a Raspberry Pi Pico for $4!
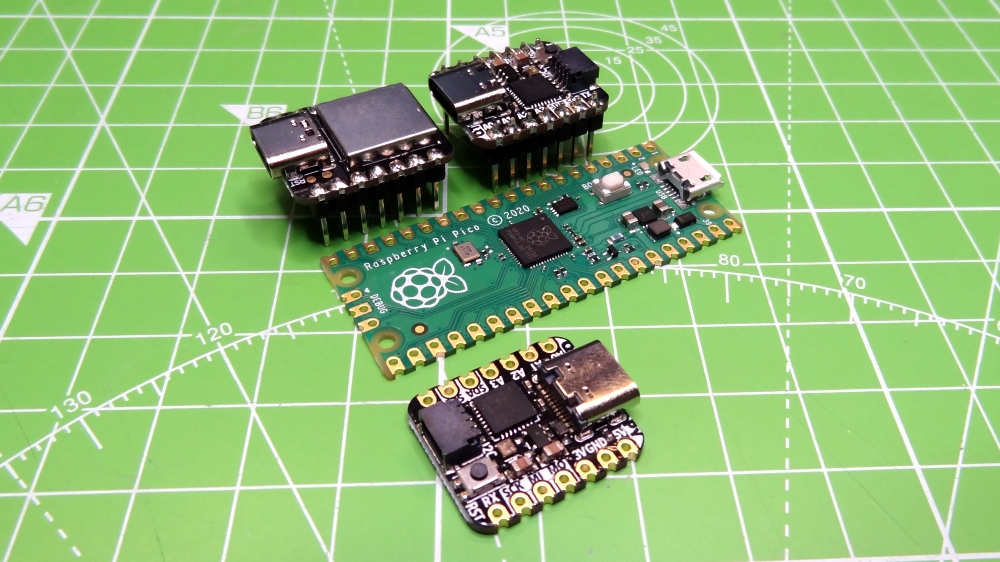
Yes that is true, and it also runs CircuitPython, but we lose the STEMMA QT connector, USB C interface and the board is 2.5 times the size. The Pico isn't a huge board, but if space is at a premium, every milimetre counts.
Hey! That Looks Like Seeeduino Xiao!
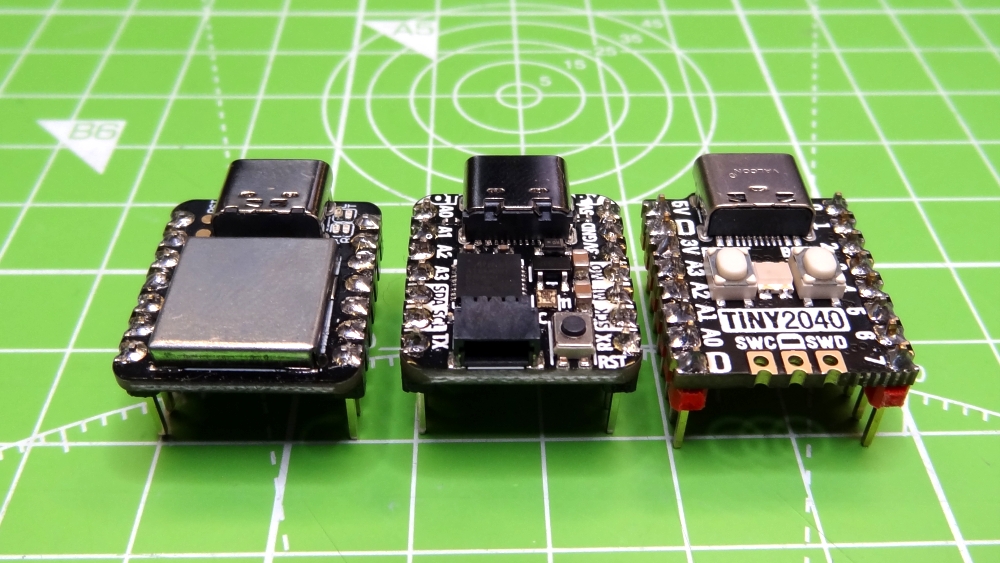
Yes the QT Py and Seeeduino Xiao are very similar in specification and layout. They share the same pinout.
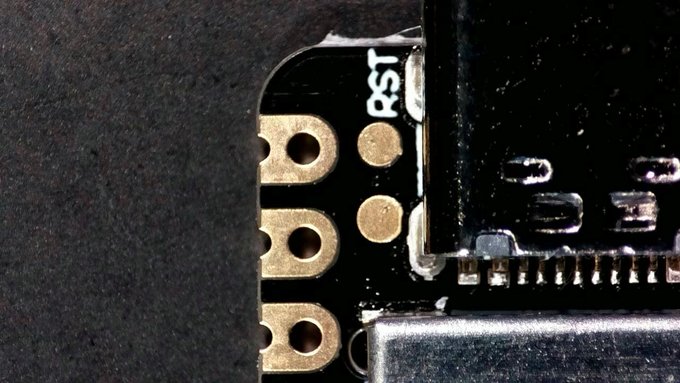
The only missing features on the Xiao are the STEMMA QT connector and a reset button, which forces us to bridge two pads on the board to enter bootloader mode.
Messing around with my @Raspberry_Pi Zero powered microscope, OBS, @seeedstudio Xiao, #CircuitPython and Visual Studio Code pic.twitter.com/3f1LIkTg2i
— biglesp (@biglesp) December 5, 2020
Final Thoughts?
I really like QT Py, it is the right balance of fun, cheap and usable. I can make great projects quickly with CircuitPython, and I have access to a plethora of add ons and tutorials to aid my learning. Next time you are at Adafruit or Pimoroni, add one to your basket.