Poundland Hack - Sound Reactive Christmas LEDs
Christmas is now but a memory and that means that your local Poundland / Dollar Store will be getting rid of hackable stuff.
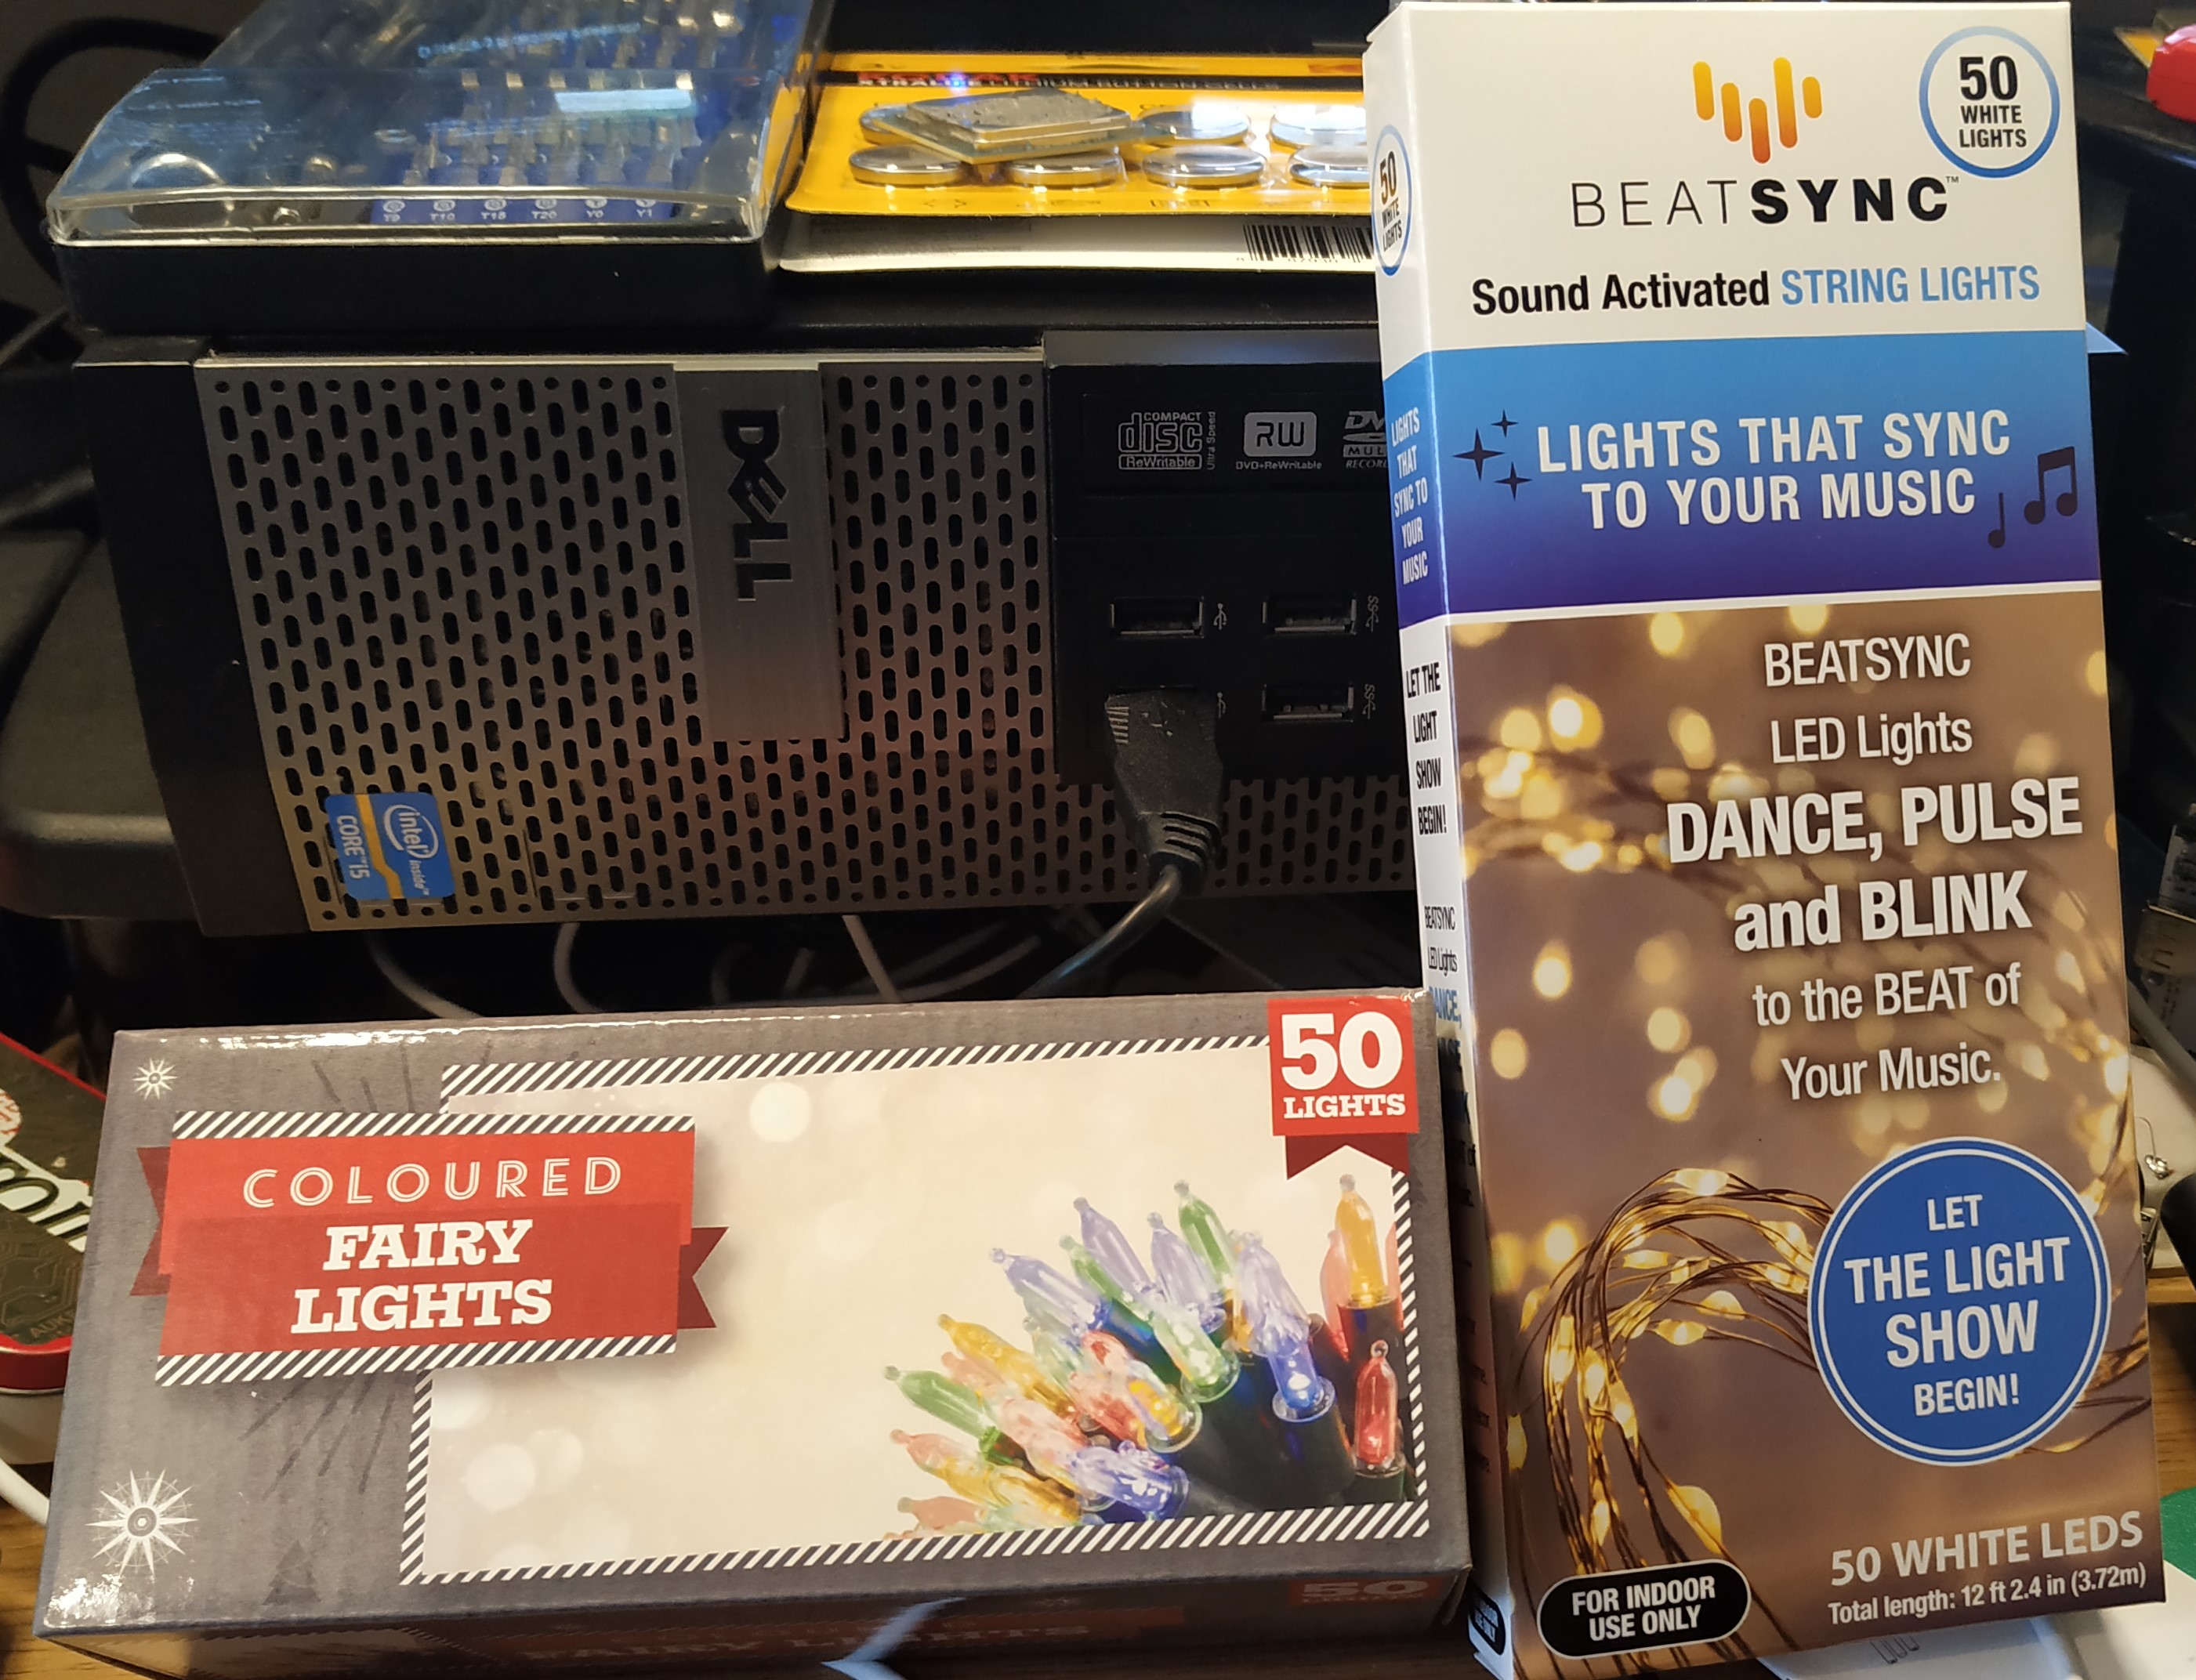
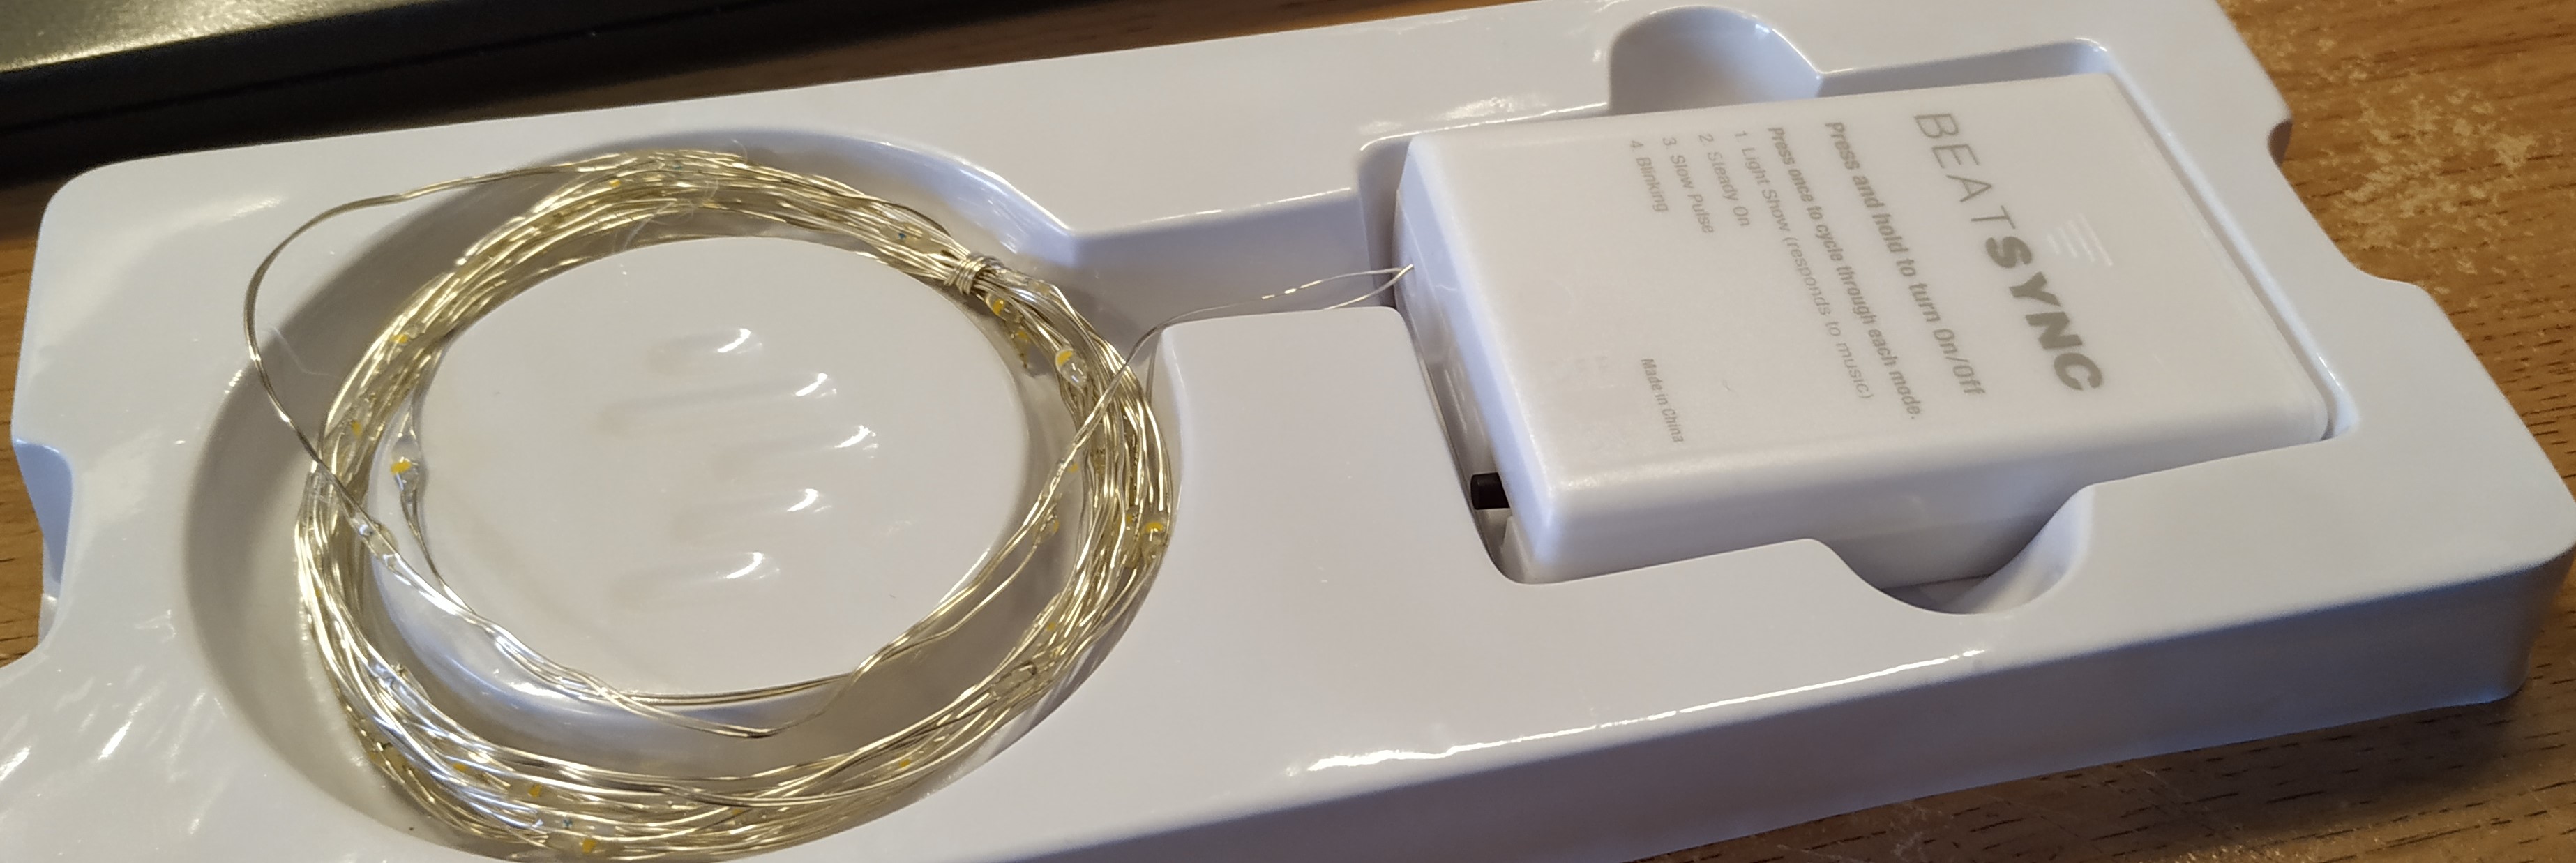
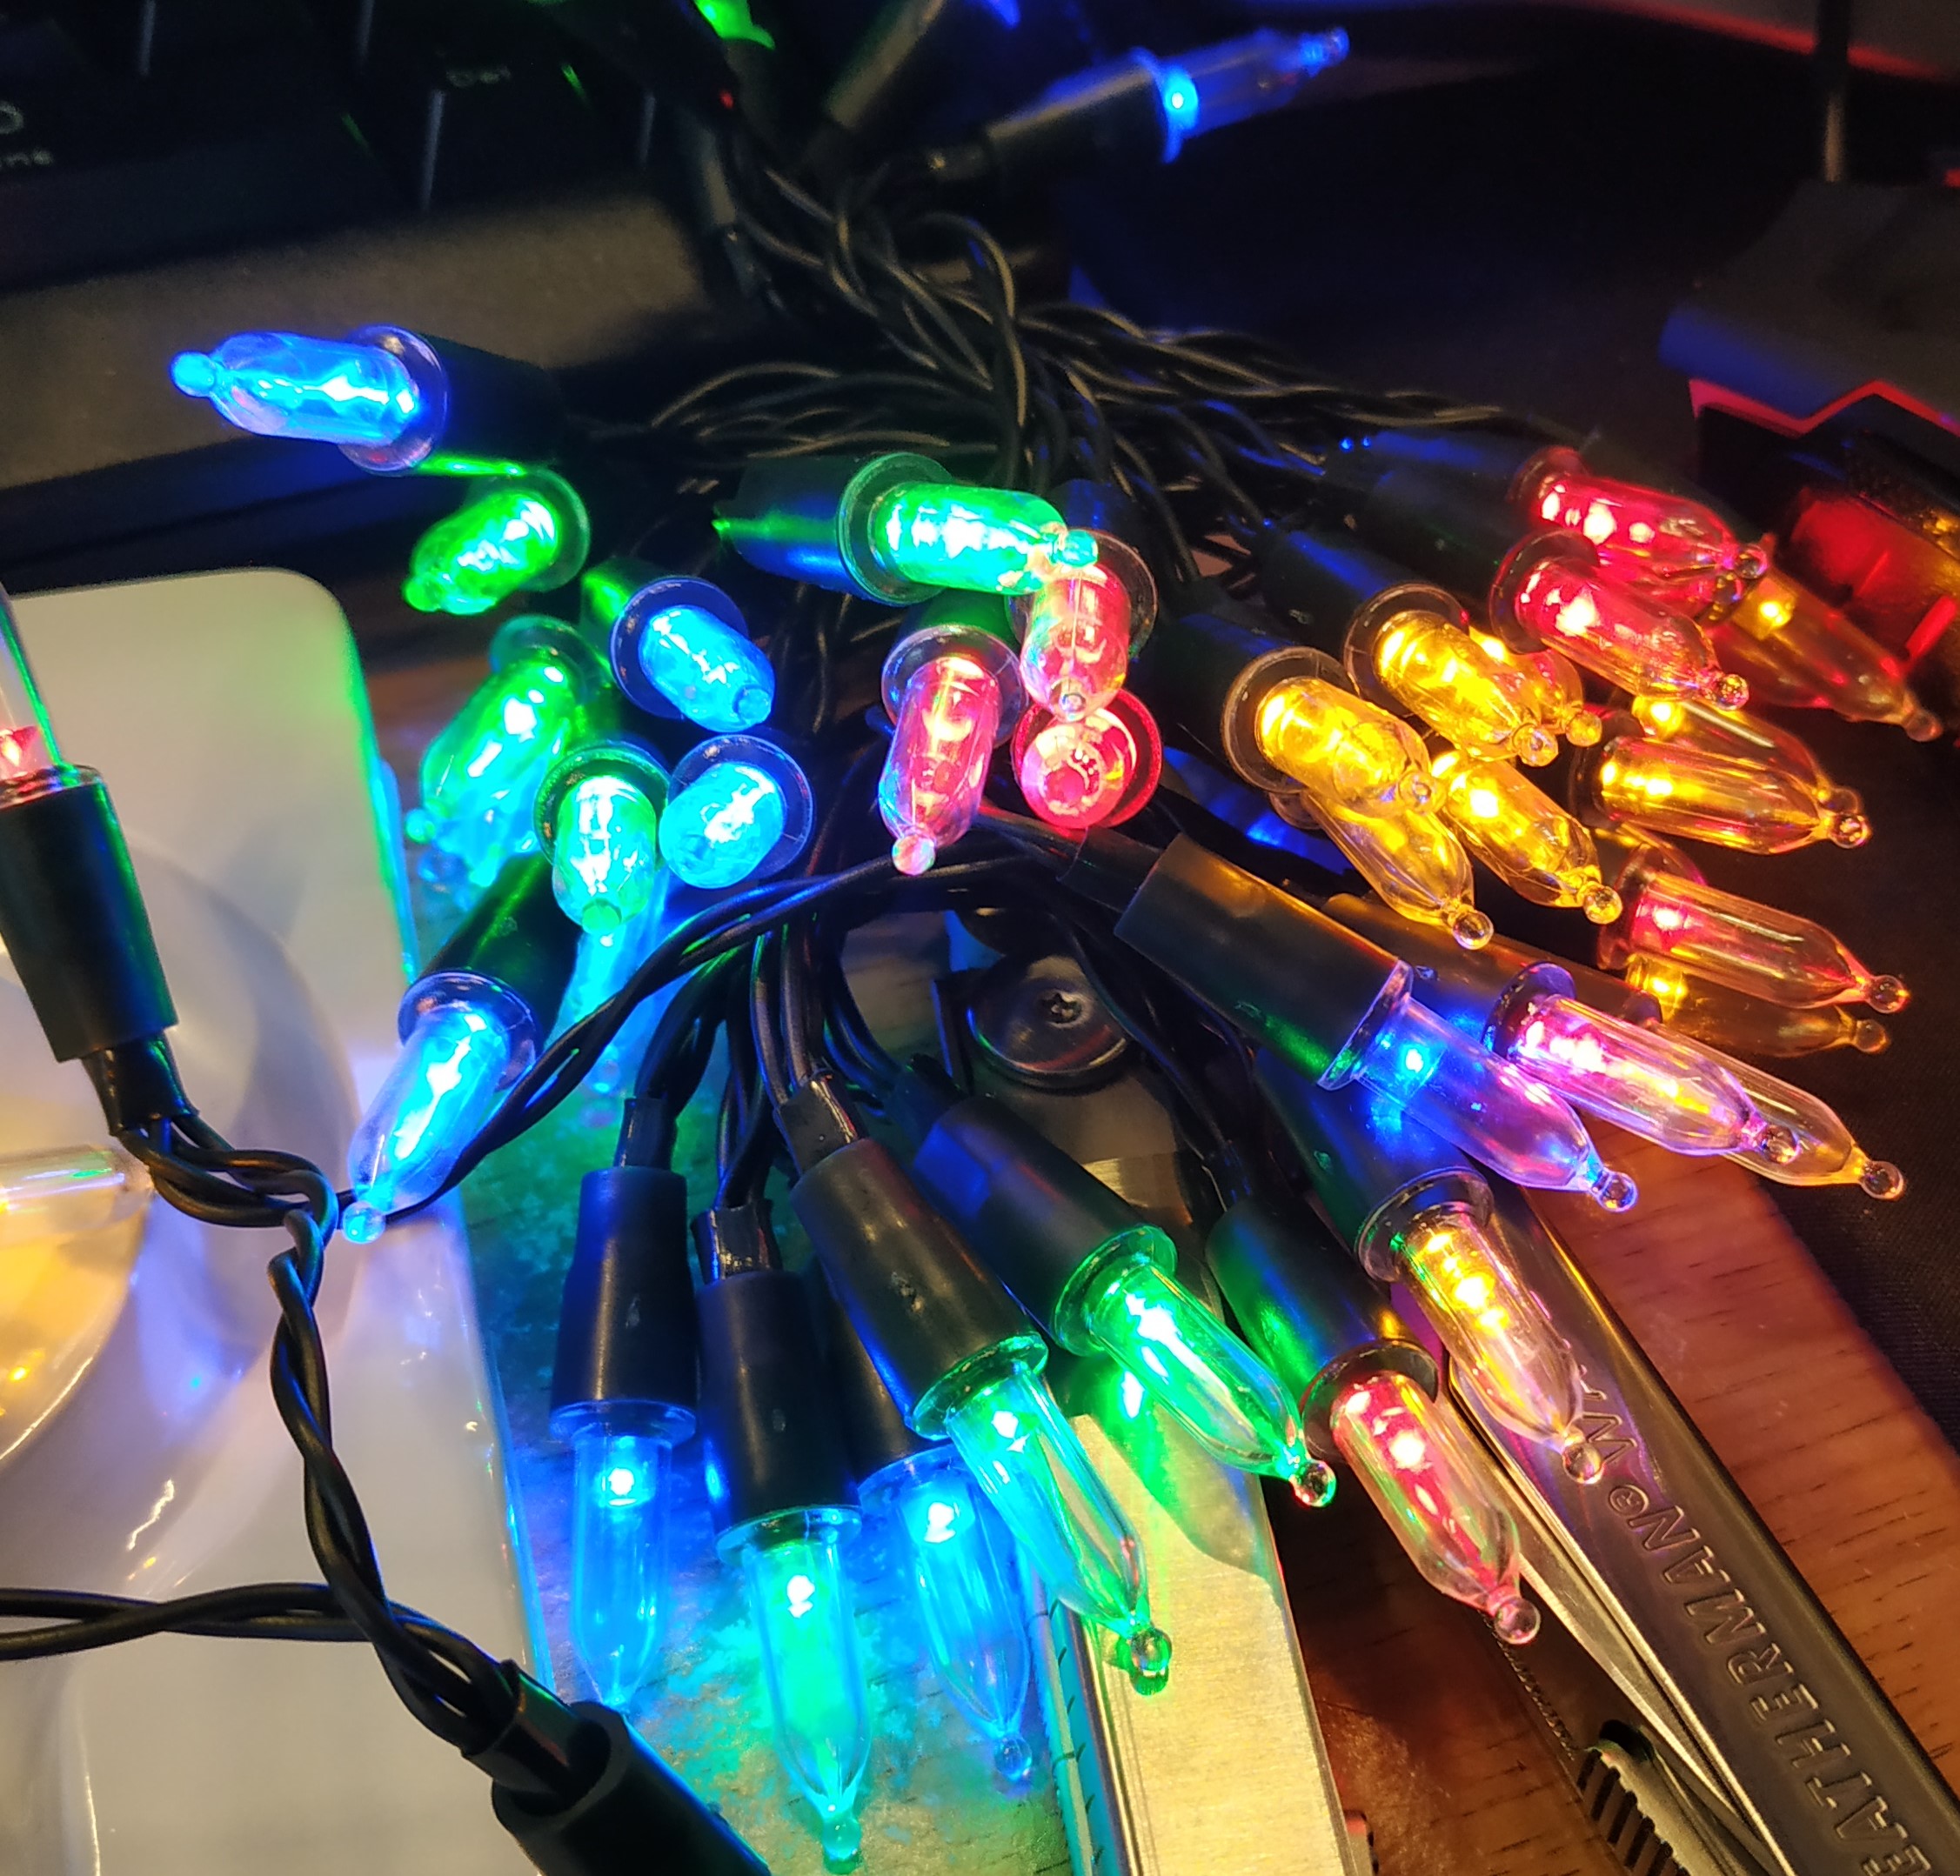
The other day I picked up some sound reactive LEDs called BEATSYNC for £2 (Don't get me started on Poundland charging £2/£5 etc) and some plain coloured Christmas lights, known as fairy lights in the UK.
The LEDs that came with BEATSYNC are a long string on micro LEDs on enamel wire, some people call these rice lights. They are pretty, but I wanted multi-coloured lights...So I made some, and here is how you can do it.
For this you will need
- 1 x BEATSYNC sound reactive LEDs from Poundland £2
- 1 x Christmas fairy lights from Poundland £1 (in sale)
- Soldering equipment.
- Side cutters
- 3V CR2032 battery
Snip the fairy lights
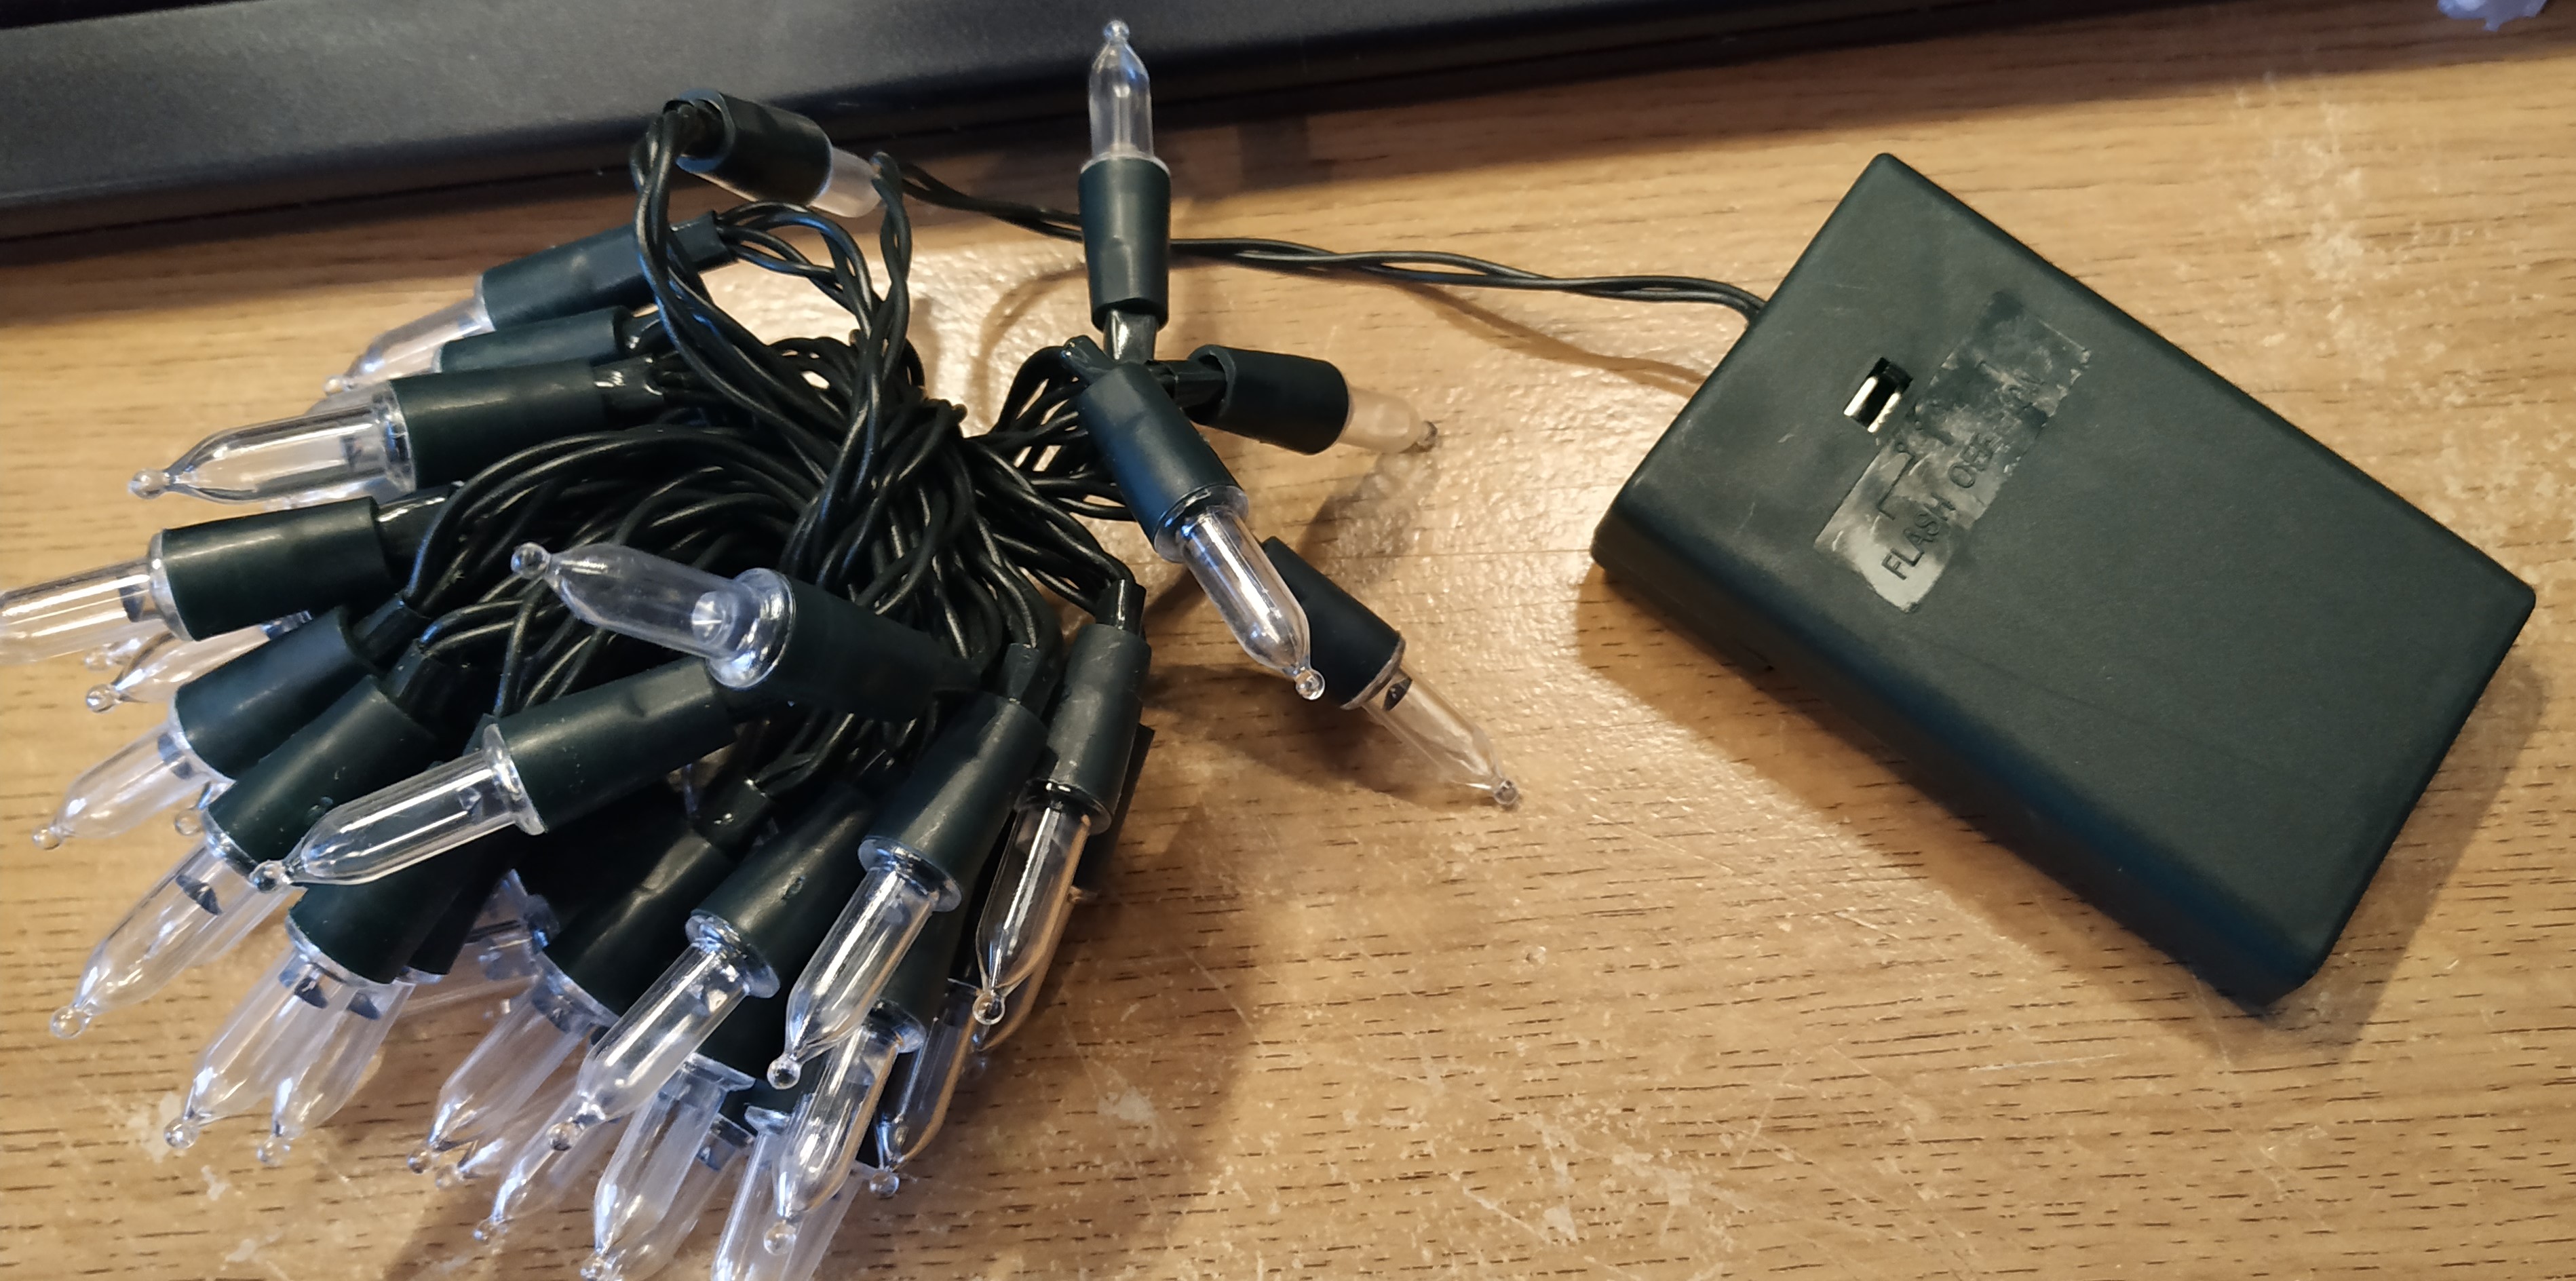
The Poundland fairy lights come with a lovely green battery box. Unravel around 6 inches / 15 CM of wire and snip. Retain the battery box in your parts box.
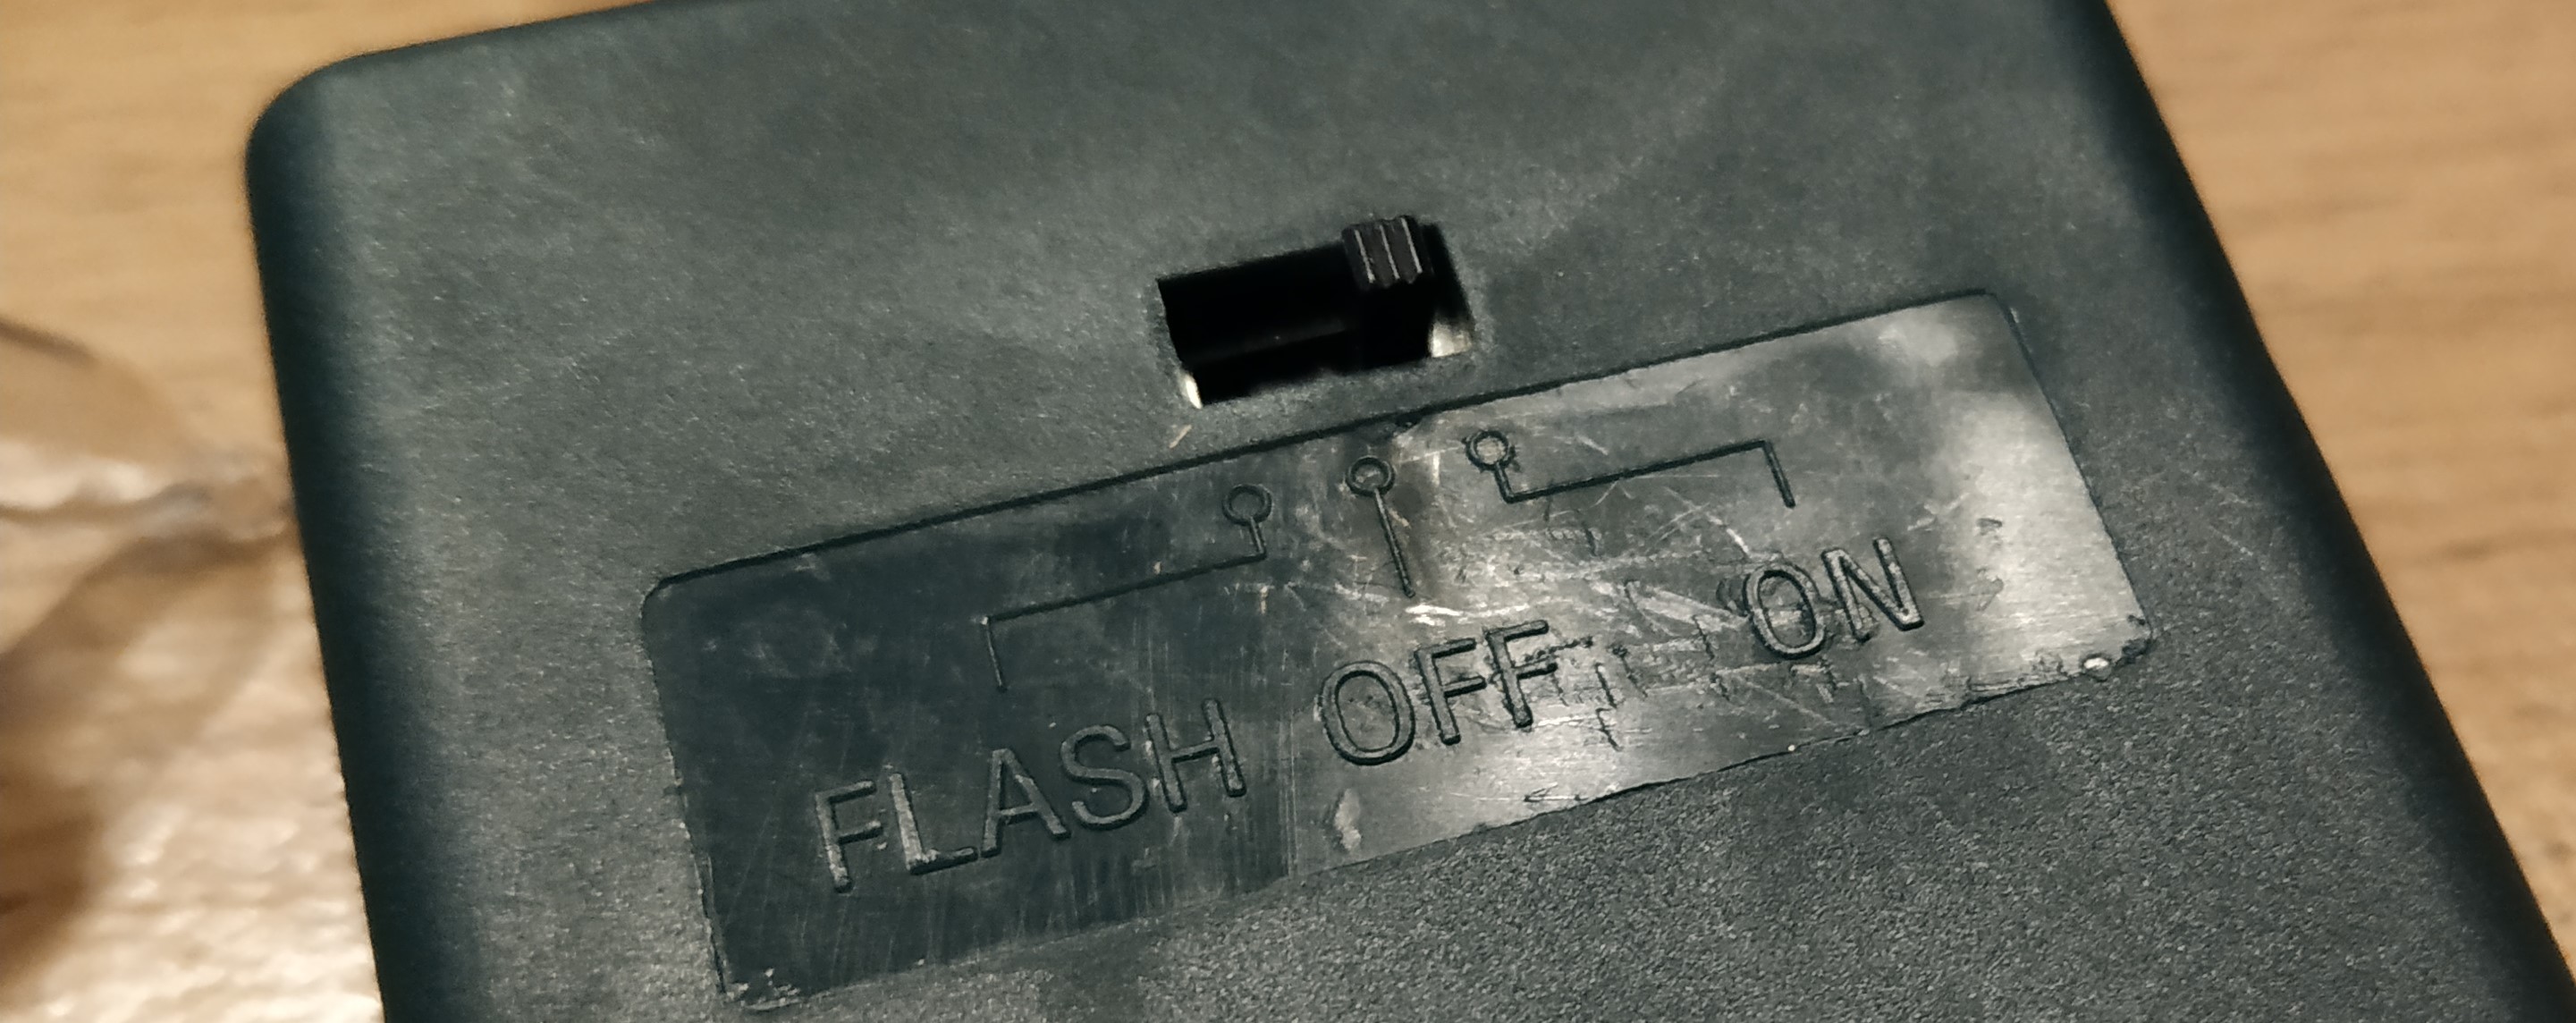
Why are we keeping the fairy lights battery box? Well it has a cool little circuit that can flash any future LED projects.
Or we can use it supply 4.5V to a future project.
Now using wire strippers strip the wires for the fairy lights so that we have 1CM of wire showing at the end. Tin the wires using your soldering iron.
Tin the wires? Tinning a wire is when we flow fresh solder on to the wire, this means they are a little stronger and can be easily soldered into a circuit.
Once the wires are tinned, take the CR2032 battery and place one wire on the flat side, and the other on the raised side of the battery. Do the LEDs light up? If not swap them around and test again.
Once you have the LEDs lit, remove the wire from the large flat side of the battery and using a sharpie / marker make a small mark to remind you that this is the positive (+) wire.
BEATSYNC Surgery
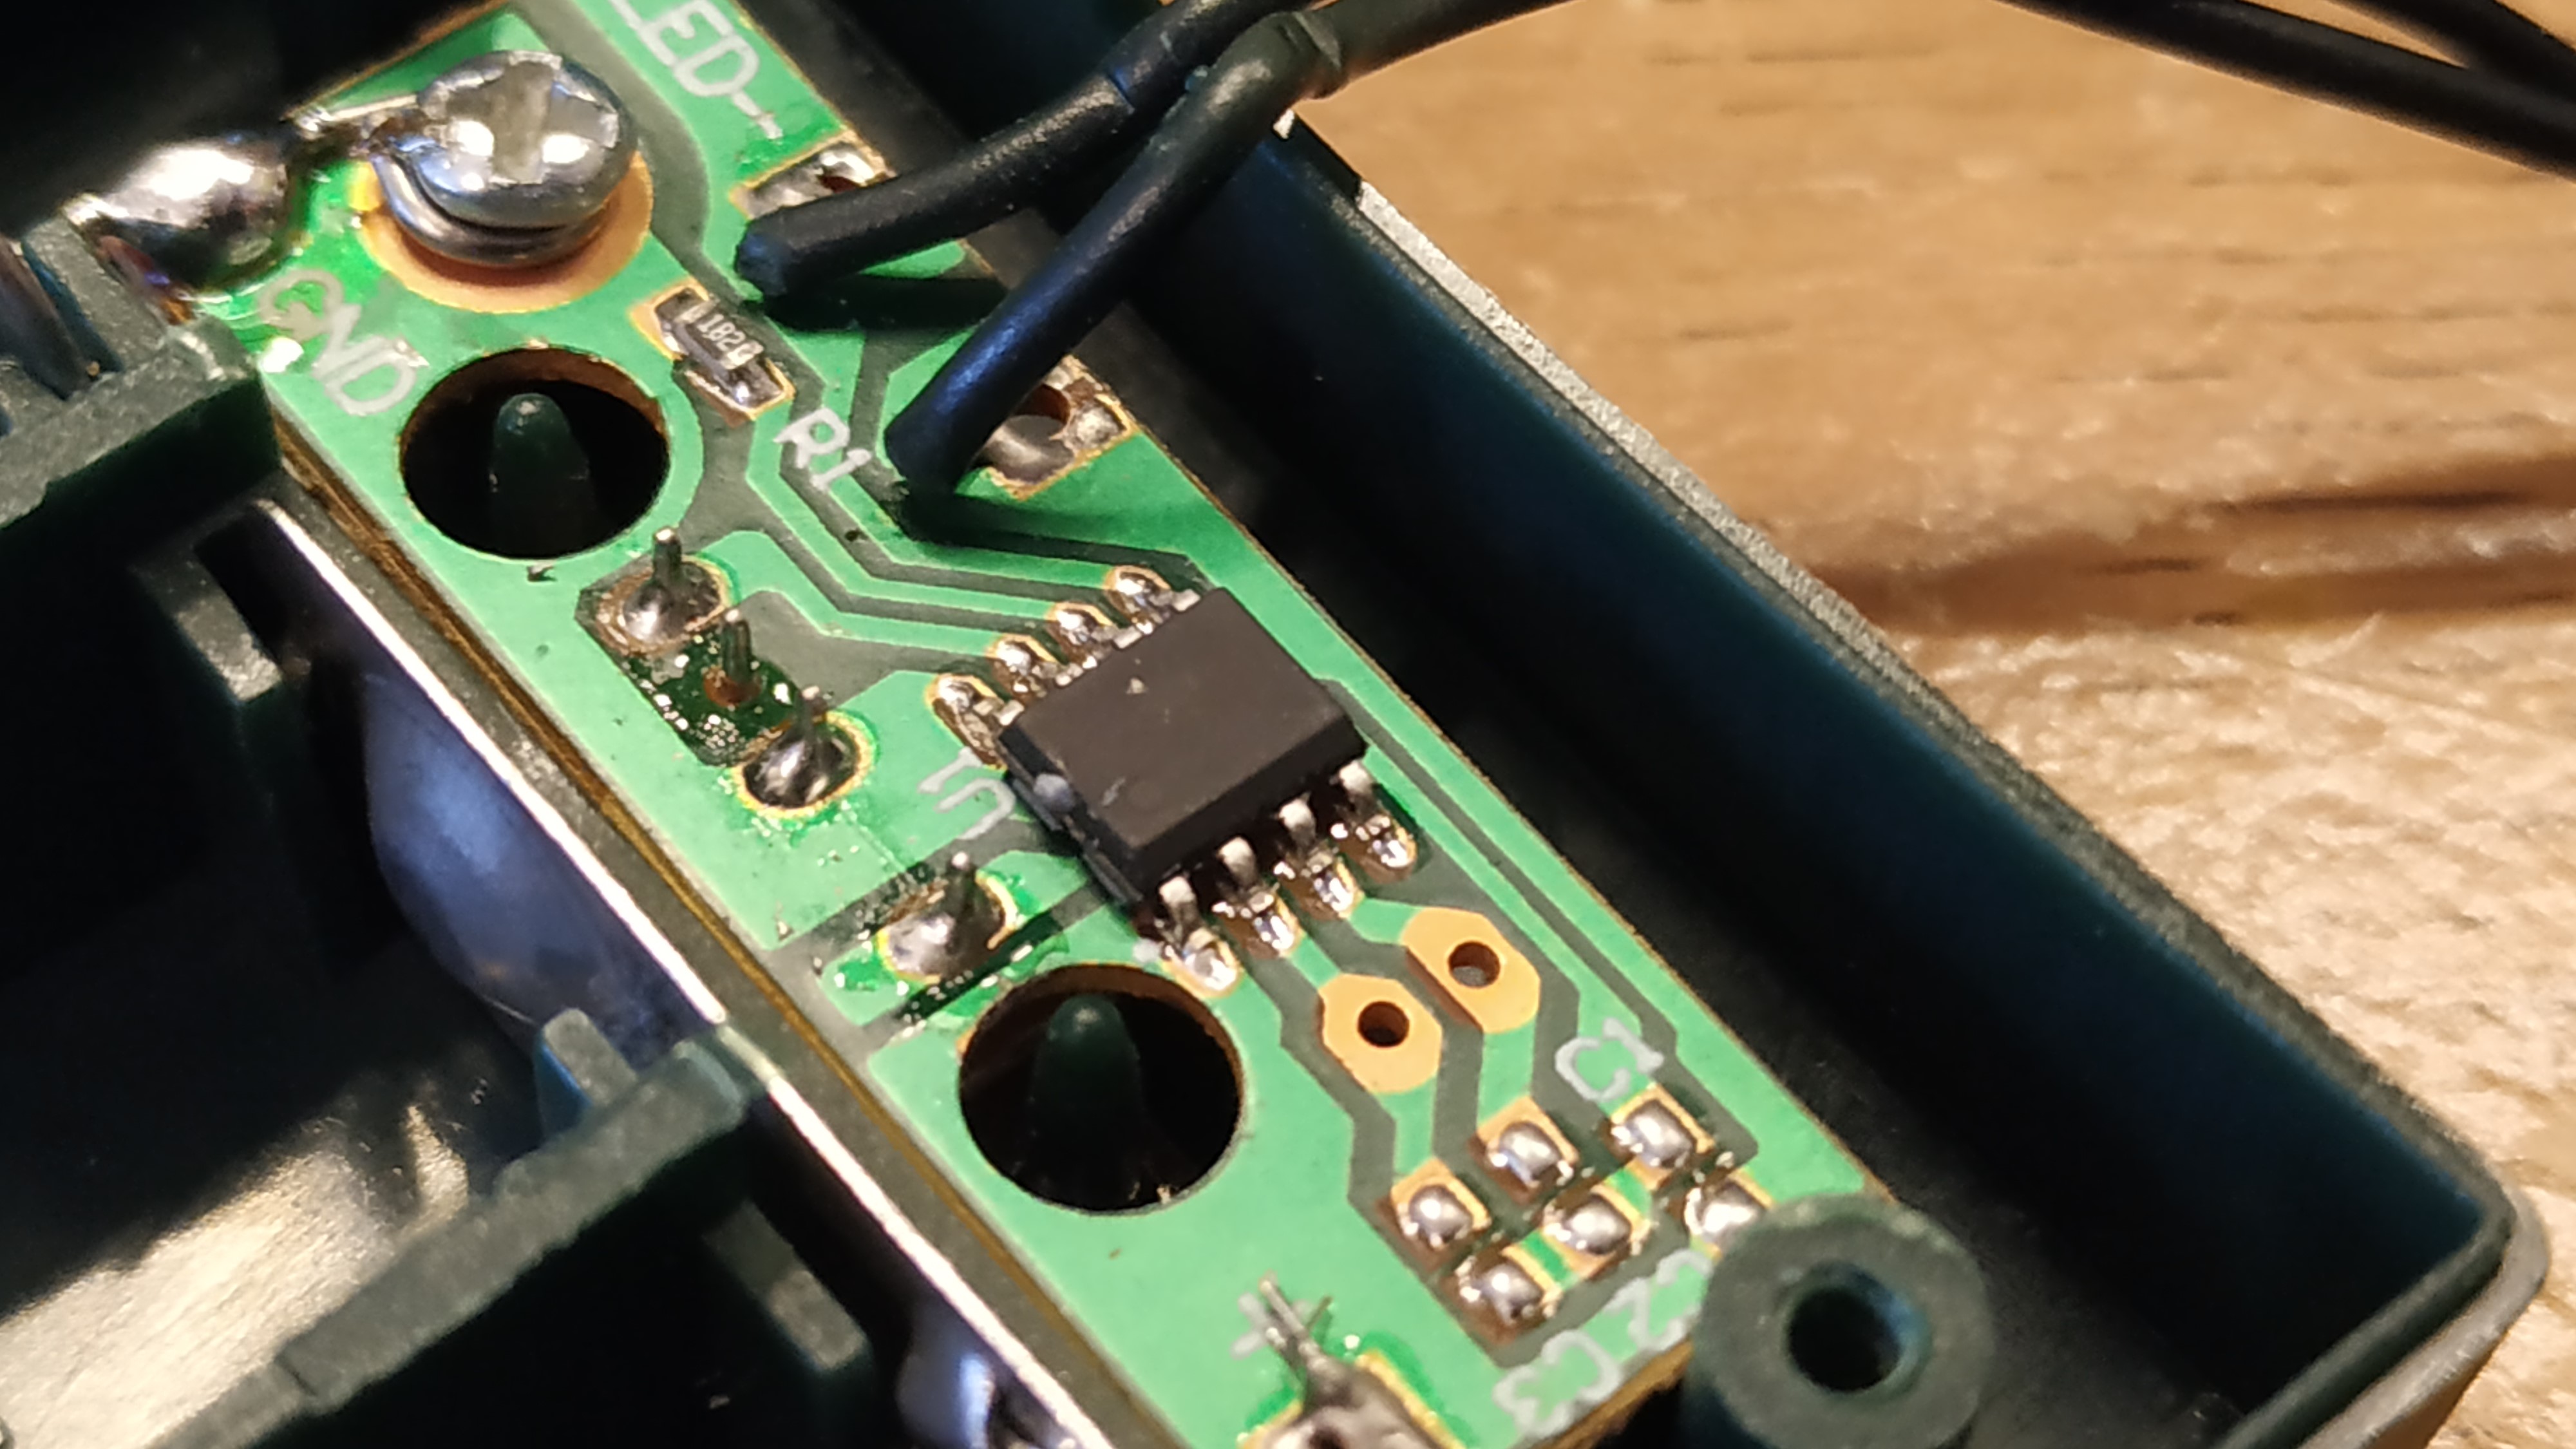
The BEATSYNC has a white battery box into which the LEDs are connected. Remove the cover from BEATSYNC and take a look inside.
You can see that there isn't much in there!
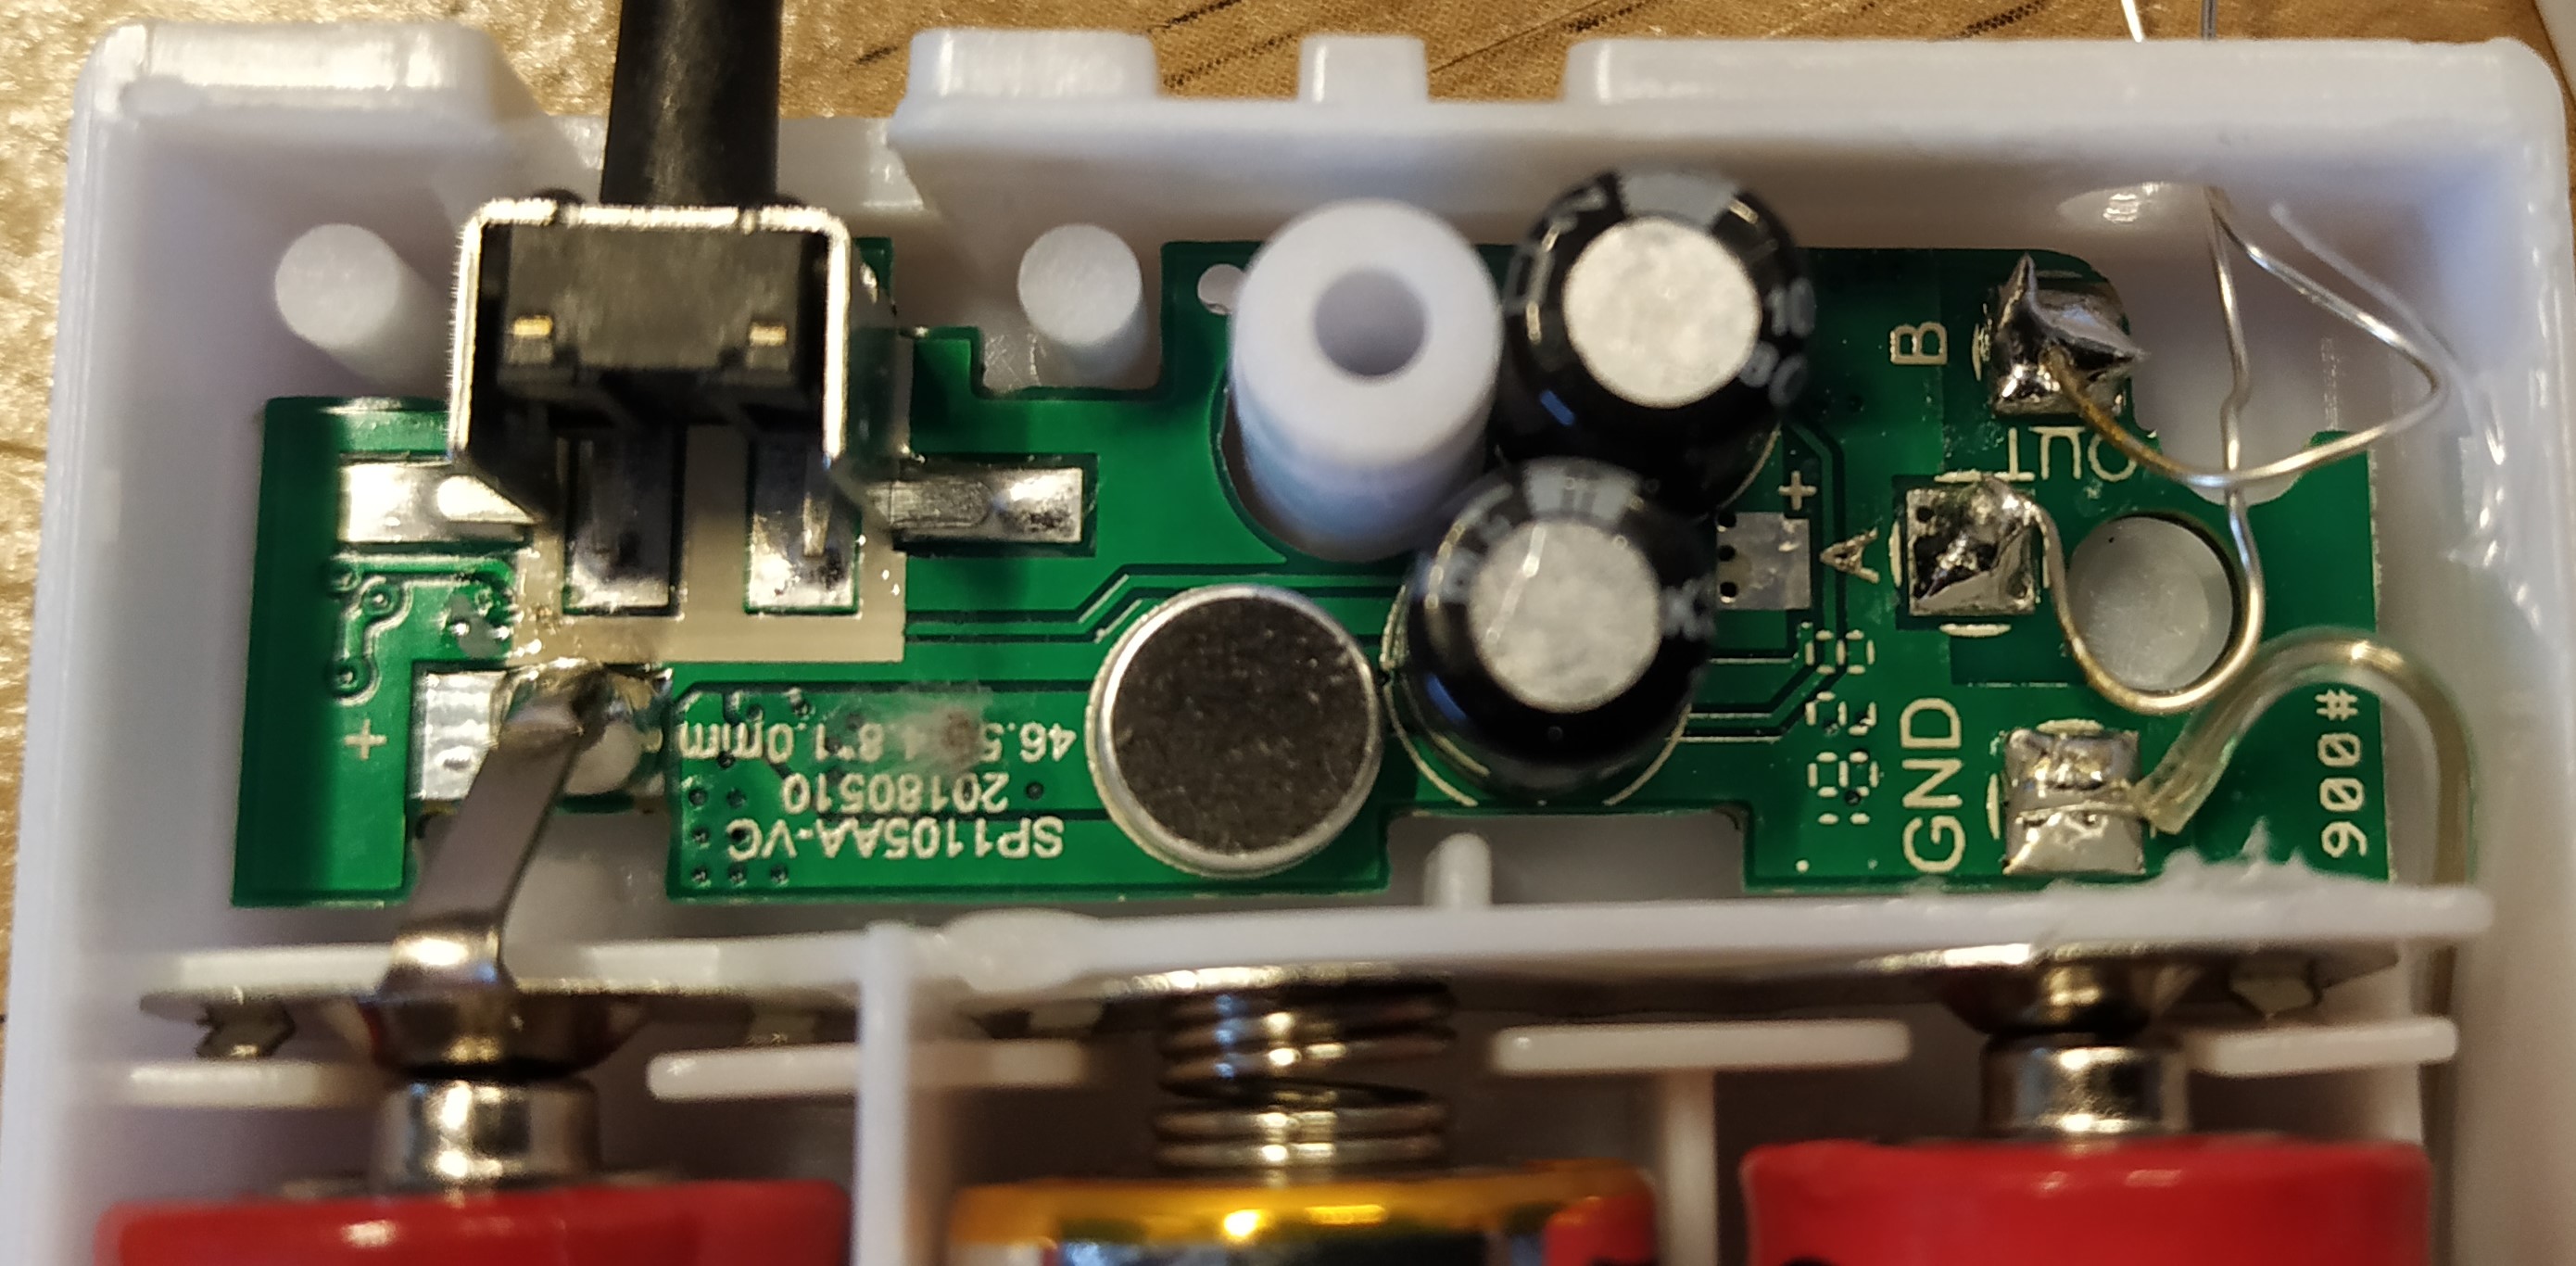
We have a momentary switch in the top left. This can be desoldered and replaced should you wish.
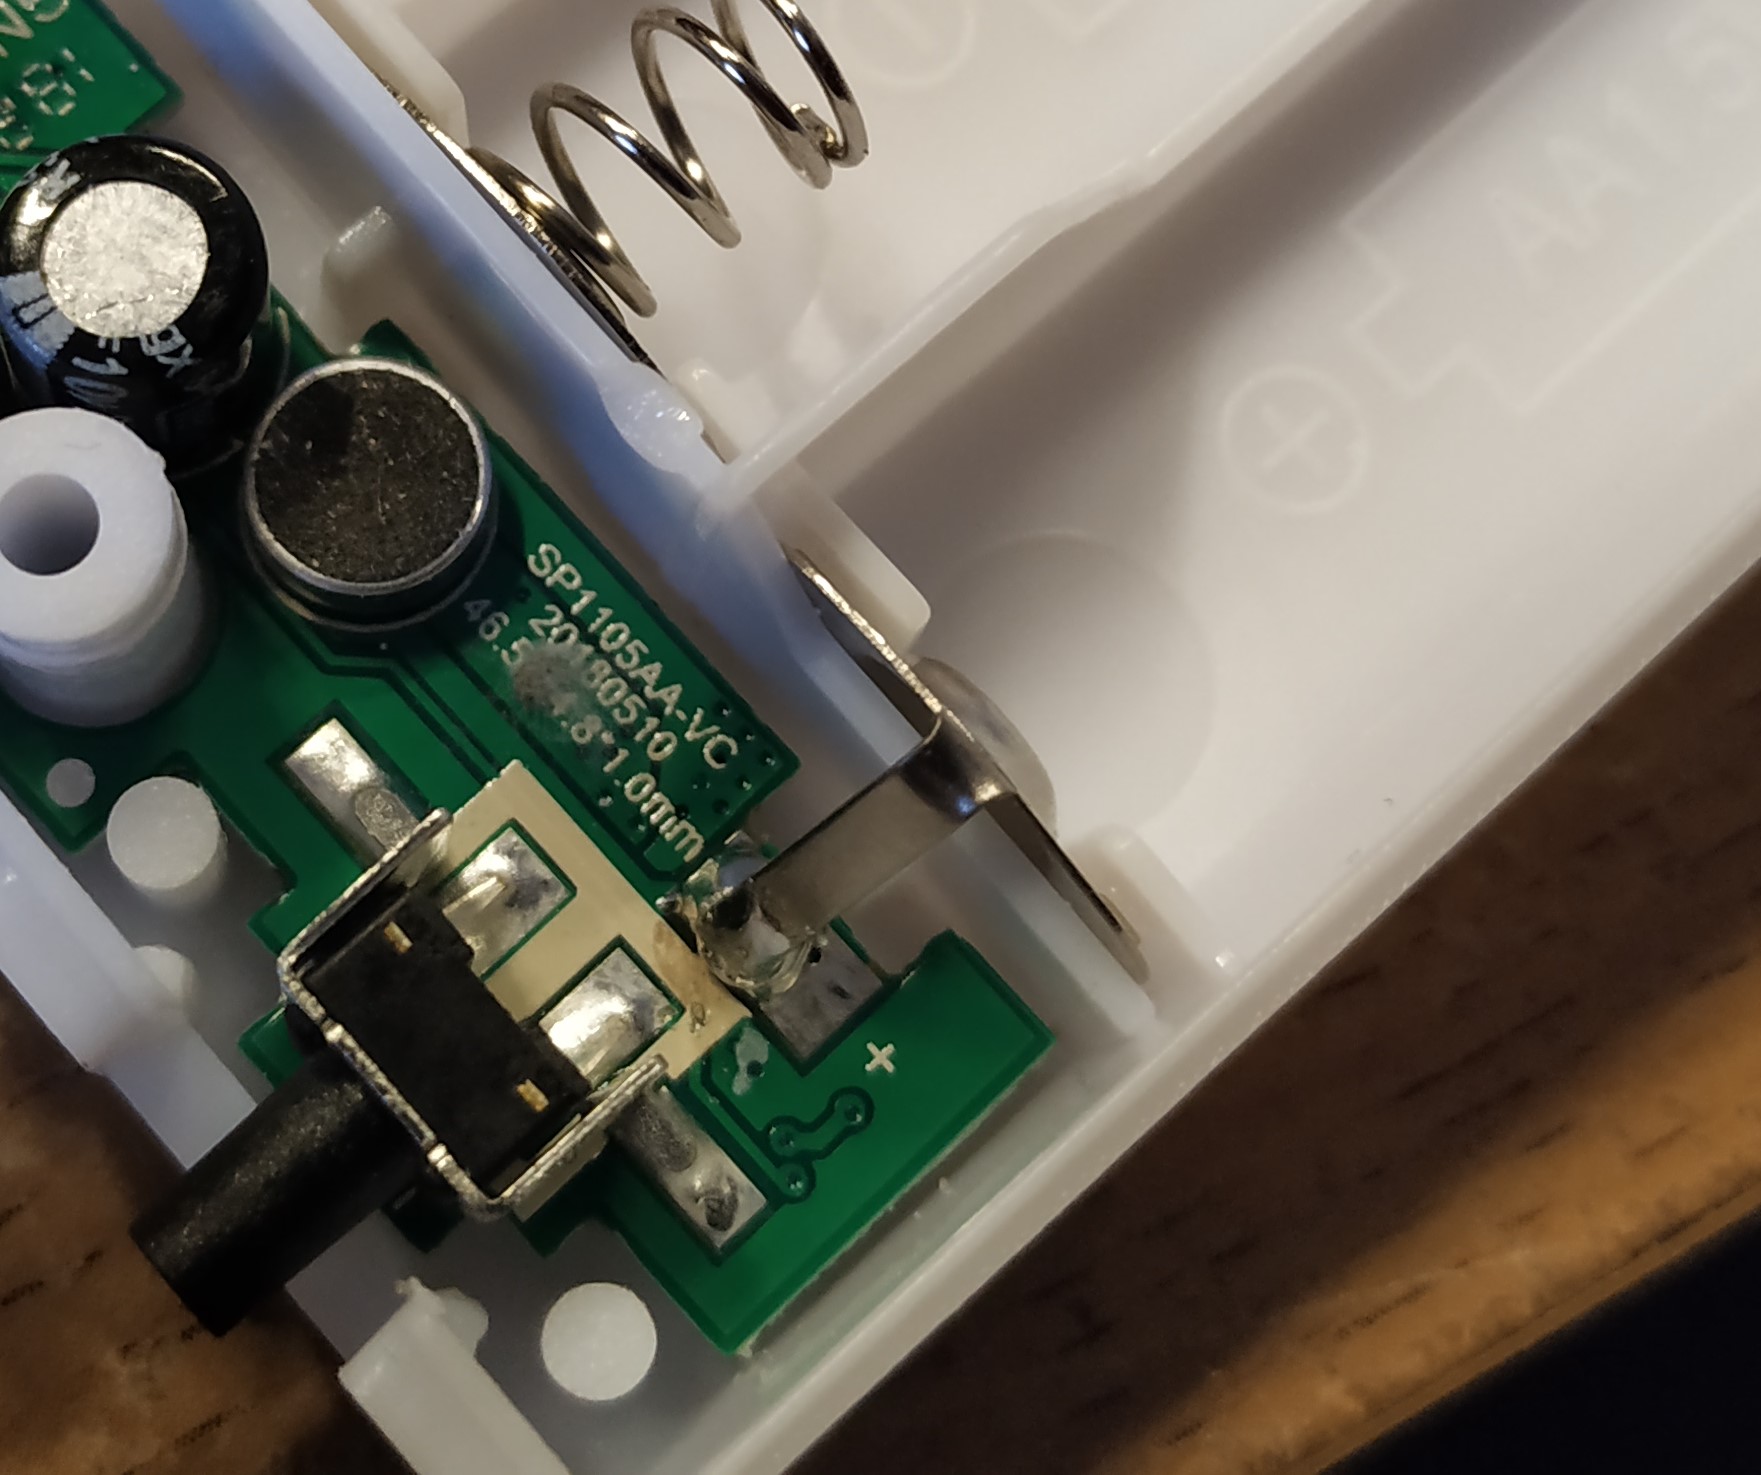
The positive terminal of our battery compartment is soldered directly to the circuit board. Once we remove the hot glue we can slide the board in and out, just remember to return this terminal back in place.
There is a small microphone in the centre of the board, this detects sound.
On the far right we have two terminals marked A and B.
A == Positive
B == Negative
There is also a battery ground (GND) connection.
The wires for the micro LEDs are hot glued to the circuit board and a plastic strut. BE CAREFUL but gently work the hot glue until it comes off. If you break the plastic strut don't panic!
Pull the board from plastic case, keep all the wires connected for now!
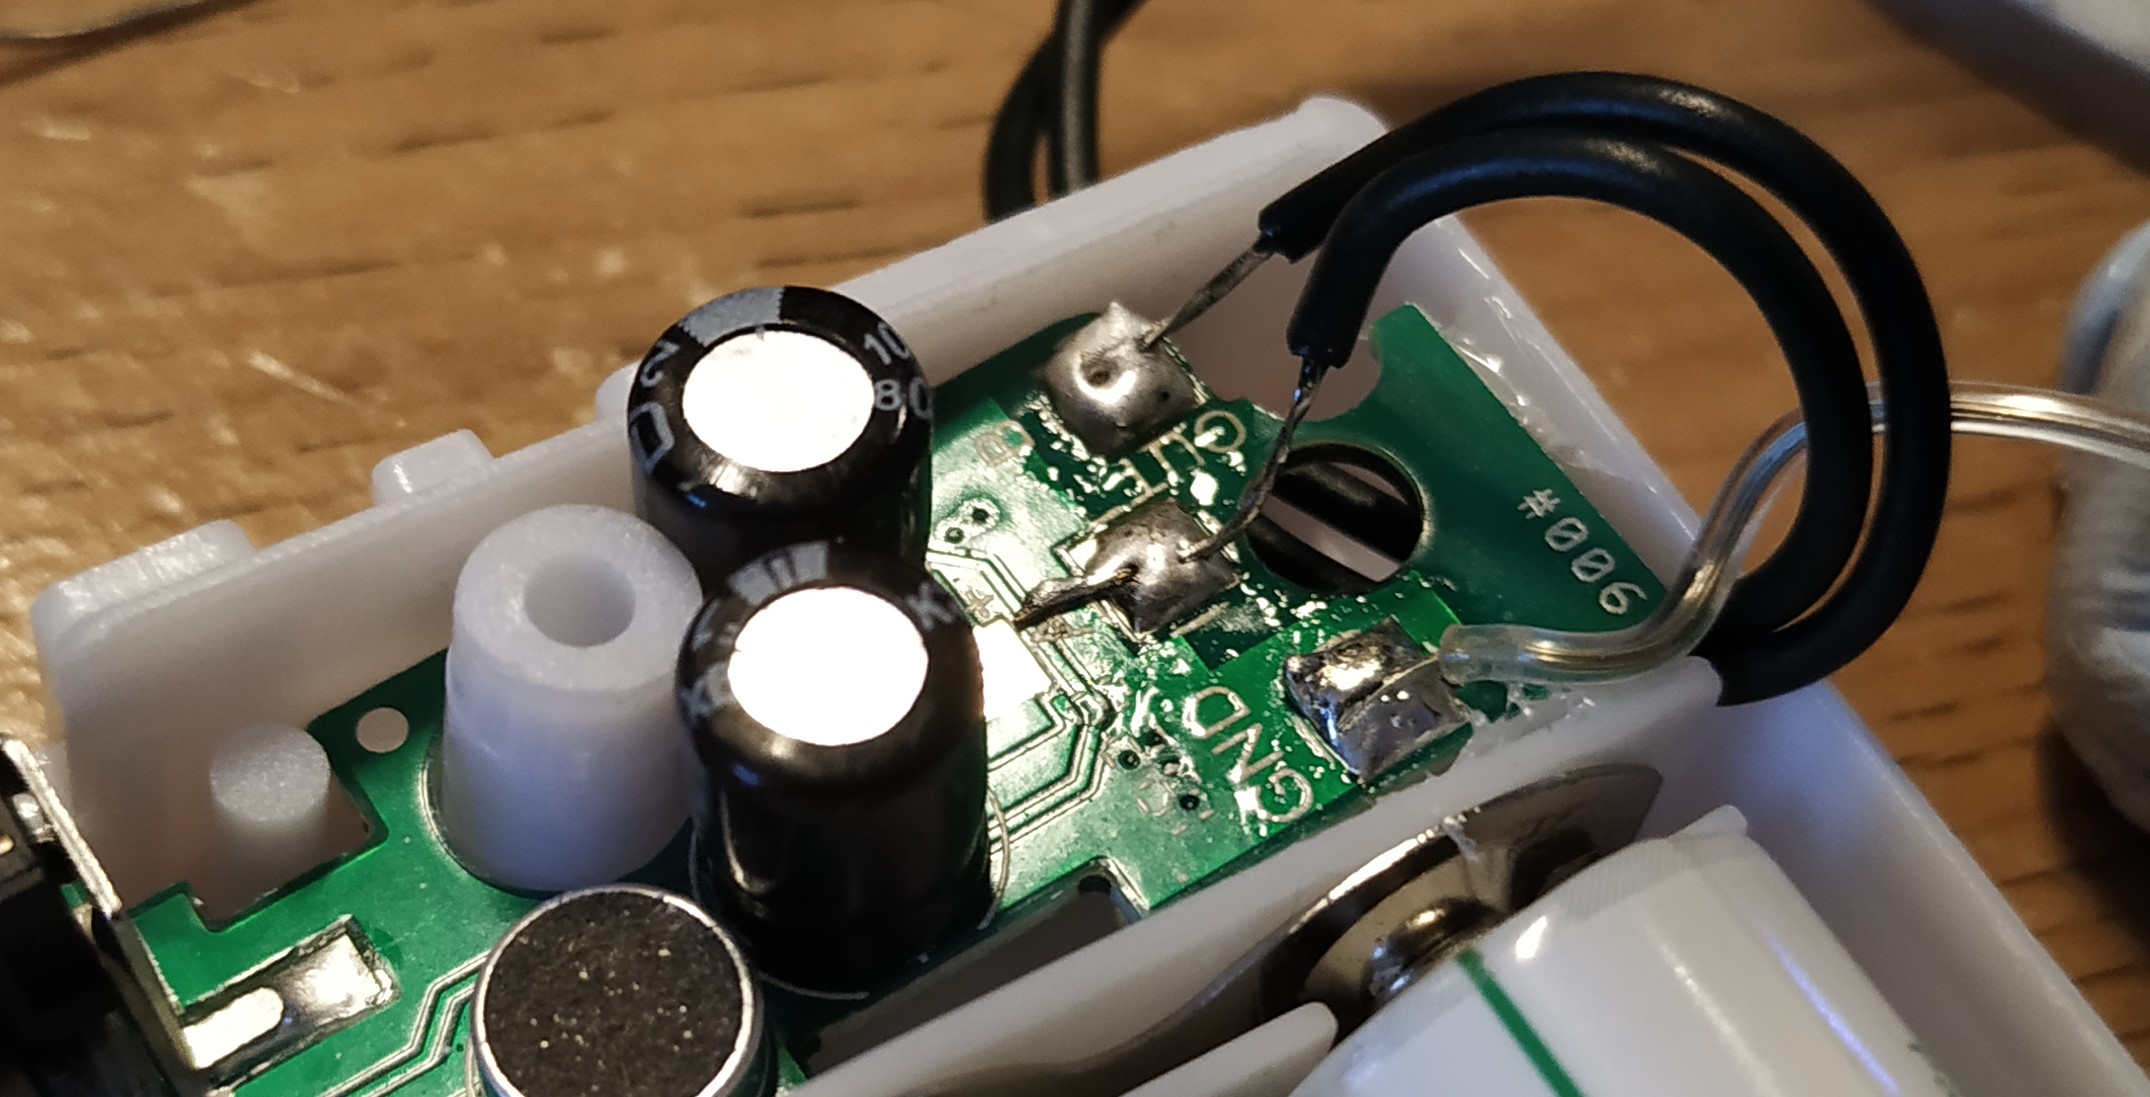
Place the board in a PCB vice / modelling clay and carefully desolder the wires connected to A and B. Retain the micro LEDs / rice LEDs for a future project!
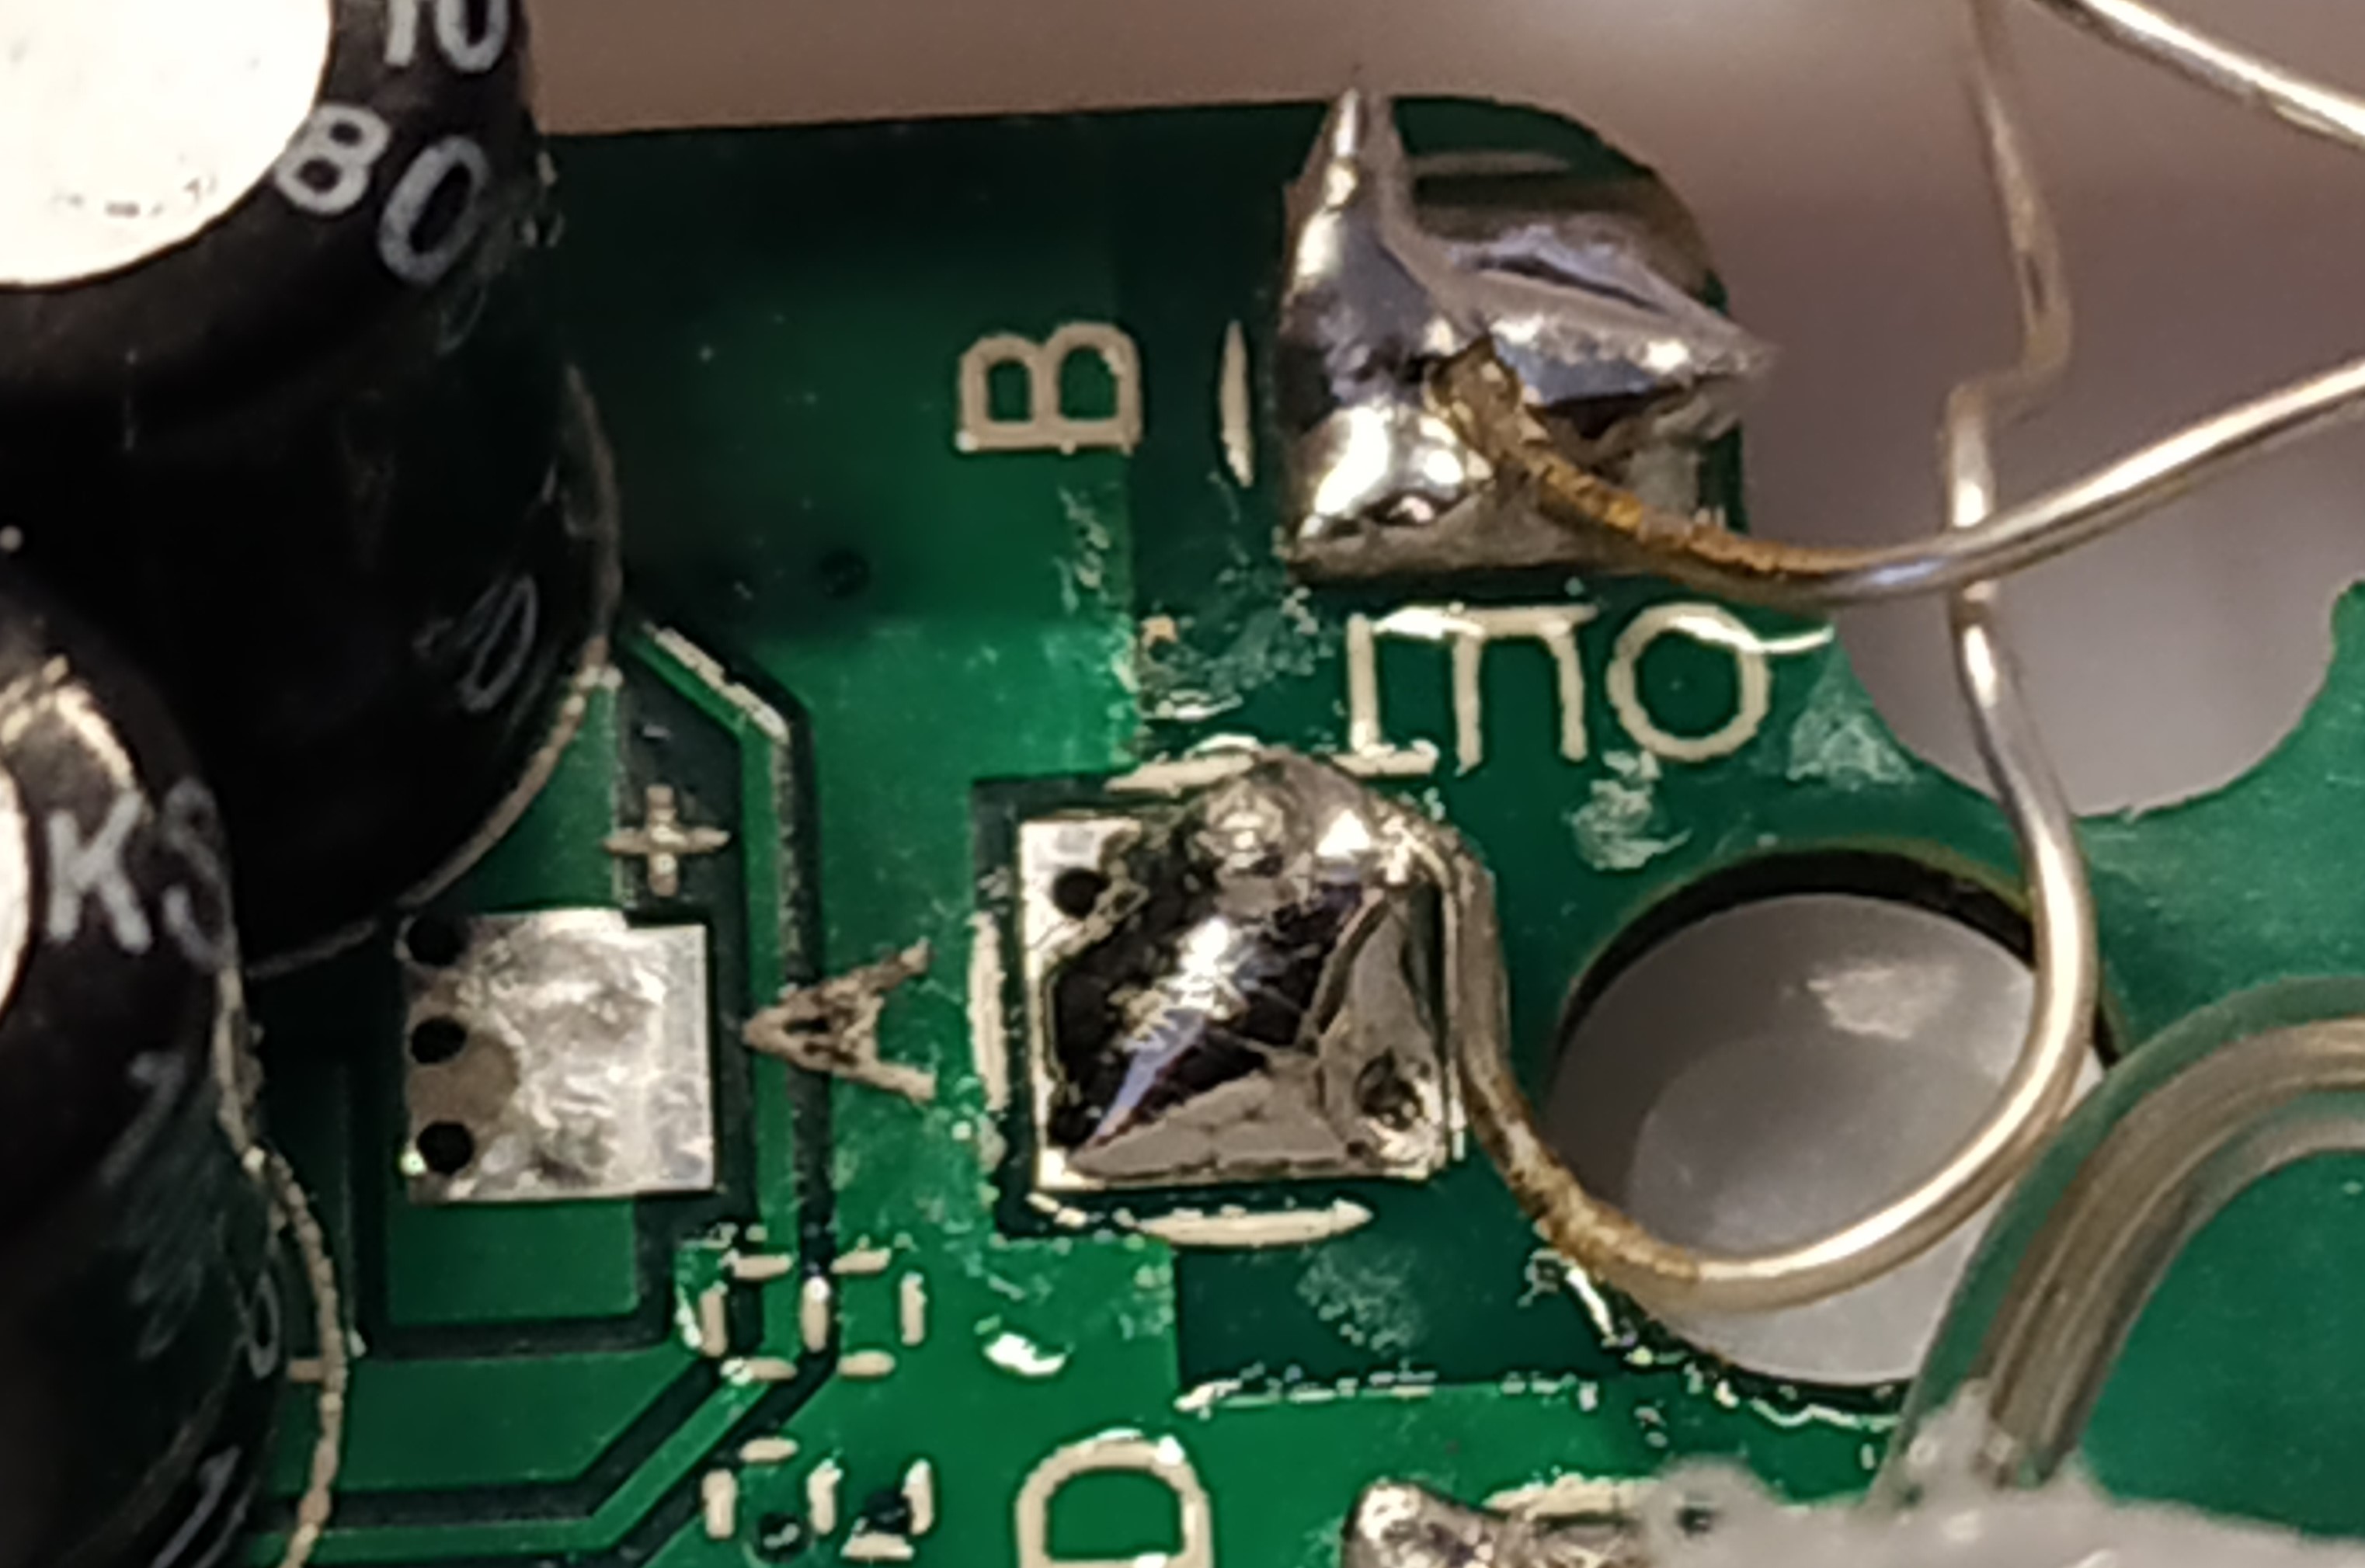
Now thread the wires of the fairy lights through the hole in the BEATSYNC battery box, the same one that you just pulled the micro LEDS from and then connect the positive wire of the fairy lights to A and the other wire to B.
Place the board back in the plastic box, and ensure that the battery terminal is back in place.
Put the batteries in!
Ok this bit is easy, put the batteries back in and if the LEDs do not turn on automatically, long press the button and they will come to life!
Finished!
There we go! A quick, cheap hack ready for next Christmas. You could also remove the need for batteries. We could power the unit from a 5V USB power supply, using 2 x 10 Ohm resistors, one on VCC and the other on GND and then use a USB powerbank, USB port etc.