Tuesday Tooling: Pico Mix
Unless you have been hiding under a rock, you cannot have failed to notice that the new Raspberry Pi Pico has disrupted the Raspberry Pi and microcontroller scene. For just $4 we get a powerful, custom made microcontroller, the RP2040 which is an impressive piece of kit. Would you like to know more? Well head over to Tom's Hardware where I have written a full review.
So I thought that if you have bought a Raspberry Pi Pico, you might find these tools helpful for your hacks. And so this Tuesday Tooling was born!
Tio: Connect To the Serial Console
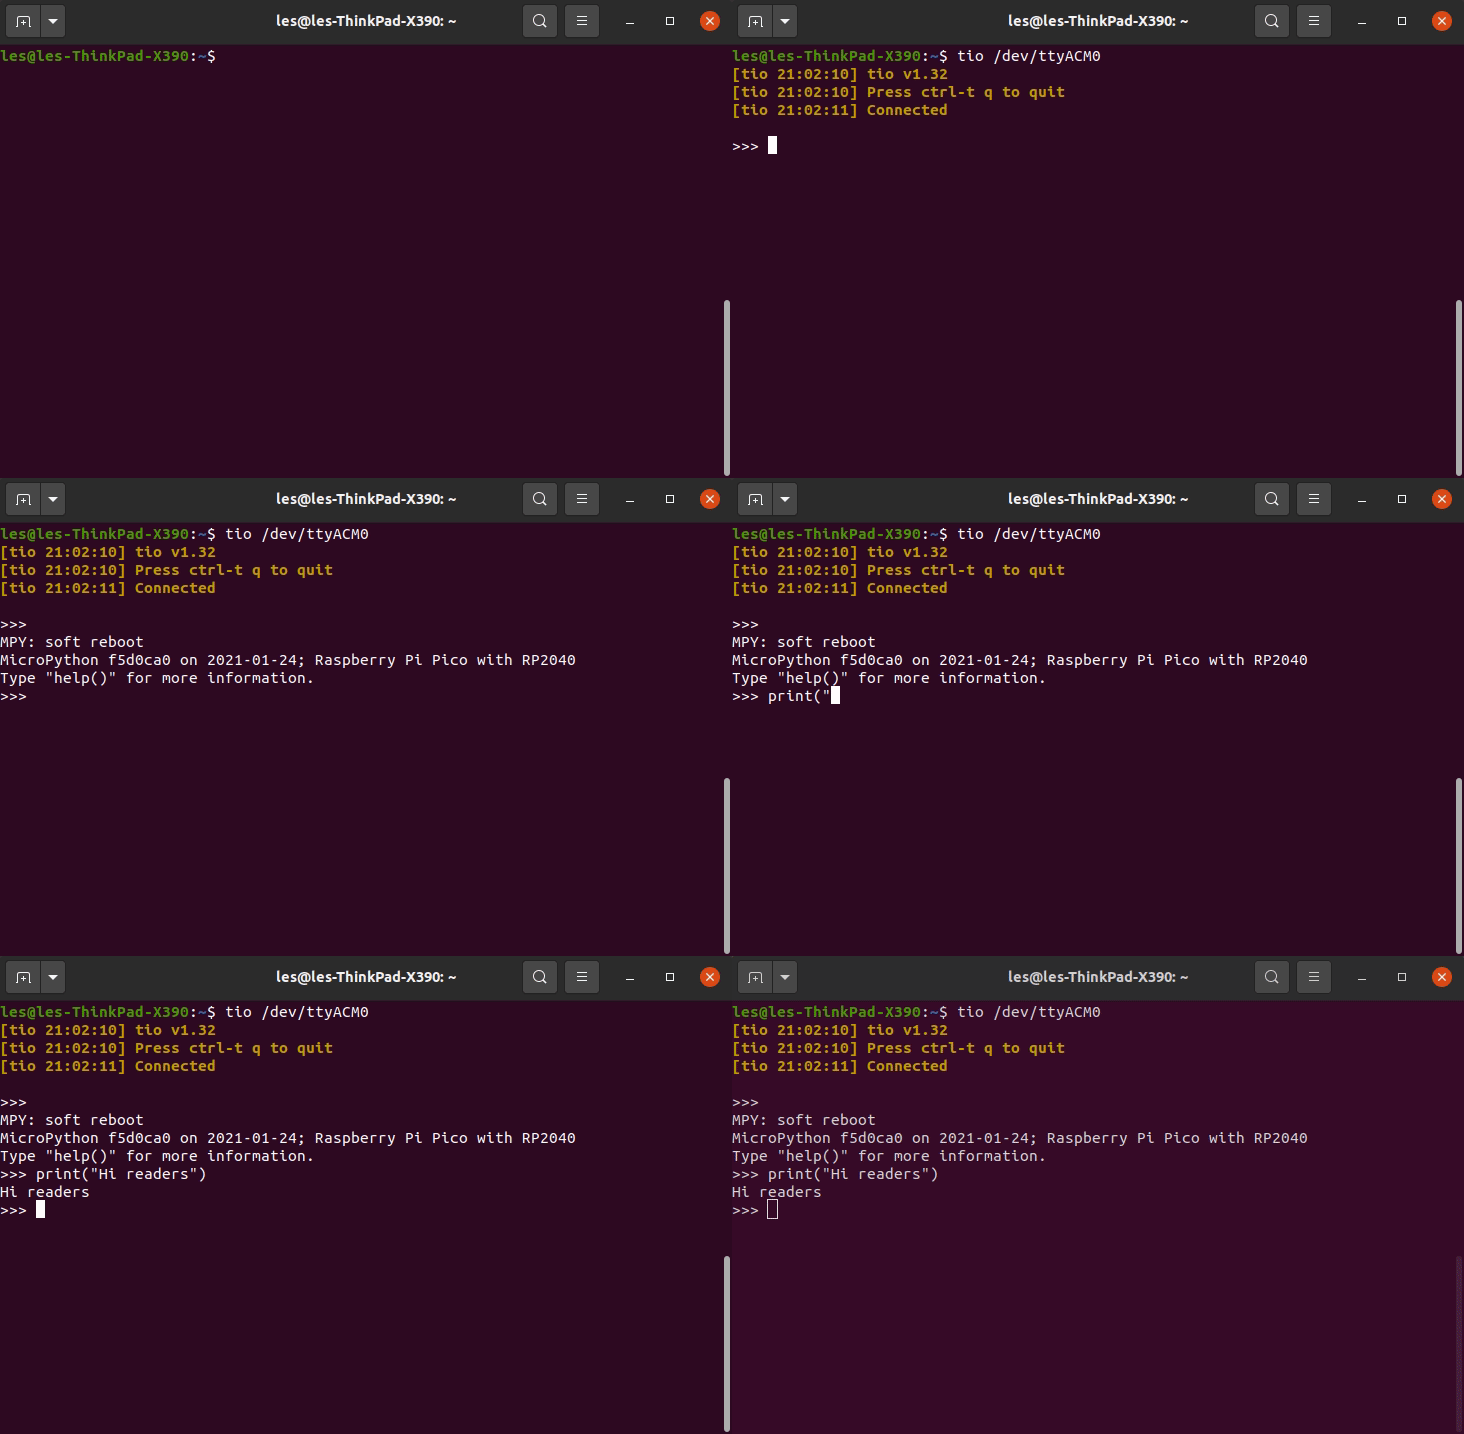
I use Tio everyday, and that is not an exaggeration! I covered Tio back in January 2020, and it is still an awesome way to connect to serial / TTY interfaces.
So can we use it with a Raspberry Pi Pico?
Yes! I work with MicroPython and sometimes I need to quickly check something for work. So I fire up Tio and connect to my Pico.
So How Do I install Tio?
Ubuntu
sudo apt install tio
Snap
sudo apt install tio --classic
Fedora / Red Hat
dnf install tio
Mac
brew install tio
Quick Connect To Raspberry Pi Pico
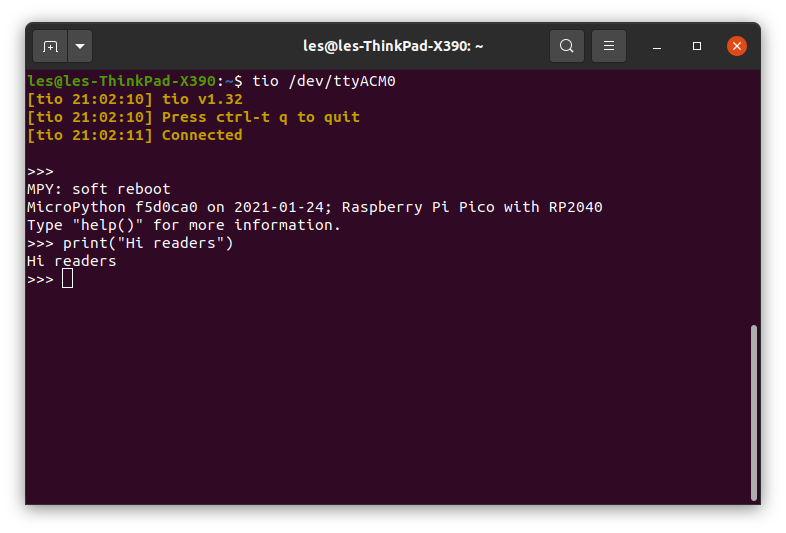
Open a terminal, the Pico connects as /dev/ttyACM0 on Linux.
tio /dev/ttyACM0
How Do I Disconnect?
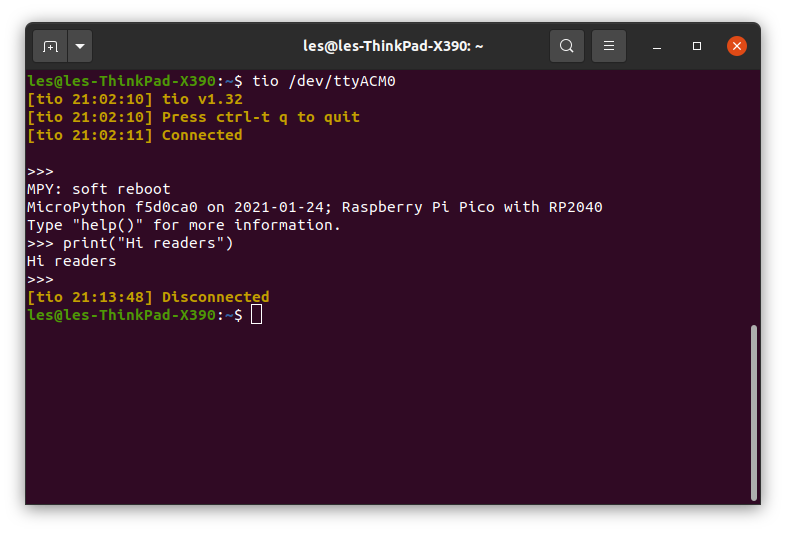
Press CTRL + T then press Q

Hi reader!
Ampy: Send, Receive and Manage Files on Your Pico
Ampy is an Adafruit project and a command line tool for Windows, Linux and Mac that enables us to work with Raspberry Pi Pico, ESP8266 and other MicroPython and CircuitPython boards. These are boards that already have MicroPython / CircuitPython flashed to them. I first covered Ampy waaaaay back in November 2018 and it is a fantastic tool for MicroPython / CircuitPython hacks.
So How Can I Install Ampy?
Using pip!
For Windows
pip.exe install adafruit-ampy
For Linux / Mac
sudo pip3 install adafruit-ampy
So What Can I Do With Ampy?
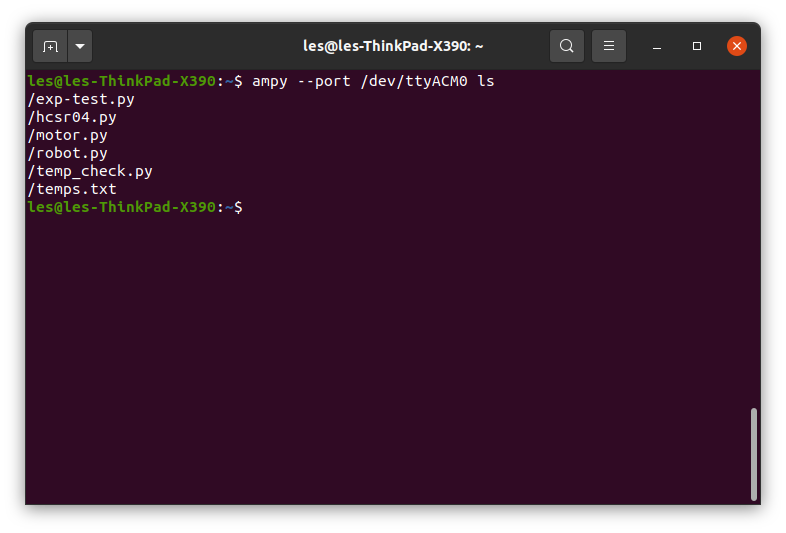
First lets list all the files on the Raspberry Pi Pico.
In a terminal, run this command. I am assuming that you are using Ubuntu / Raspberry Pi OS / Linux. If you are running Windows, look in the Device Manager for the correct port.
ampy --port /dev/ttyACM0 ls
Get a File From The Raspberry Pi Pico
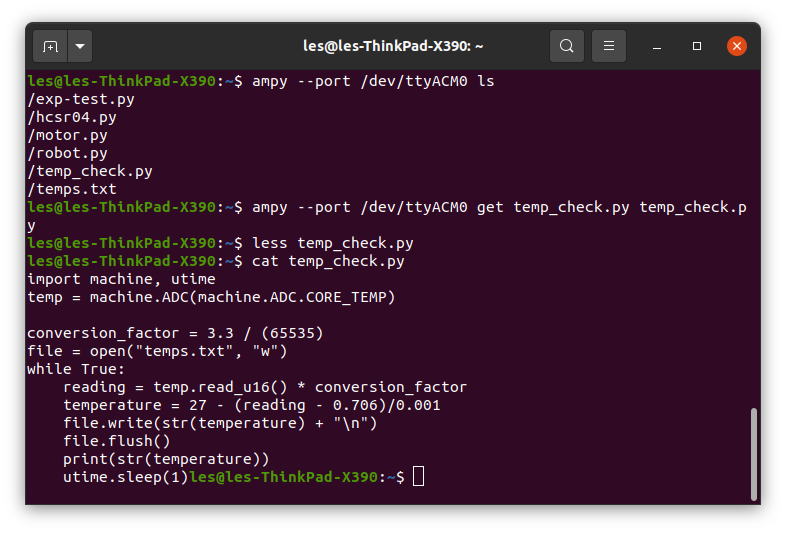
After listing the files, I can see that there a few different project files.
/exp-test.py
/hcsr04.py
/motor.py
/robot.py
/temp_check.py
/temps.txt
Lets grab the temp_check.py file from the Pico.
ampy --port /dev/ttyACM0 get temp_check.py temp_check.py
The syntax for this command is
--port: The device which we connect to, Pico typically connects to ttyACM0.
get: The instruction to get the file.
temp_check.py: The name of the file that we want from the Pico.
temp_check.py: The name of the file where we will save the file from the Pico, note that this will save into the current directory.
Put a File on the Raspberry Pi Pico
This follows a similar syntax to get but this time we use put to copy a file from our computer to Pico.
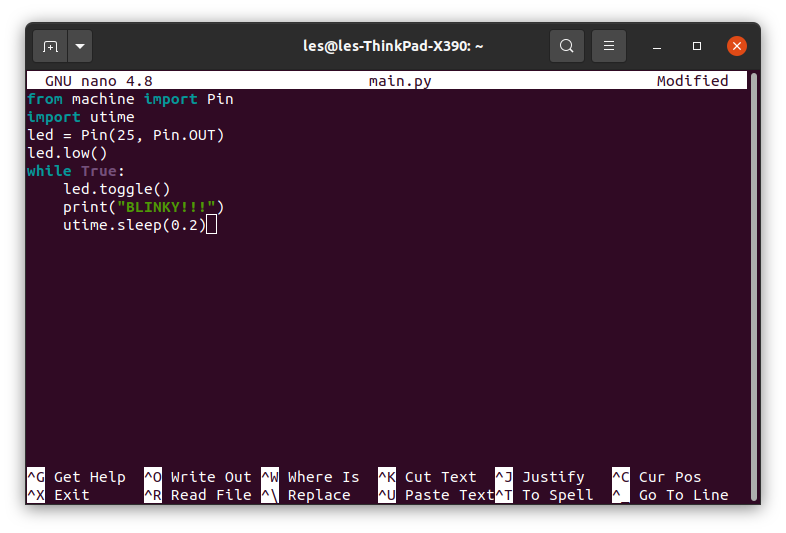
In this scenario I have written a simple script to blink the onboard LED every 0.2 seconds. I've called the file main.py so that it autoruns on the Pico.
from machine import Pin
import utime
led = Pin(25, Pin.OUT)
led.low()
while True:
    led.toggle()
    print("BLINKY!!!")
    utime.sleep(0.2)
To copy this file to the Pico I use this command.
ampy --port /dev/ttyACM0 put main.py
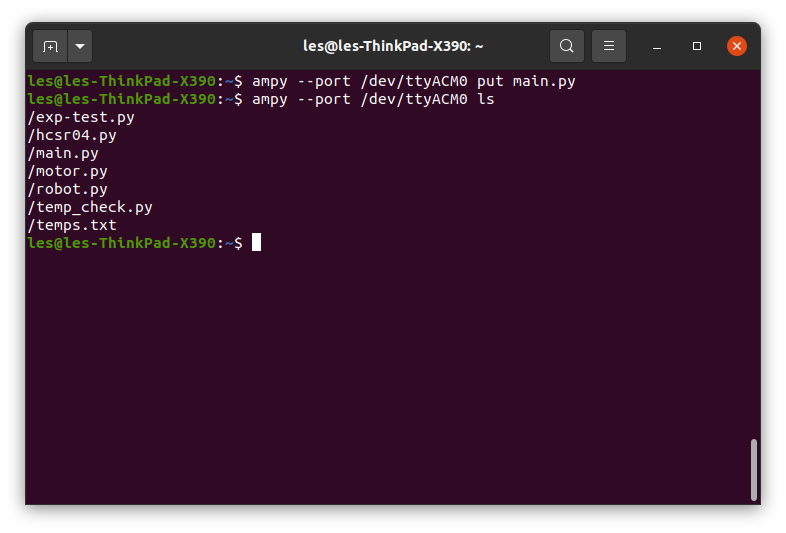
I then list the contents of the Pico and I can see main.py is on my Pico!
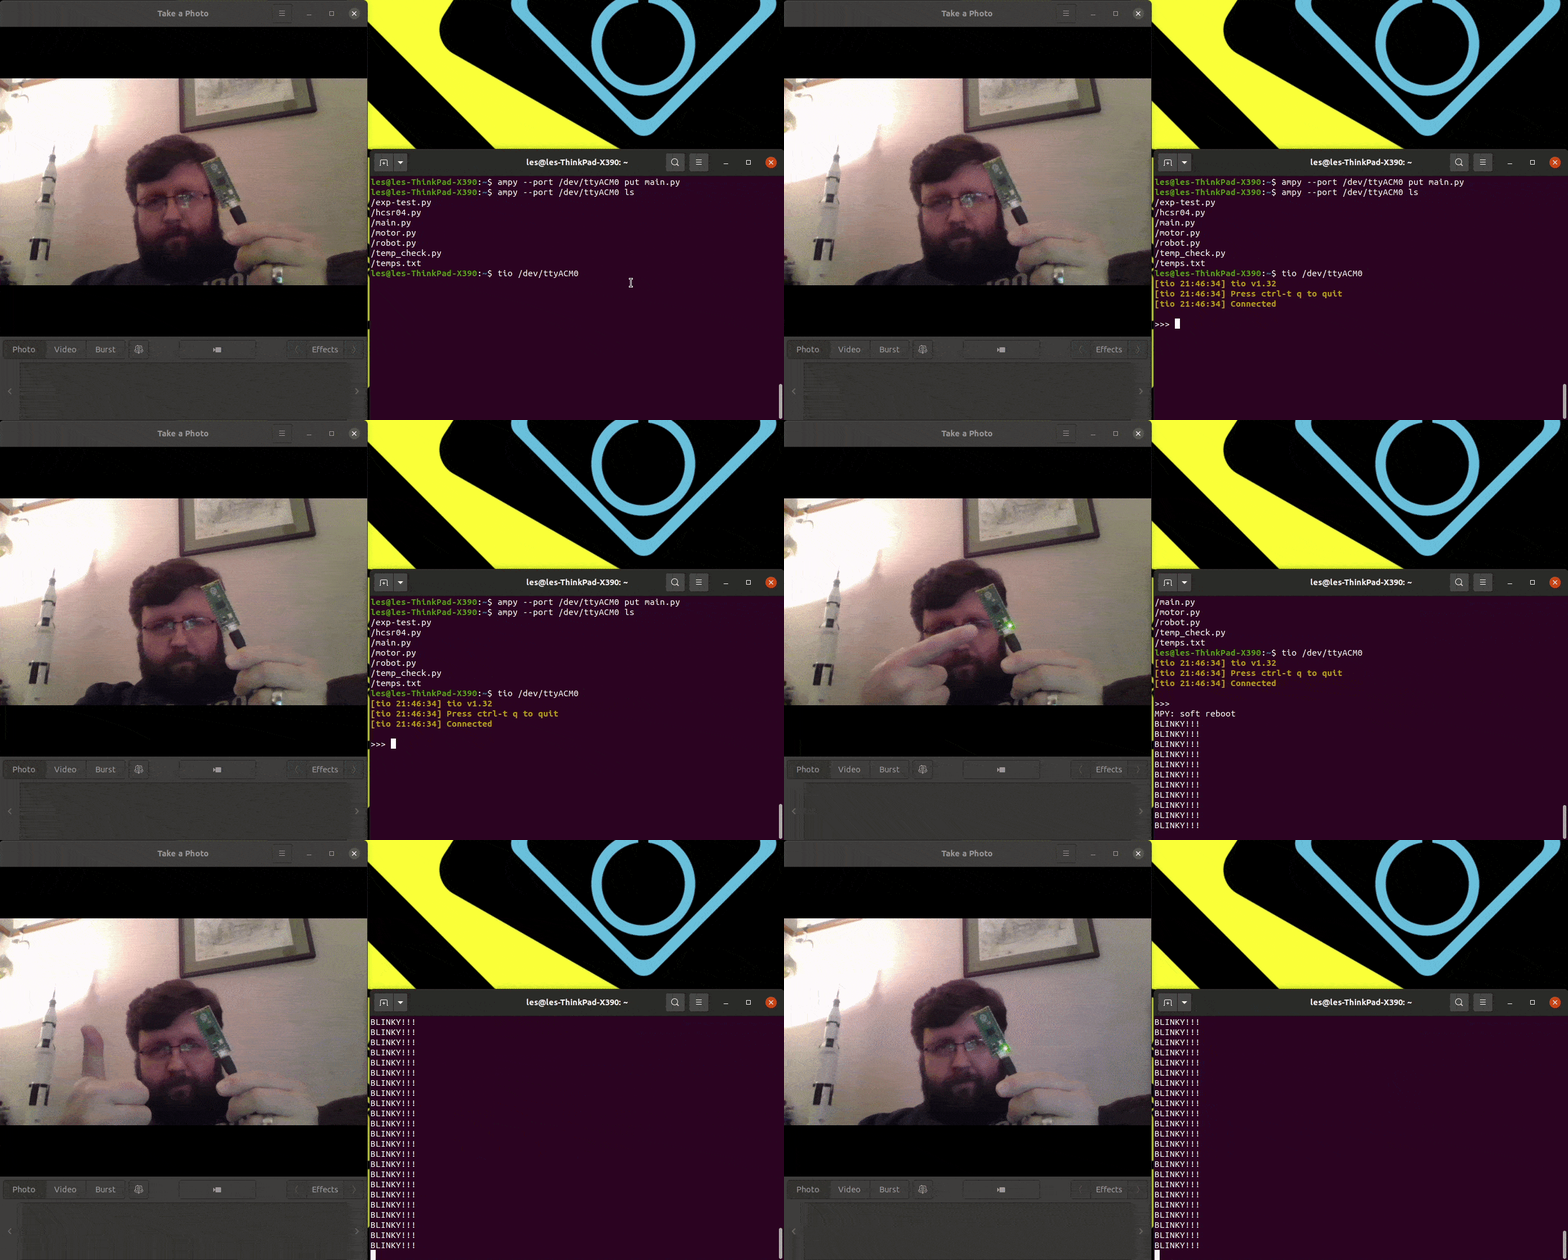
Jumping back into Tio, I can reboot the Pico and my code will autorun!
Happy Hacking
For $4 the Raspberry Pi Pico is cheap, powerful and so much fun. Get one from Pimoroni, The Pi Hut or for US readers Adafruit.