Friday Fun - Late Edition : Tiny Neopixels
I got some tiny neopixels...they must be tested!
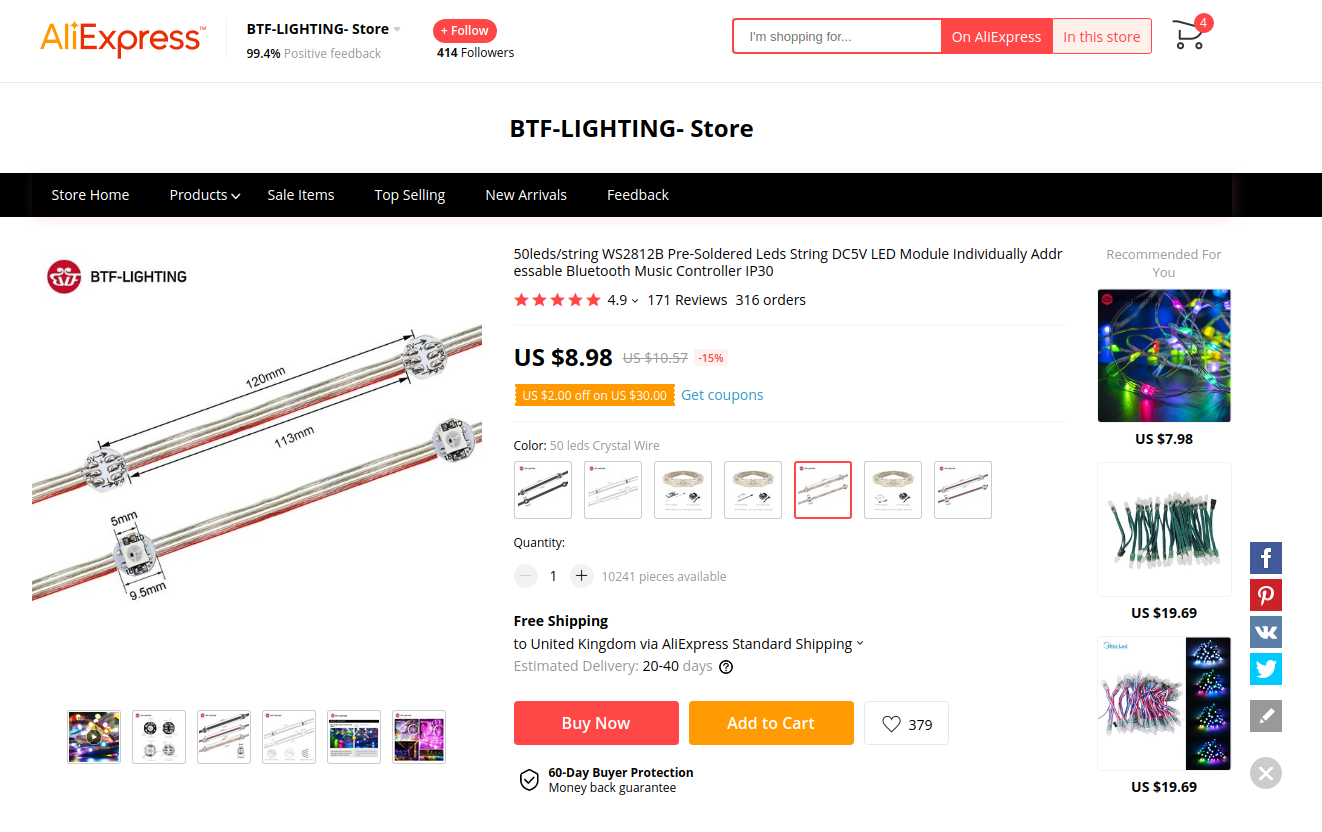
Recently I purchased some really small neopixels from Aliexpress as I just had to have some really small neopixels, but are they any good?
Physical Characteristics
The entire string of pixels measure approx 6 metres in length, and each pixel is spaced 12cm apart. There are 50 pixels in the string. I chose the crystal clear wire option but there are others including black.
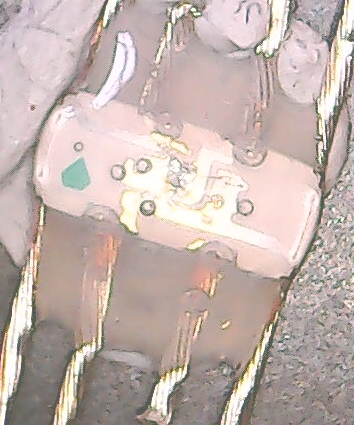
Yes I have a slightly crappy USB microscope so I can do pics like this. And yes that is blutack holding the wires in place.
Each pixel is housed in a clear resin / hot glue case which provides some mechanical strain relief for the wires which go into and out of each pixel.
Blinkies! pic.twitter.com/rvo9Q4LJuQ
— biglesp (@biglesp) January 16, 2020
Connections
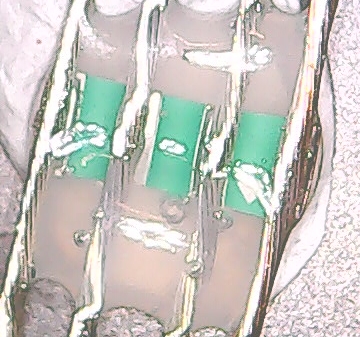
The wire is thin and fragile, there I said it. The wire is encased in a foil / fabric cover which is prone to friction and over time it will degrade. So these neopixels are not for use in any kinetic / moving / wearable projects as the friction will cause the pixels to short. Best case they will simply break, worst case they will break your microcontroller.
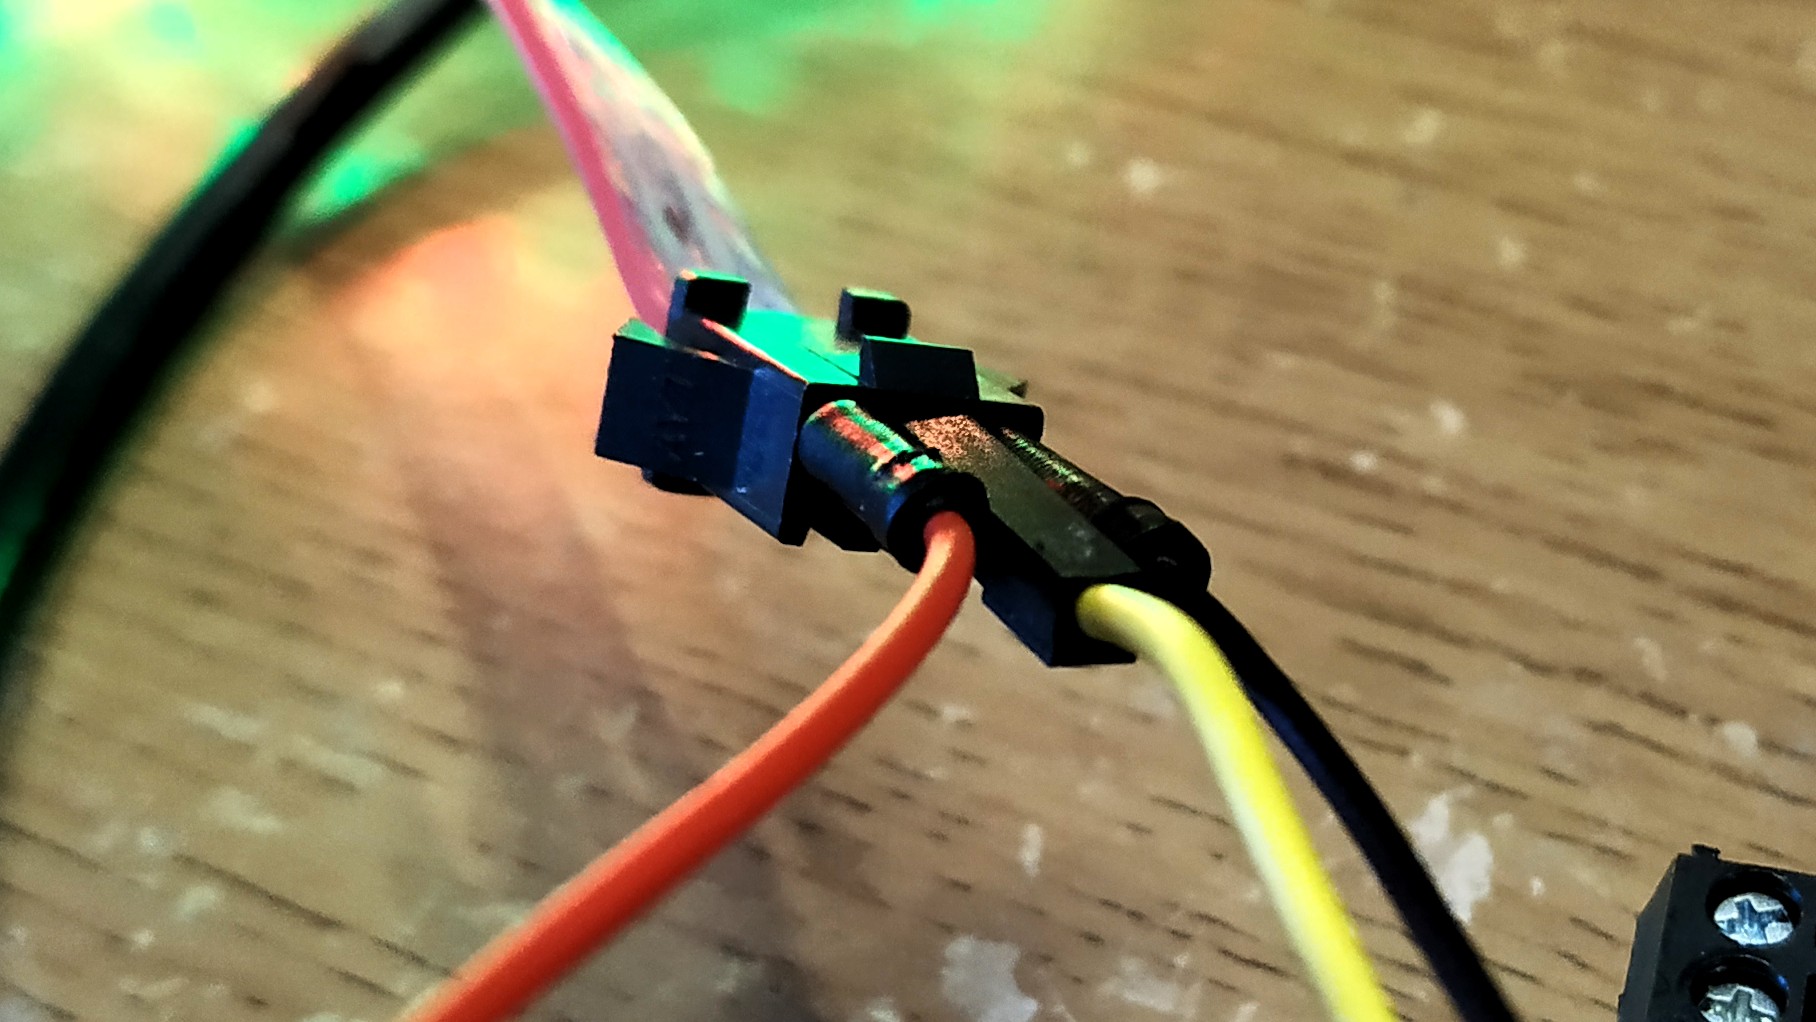
To connect the pixels to a board, use the female connector. Looking at the connector face on, with the tab / clip on the top the pin out is.
| Number | Colour | Connection |
|---|---|---|
| 1 | Red | 5V |
| 2 | Yellow | Data In |
| 3 | Black | GND |
Teeny tiny neopixels have arrived from China. I am really impressed with them and expect to buy more for projects! pic.twitter.com/vu5y5svW5X
— biglesp (@biglesp) January 16, 2020
Testing the pixels
To test the pixels I chose the humble Arduino, specifically the 4duino pro which is my go to Arduino board. Using Adafruit's code, I remixed a quick test script to change each pixel to red, green, blue one after another. The power and GND connection was provided from the Arduino, which is not best practice but ok for a quick test. The data pin used was pin 6.
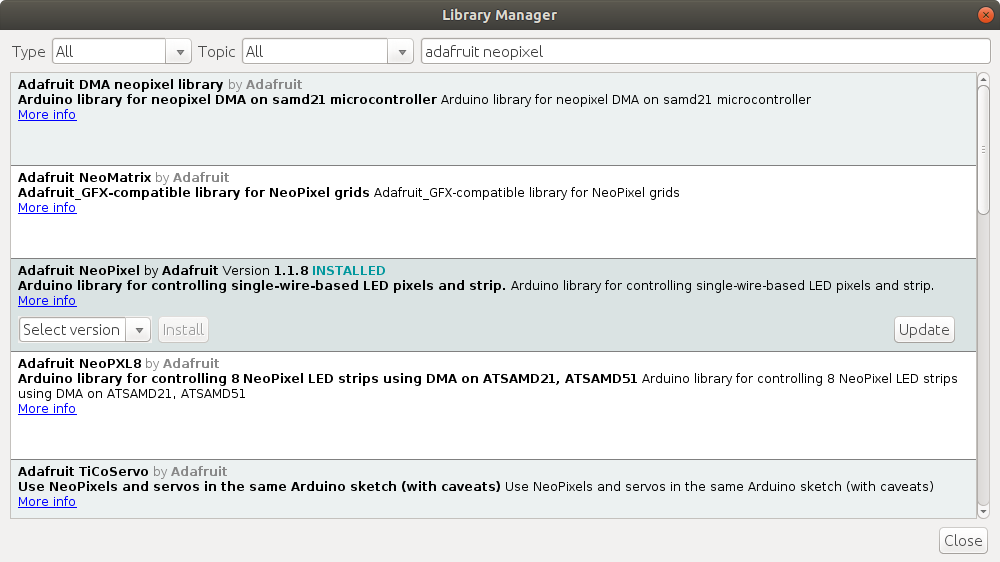
If you do not have the Adafruit Neopixel library installed then go to Sketch >> Include Library >> Manage Libraries (or pressCTRL + SHIFT + I)and search for Adafruit Neopixel, which at the time of writing is at version 1.1.8.
Here is my code.
Arduino Code
#include <Adafruit_NeoPixel.h>
#ifdef __AVR__
  #include <avr/power.h>
#endif

#define PIN 6


Adafruit_NeoPixel strip = Adafruit_NeoPixel(60, PIN, NEO_GRB + NEO_KHZ800);


void setup() {
  // This is for Trinket 5V 16MHz, you can remove these three lines if you are not using a Trinket
  #if defined (__AVR_ATtiny85__)
    if (F_CPU == 16000000) clock_prescale_set(clock_div_1);
  #endif
  // End of trinket special code

  strip.begin();
  strip.setBrightness(50);
  strip.show(); // Initialize all pixels to 'off'
}

void loop() {
  // Some example procedures showing how to display to the pixels:
  colorWipe(strip.Color(255, 0, 0), 50); // Red
  delay(2);
  colorWipe(strip.Color(0, 255, 0), 50); // Green
  delay(2);
  colorWipe(strip.Color(0, 0, 255), 50); // Blue
  delay(2);
}

// Fill the dots one after the other with a color
void colorWipe(uint32_t c, uint8_t wait) {
  for(uint16_t i=0; i<strip.numPixels(); i++) {
    strip.setPixelColor(i, c);
    strip.show();
    delay(wait);
  }
}
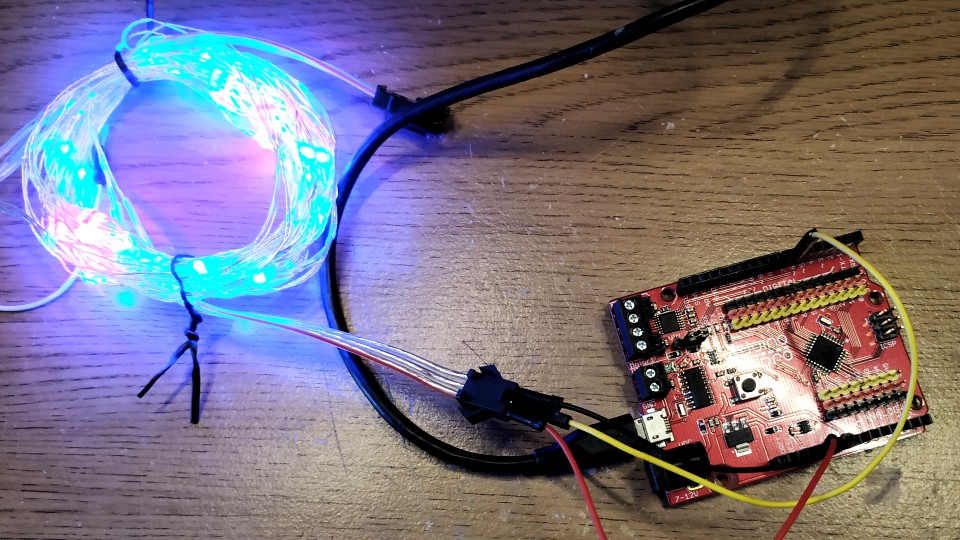
I flashed the code on to the Arduino and it ran, but there were a few issues and chief among them was glitching!
A glitch?
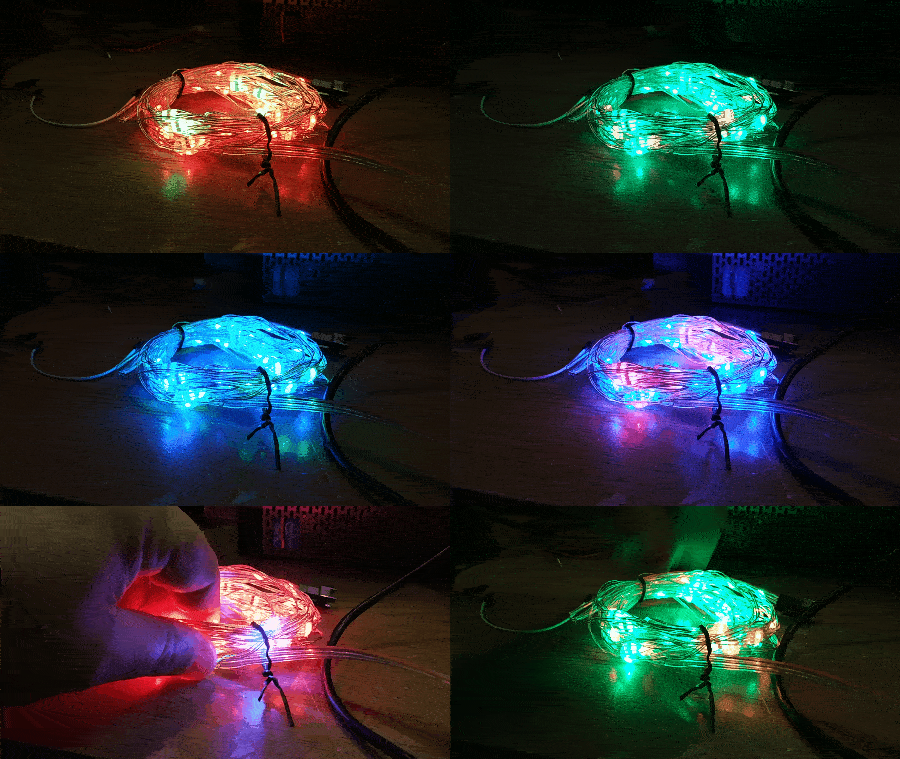
Yeah every so often the colours will flash, either the whole string or just a section, and this can be when they are at rest or in motion.
Does it work with {insert board here}
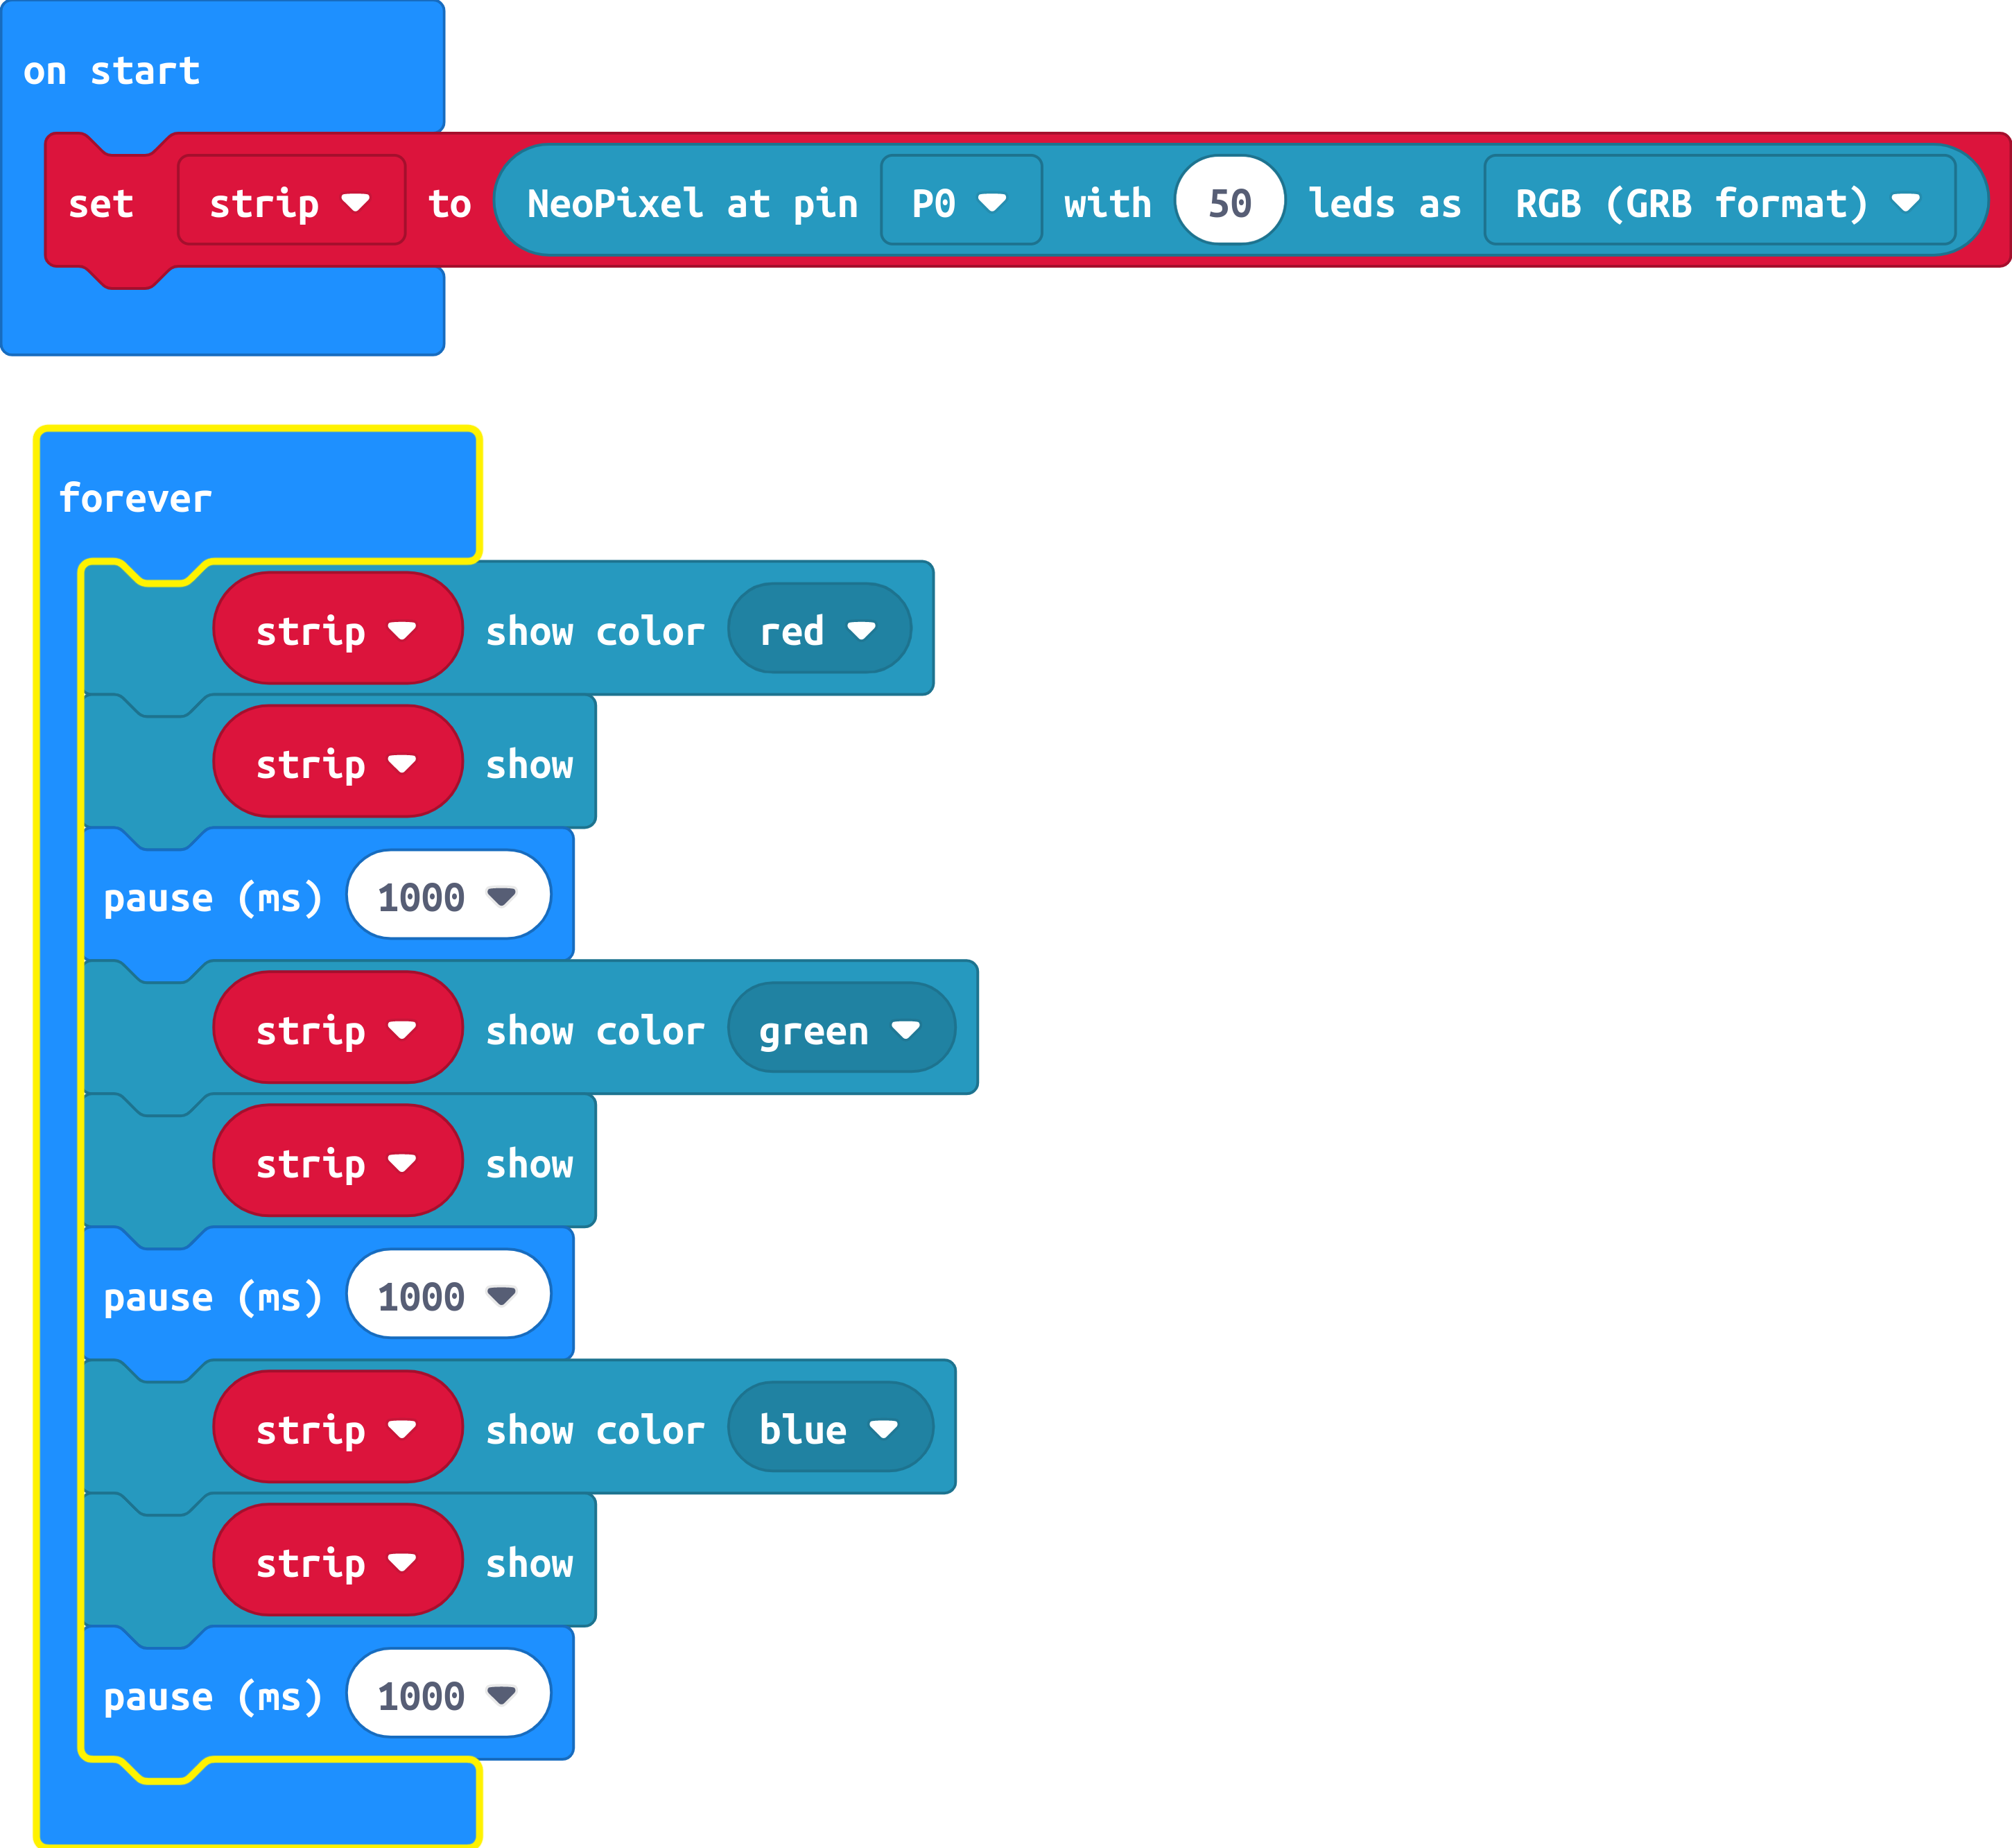
I did another test with a micro:bit and yeah it worked.
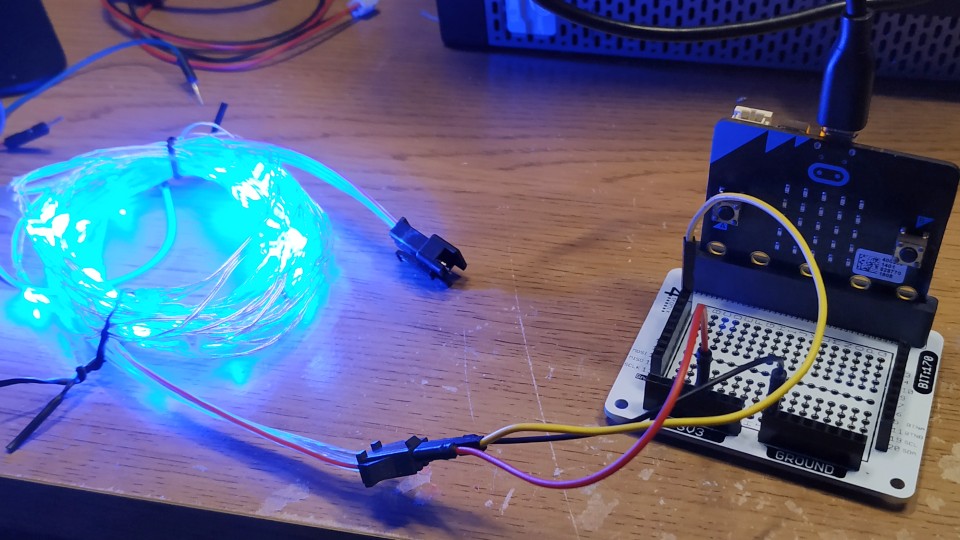
I used BIT:170 a micro:bit to breadboard breakout board from 4tronix to make the connections, and yes 50 pixels is way too much to be connected for a long time on a micro:bit, so don't do it!
Here is the code that I used, note that you will need to install the Adafruit Neopixel extension to make this work.
Conclusions
They are indeed tiny pixels, but with this comes fragility. For static displays then they will do a good job, but for wearable projects then I would avoid as the shorting / glitching issue will cause many issues.

